Friday, September 14, 2012

Halloween party menu ideas- PRODUCT GIVEAWAY!


We had a Halloween party this morning, and it's not even October yet. The kids dressed as Spider Man and Buzz Lightyear. Even Super Dad paid a visit to the treats to indulge in the gross display of yummy food
.

We turned raisins into bat droppings and frozen cheese sticks into gross ghost fingers!


With the help of Farm Rich cheese sticks, we were able to quickly cook up these 'ghost fingers' for our little goblins (and ourselves!) to enjoy.


We just cooked up the sticks and let them cool. Put them on the platter and opened a few to let the cheese ooze and covered the other sticks with it. Using our own marinara sauce we splattered some of it over the sticks to give it a creepy look and put the rest down the middle of the platter. It just so happened the sauce came out looking like a ghost! This whole platter is only half a bag, we still have more left! You really get a lot for your money with these products. Farm Rich can provide you with quick solutions to last minute entertaining, and you have an opportunity to put your own twist to the recipes.

it didn't take long until the platter looked like this...

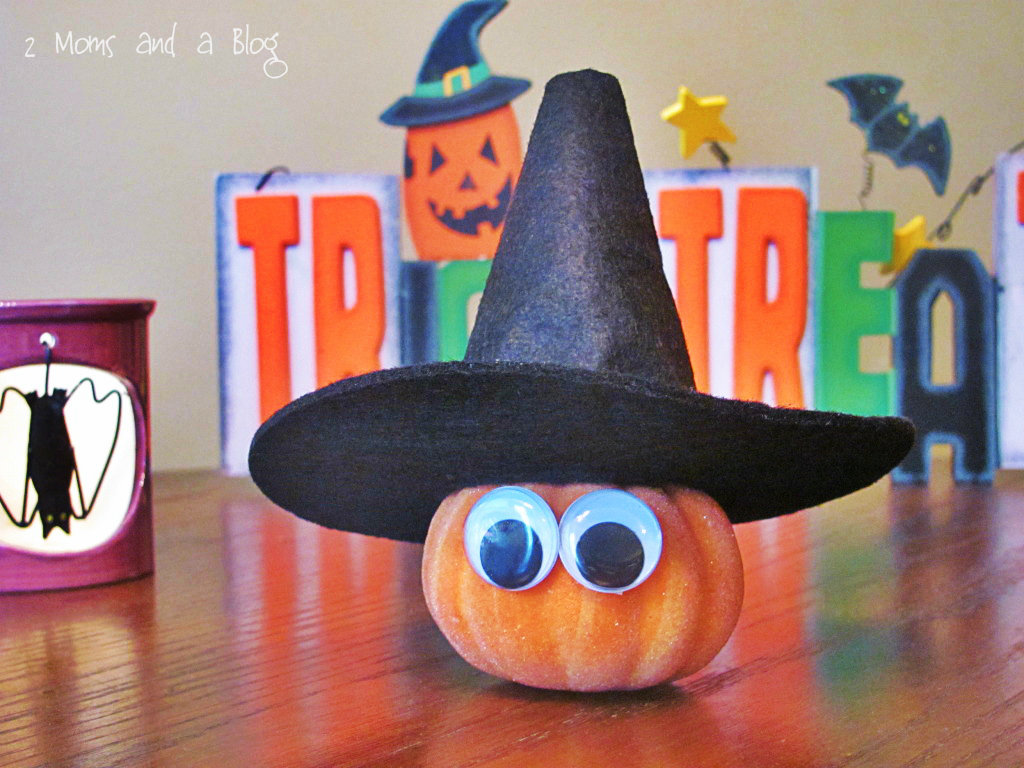
To add some character to our food table we used some inexpensive Halloween buckets used from previous years trick or treating to hold some small bags of chips, and a bowl from the dollar section of Target with ice to hold some juice boxes. We scattered some small pumpkins around the table and our witchy pumpkin pal was at the center of the fun. We will be doing another post soon for a fun craft on how to make your own pumpkin pals with your kids!
Spider Man and Super Dad fly in for a bite!
Buzz Lightyear could eat these for infinity- and beyond!


So are you ready for your chance to win a voucher good for one Farm Rich product of your own? 
Maybe you could make some of these ghost fingers. Or use the yummy meatballs and call them monster brain bites and put them on a small roll for the kiddos! 
2 of our lucky readers will win in this contest, here is how to enter!

Leave a comment on our page, maybe let us know some of your great Halloween party tips! 
(Commenting is a mandatory entry!)

Go like us on Facebook (not mandatory, but you don't want to miss out on any news or future give aways!)

Tweet us on Twitter using #2MomsAndABlog (again, not mandatory, but hey- we like the love!)


a Rafflecopter giveaway Now for the rules and fine print... because nothing is fun without a little rule here and there!
Contest is open to US residents 18 years of age and older. Winner will be selected at random and announced on Facebook and contacted via email. Winners will have 48 hours to respond to email to claim prize or forfeit winnings.

*Disclosure- 2 Moms was given a complimentary product for purpose of facilitating this review. All opinions are 100% mine and have not been edited in any way 

Monday, September 10, 2012

DIY Spotted Puppy Halloween Costume

Part one on '2 Moms and a Blog' special Halloween series! 
*NO SEWING MACHINE REQUIRED*

Post courtesy of Little Man and Me (www.littlemanandme2.blogspot.com)


Halloween of 2010 my son was only 1 and it was difficult finding a cute little Halloween costume for him that wouldn't break the bank. I also didn't want something that would just be worn once and tossed away. So I came up with the Spotted Puppy Costume! In all it cost around $10 bucks. $8 for the hoodie and $2 for the felt. We had the other supplies on hand. It was really super simple. Considering that I have ZERO sewing skills and if possible much less patience. It was quick, inexpensive and super cute. And 2 years later my son still has the costume and wears it around the house! Here is how me and my husband together made this costume...


You will need an over-sized hoodie, felt squares in coordinating colors, needle, thread, scissors and fabric glue.

Step 1) Cut off the arms of the hoodie at shoulder seams (save them, you'll need them!).
 
Step 2) Cut different sized circles out of the felt squares (save the scrap felt, you'll need it!).
Step 3) Using the left over pieces from one of the arms of the hoodie, trace and cut out 4 puppy dog ears.
Step 4) Take two of the pieces of ears you just cut out and sew them together leaving the bottom open. Then stuff them using some of the left over felt scraps and sew to the hood of the jacket.
Step 5) Glue the felt circles onto the jacket to make spots. 
Step 6) Roll up the other arm sleeve and attach to the jacket as the tail of the puppy.
The results:
Absolutely adorable! When I took him to a Halloween festival that weekend we got so many compliments on the costume. It was simple, not over the top for a child his age and he was comfortable. The possibilities are endless with the over-sized hoodie idea. So keep an eye on the blog for more ideas to come soon! And be sure to check back for more in our special series of posts leading up to Halloween! 

~ Miranda


Sunday, September 2, 2012

Small Apartment 'Mud Room'


Recently my family downgraded from a 3 bedroom house to a 2 bedroom apartment. One of the biggest challenges, especially when you have kids, is the lack of an entryway to put your shoes and bags. This is how I solved my problem:


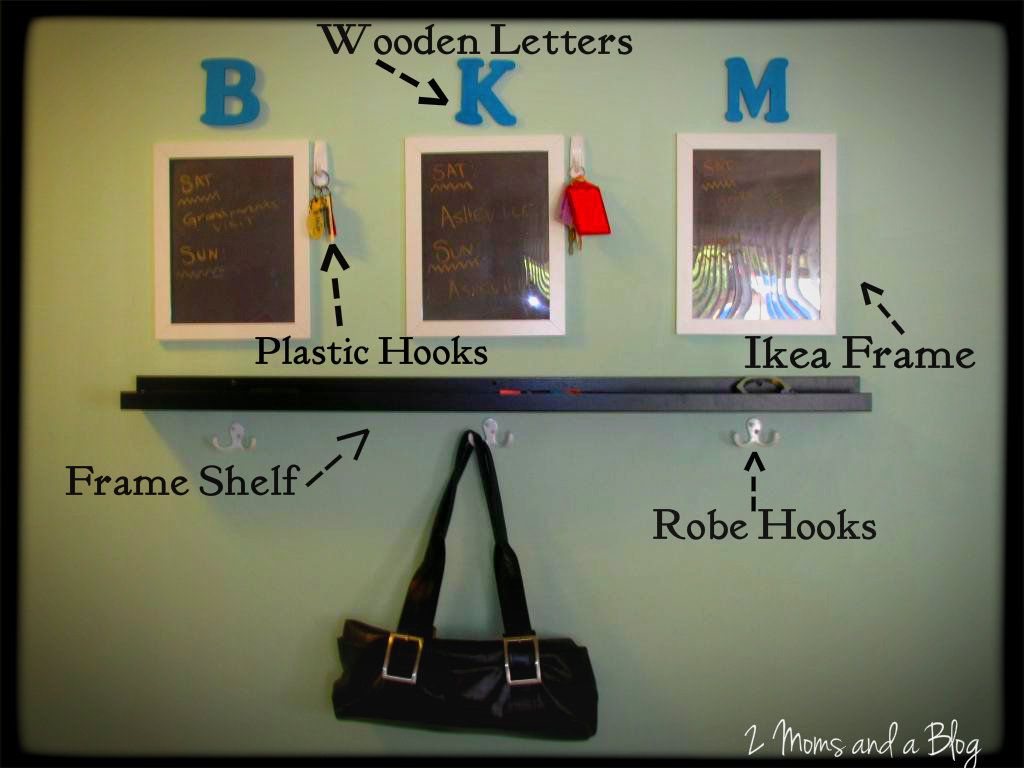
*First I got frames from Ikea for $1.99 each! http://www.ikea.com/us/en/catalog/products/80188456/
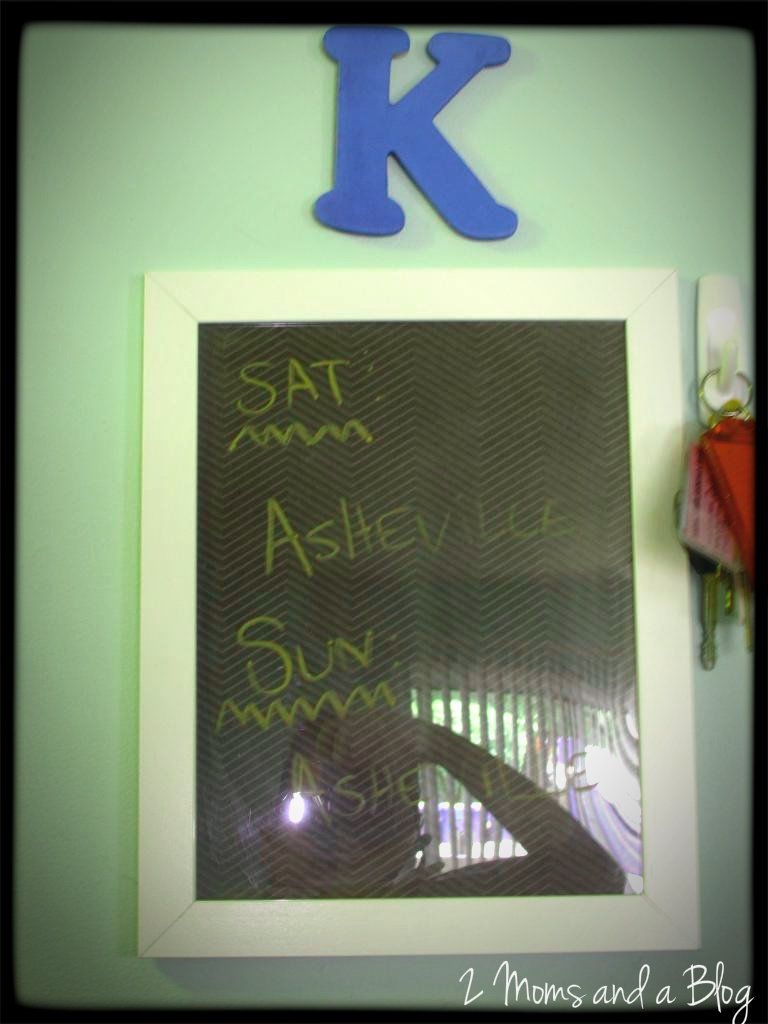
I used these as dry erase calendars for the family to remind them of upcoming events. They're perfect for dry erase boards because their plexi and not glass. Instead of putting a picture inside, I used dark scrapbook paper so my dry erase markers would stand out. It's hard to see but it's really cool paper with a light chevron design. Finally I wanted some cool colors so I got a pack of neon dry erase markers from Target.


*To mark who had which calendar, I got wooden letters from Michael's and painted them the color of my choice. For easy removal, I put them on the wall with velcro.

*For our key's I used reusable plastic hooks with double sided tape. These are perfect for apartments because they don't destroy the wall!

*I used 3 Robe Hooks that I found at Target for hanging up belongings like diaper bags and purses. I chose robe hooks because they hold 2 items per hook and are also meant for heavier things.

*AND finally my husband has to have somewhere to put his phones and wallet so I purchased a frame shelf from Ikea. It's perfect for small things because it's like a shelf with a lip at the the end so nothing falls off and it's not too deep :)


That's it! Not a lot really and it's completely transformed the way we organize our things we we come in. For shoes, which are our biggest clutter issue in our house, just put a basket or boot holder on the floor beneath!

Happy Crafting!

-Kelsey

Rainy Day Movie

I'm so happy to be back blogging. School/Pre-school/General Craziness is now back in session and things have calmed down a bit for us to start blogging away again!

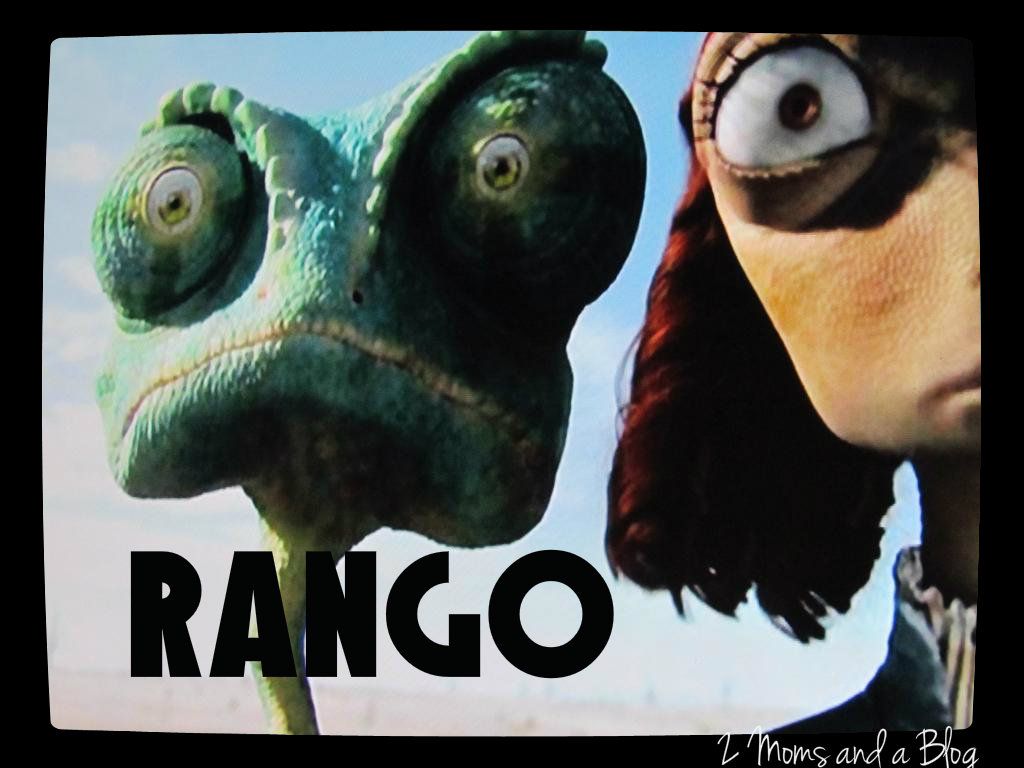
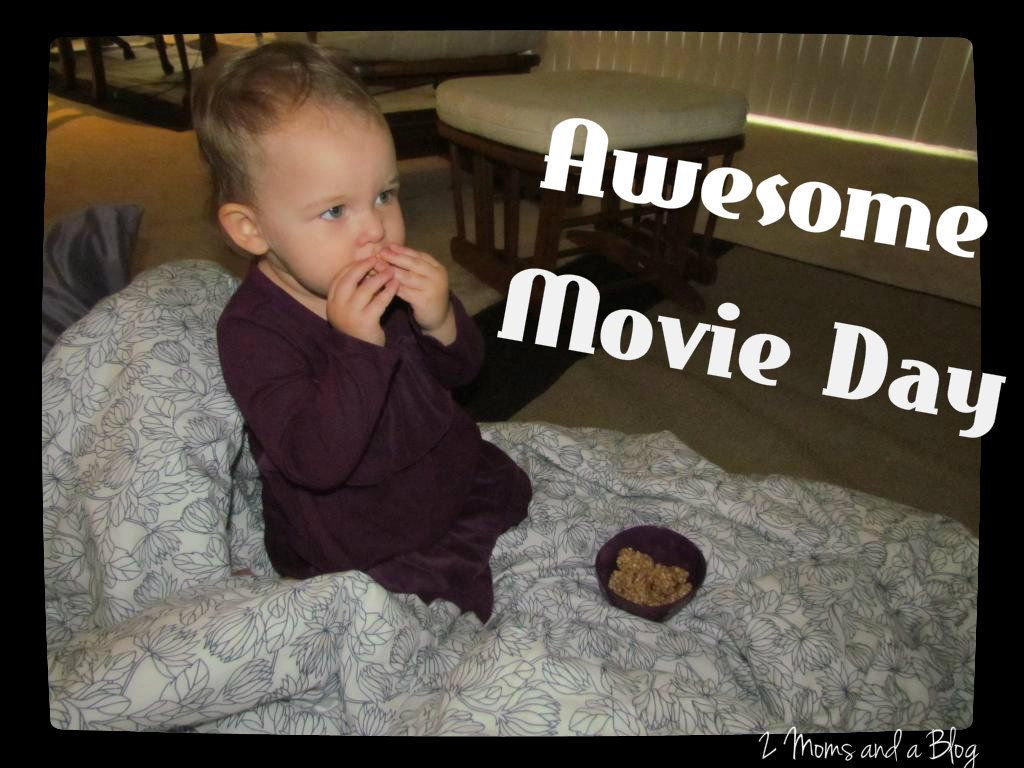
Have you ever made a promise to your child about going to the park or pool or any other outside activity only to have it start pouring down rain the second you're about to go out the door? Yeah, me too. Well with some quick thinking I was able to distract the little one from the disappointment of a cancelled playdate with a movie day!


I found a movie she's never seen before on Netflix ($8 a month and a real lifesaver!) or you could find one at a local Redbox ($1.50).


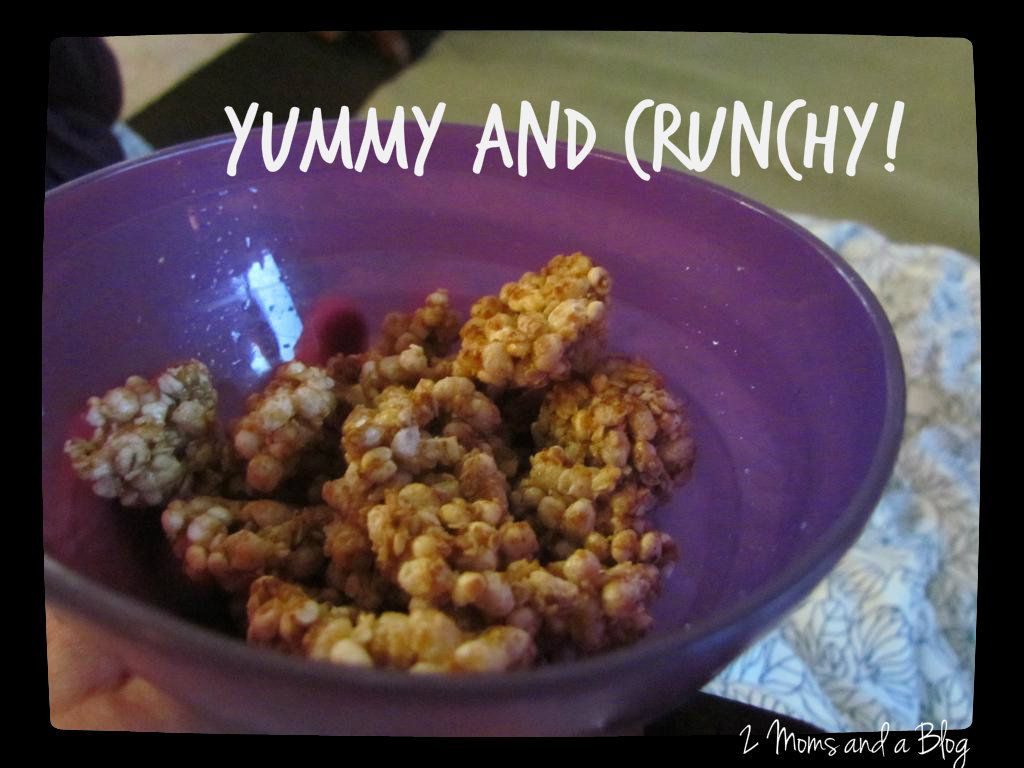
Now, my little one can't have popcorn yet but there's this really cool rice treat by Plum Organics called 'Crunch 'Ola' and she loves it! It crunches just like popcorn so I thought it would be a fun substitute. 


Last but not least we turned off the lights and threw down some pillows and blankets to lounge on. It was so much fun! Almost like a sleep over and the little one thought it was so special.

Enjoy and Happy Crafting!
-Kelsey

Sunday, August 5, 2012

super easy DIY kids shoe storage

My son has this problem. Too many toys. My son has been blessed with toys since he was little, but he doesn't like to part with any of them. So we are always left with finding places to put his toys so the house doesn't look as cluttered. In an effort to utilize his closet for toy storage I had to figure out a way to get his shoes off the floor. I would use an over the door shoe holder, but some of those do not hang low enough for him to reach. Plus I would rather use something we already have to save money. 
So this is what I came up with. 


I took some unused baskets and hung them up on the inside of his closet. By hanging them on the side he can use the inside of the basket as well as the top. Make sure the nails you use are heavy enough to hold the shoes!

Super easy, cost me nothing and the baskets are low enough so my toddler can pick out his shoes. And it may not seem like just by getting rid of shoes on the floor it would clear up space but, boy oh boy it really did!

And if you want to really jazz up the baskets line the back with scrapbook paper. 


~ Miranda

Sunday, July 8, 2012

Nap Time Library Bag Tutorial- Guest post

The following post was submitted by Shannon with Sweet Panda Boutique.


Hello readers! My name is Shannon, WAHM behind Sweet Panda Boutique (Sweet Panda Boutique ). I'm delighted to be guest blogging for my new friends, Miranda and Kelsey.

My daughter and I went to story time at the local library last week, and saw some kiddos with super cute library totes! What a great idea. Totes give preschoolers ownership over their responsibility to take care of and return their borrowed books. When the books live in the tote, it's easy to keep them separate from a home library as well. Of course, it's also an excuse to use some cute fabric, or up-cycle an item that isn't getting much love. This tote came from curtains that no longer match my daughters décor.

I named this tote “Nap Time Library Bag”, because it can be reasonably sewn in under an hour (unless you rip a lot of seams like I do during experiments). A beginning sewer can make this bag, so give it a shot! Bear with me, it's my first tutorial and original design.


The Nap Time Library Bag

Supplies:
  • 1/3 yard of an inner fabric (woven cottons work nicely)
  • 1/3 yard of an outer fabric
  • Coordinating thread
  • Double Fold Bias tape for outer pocket (optional) Length = 1 width of your chosen bag size.
  • Fusible interfacing (1/3 yard, optional) (I used interfacing to make the bag a bit more stiff, but your bag will work fine without it. My bag has a front pocket, and you can choose to omit or include that as well.)
Step 1: Wash, dry, and iron your fabric. This is always good to do, as finished items wont shrink when washed, and you'll get rid of the nasty chemicals from fabric production.

Step 2: Cut your fabric. You may choose sizing based upon your needs. I wanted my toddler to be able to handle the bag, so it is small. You can modify and make the straps longer if you choose as well.


Cut 2 for outer, 10 x 12

2 for inner, 10 x 12

2 strips for straps, 3 x 12
Cut 2 pieces of interfacing, 9.5 x 11.5
If including the pocket:
1 length Bias tape, 10 inches
1 pocket outer piece, 10 x 7
1 pocket inner piece, 10 x 7
Fuse the interfacing to the outer fabric pieces per manufacturers instructions. Leaving 1/4” of fabric on each edge


Step 3: Sew the straps. Fold the strips lengthwise and iron. Using a 1/4” seam allowance, sew up the raw edge, end to end. Don't forget to backstitch when you start and stop. Turn inside out, and iron again. Now topstitch 1/4” from both sides, creating a finished strap. Repeat for 2nd strap and set aside.


Step 4: Prepare the pocket (if you aren't using a pocket, go to step 5). Place your inner and outer pocket pieces together, right sides out. Choose a 10” edge and slide bias tape over it. If you look at the tap, on side will be slightly shorter than the other. Put the shorter side in front, where you'll be stitching. Pin in place. Straight stitch near the fold on the bias tape, catching the other side as you stitch. This finishes the top seam of your pocket.

Step 5: Sew your outer shell. If using a pocket, pin the pocket piece to the bottom of your front fabric piece. Make sure the pocket raw edges line up with the outer raw edges. Your finished edge will cross the center of the piece. Pin the back outer piece to the front piece, right sides together. Start sewing from the top left corner to the bottom left corner, using a 1/4” seam allowance. Put your needle down 1/4” from the end, lift the presser foot and turn fabric 90 degrees. Continue sewing across the bottom, turn at corner, and finish at the top right corner. Be sure to leave the top open. Clip the bottom corners. Finish with zig zag stitch or serger.

Step 6: Repeat step 5 for the inner lining pieces.


Step 7: Using 1/8” seam allowance, stitch the straps to the inner lining. Take one strap piece, pin one edge 1.5” from the seam, and the the other edge of the same strap 1.5” from the opposite seam. Be sure the strap is not twisted, and the raw edges from the strap and inner piece match up. Do the same for the 2nd strap on the 2nd lining piece.


Step 8: Sew the inner and outer bags together! Turn the lining bag right side out and the outer bag wrong side out. Place the inner bag inside of the out bag. Right sides will match up. Pin at the side seams to ensure they match. You will need to leave a 2-3” hole to turn the bag when finished. Start sewing with a 1/4” seam allowance at the inside edge of 1 back strap. Continue all the way around the top of the bag until the inside edge of the other back strap. Back stitch. This will leave and open seam at the center back.

Step 9: Turn bag and iron. Using the open edge, pull the bag through until your fabric is right side out. Your project now resembles a bag! Line up the top seams and iron around the opening for easy top stitching. At the opening, turn the raw edges in and iron so they mimic the sewn seams.

Step 10: Top stitch. I like to start at the beginning of the open seam to get that out of the way. Sew across that seam with a 1/8” seam allowance and continue all the way around the top of the bag. Back stitch at beginning and end.

You now have an adorable tote for your kiddo to carry his/her library books in!

Sunday, July 1, 2012

Firecracker crayons! Easy kid craft to celebrate the 4th of July!


This is a super easy, fun and frugal way for your kids to celebrate the 4th of July. Chances are you already have everything on hand to make these little firecracker crayon cuties!


You will want to start by peeling the paper off some crayons breaking them up and putting them in a microwave safe bowl. This is where the kids can help. My little guy had a blast peeling the crayons and even more fun breaking up the crayons. With each little snap he giggled and said "YAY!". 

*fact- snacking while crafting makes it even more fun!*

Save the paper from the crayons! You never know when you may need them or find a fun craft or project you can use them for!

After peeling and breaking up all the crayons put the bowl into the microwave. Microwave for 1 minute or 1 1/2 minutes and stir (I used a wooden skewer). Continue this process until the crayons have melted. Please don't forget to use an oven mit while handling the bowl. The melted crayons are hot and the bowl is too. It's best that the parents be in charge of this process while the kids watch.

Here is a chance to get creative. While the crayons were melting I used a knife and shaved some red, white and blue crayons into the mold to add extra spark since these are firecracker crayons. 

After the crayons have melted, and while using an oven mit- pour the mix into your mold. And don't worry if some of the mix pour over like this...
Just quickly use another stirrer to scrape away the overflow before it hardens.

Now you wait for the crayons to harden. This amount of time depends on the size of the molds. You can always put them in the freezer to speed up the process. It took ours a couple of hours. How you want to spend that time is totally up to you, but...

Once the crayons are hardened pop them out of the mold. Your kids can help with this, as long as you are sure they are completely cooled!

End result-


These would also be a fun idea as home made gifts. With the large variety of molds these days your possibilities are endless! 

HAPPY 4TH OF JULY!

~ Miranda