
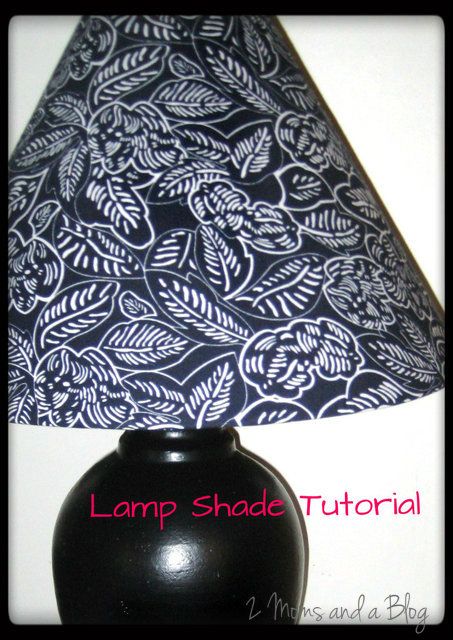
My little family is currently moving so we're (should I say 'me'?) trying to update our new home without breaking the budget. Now, I picked out a color scheme for my new bedroom that I loved but nothing I already owned worked with my new ideal colors! Would I need to go buy all new things!? I don't think I could convince the frugal hubby that was a necessity so it was time to get crafty. Never fear, lamp shade tutorial is here:
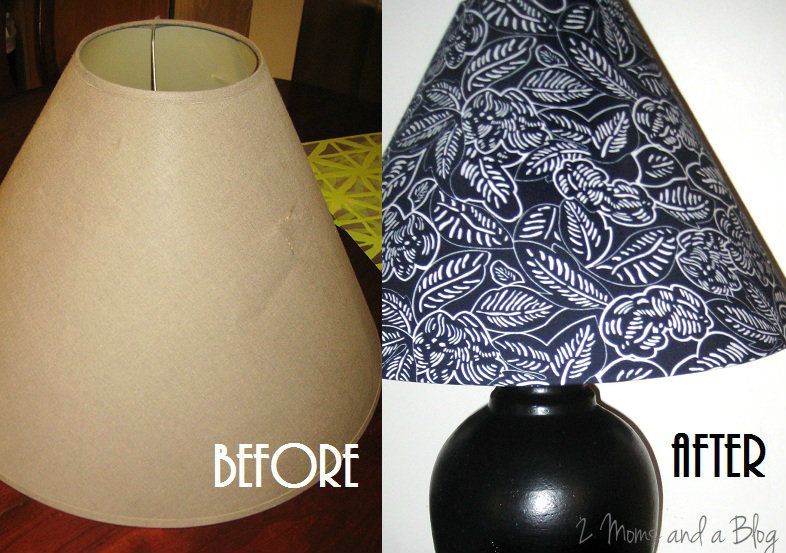
I found this scruffy looking lamp shade/lamp base (a matching set, actually) for $5 which was a total steal because they were just ugly not broken. I then went to my local fabric store which happened to be Joann's and found the perfect fabric for my new bedroom. Now, these lamp shades are large so to be on the safe side I got them to cut 1 1/2 yards.
If I had a drum shade, which is a perfect circle, I could just wrap the fabric around the lamp shade and glue but I have a classic lamp shade and that's a more complex shape.
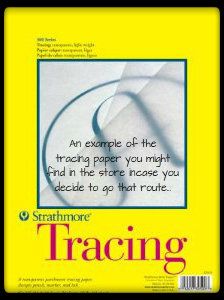
What I did is made a pattern with tracing paper and it's easier than it sounds:
1. Take tracing paper (OR any paper that can bee seen through like newspaper) and lay it against the lampshade and tape with scotch tape.
2. Keep taping tracing paper all the way around the shade until it is completely covered.
3. Make sure to tape all of the pieces together so when you pull them off it's all in one piece
4. Take a marker and trace the edges of the lamp, top & bottom.
5. Carefully pull the tracing paper off and secure further with tape if needed.
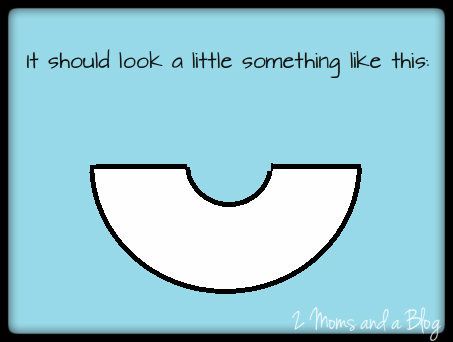
6. Cut out the pattern but cut and inch or two outside of the lines to give some lee-way.
Phew! That was a lot of explaining!
Now what you should have is a semi-circle:
Ok, now all that's left to do is warm up the hot glue gun (fabric glue would work just as well) and pin your pattern to your fabric.
After pinned, cut it out and adhere it to the lamp shade with your glue of choice, making sure to leave a little overlap of fabric on top and bottom so that you may fold it over the shade for a clean edge.
*You may not line the fabric up correctly at first or need to get out some wrinkles, in other words, it's perfectly normal to do some adjusting. I know I did!*
Here is my finished product:
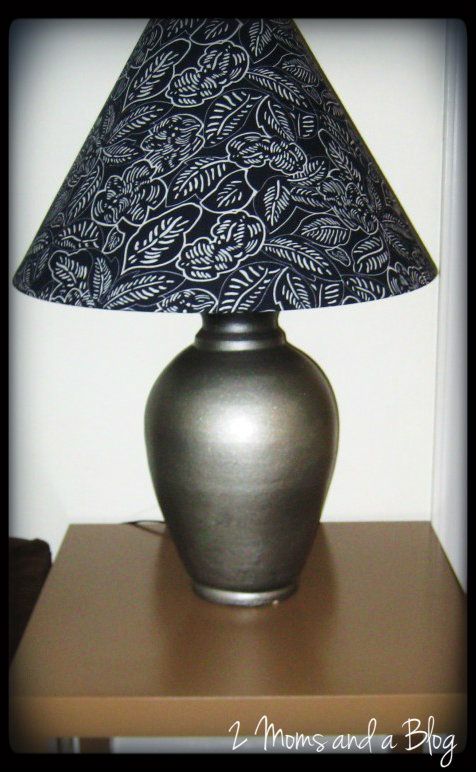
I spray painted the lamp too! It's 'Rustoleum Metallic: Satin Nickel'
Happy Crafting Y'all!
-Kelsey
No comments:
Post a Comment