Easter isn't always about the kiddos, sometimes we show our love to a spouse by making a special Easter basket. Here's some ideas for the special man in your life this Easter:
-Ties
Fun ones, serious ones or holiday ones, most men appreciate a new tie. Ties are great to roll up and put in an Easter egg too!
-Beer
Maybe instead of Easter eggs the bunny left something a little more suited to your honey's taste? Individual beer bottles placed here and there in his basket will make him smile wide (especially since most stores are closed on Easter!)
-Bottle Opener
How else are you gonna open all that beer? There are so many cool options for beer openers especially if you've got a nerd for a sweetheart!
-Book
Buy him the next book in his favorite series (Game of Thrones, anyone?). Or one he's been drooling over for a while. If he's an electronic reader then maybe a gift card instead.
-Video Game
Speaking of entertainment... the new Army of Two came out just in time for Easter!
-Jewelry or Watch
You can even go big with his basket and slip a new watch (pocket watches are coming back!) or his choice of jewelry into an Easter egg. I bet he'd never expect it.
-Giant Candy!
What guy wouldn't like this?! Find it at Vat19.com
And last but not least:
-Coffee Mug
Get it personalized or nerded out, whatever the mug, just know that he'll never let you use it!
Happy Easter!
-Kelsey
Showing posts with label funny. Show all posts
Tuesday, March 26, 2013
Wednesday, March 20, 2013
Simple, Adorable Cotton Candy Easter Cake *frugal alert!*
I had to redeem myself after my pastel colored deviled eggs incident. I thought the best way to do that was with a cake, a treat for everyone! This one was super easy, and super frugal! May I present... cotton candy Easter cake-
I am no baker. Store bought cake mix is usually my go to and was in this case. Here is what I used to make this little cutie...
I decided to make the batter purple, mixing blue and red food coloring, this part is up to you. I just like purple, it's such a spring-y color!
Happy First Day of Spring! ~ Miranda
I am no baker. Store bought cake mix is usually my go to and was in this case. Here is what I used to make this little cutie...
I got all ingredients at Walmart. Gotta admit, I haven't seem little icing decorations for cakes like this in years so I picked up a pack.
So I got to mixing, all the while my 3 year old is at my feet asking if the birthday cake was for him. "Where are my balloons?", "I want Spiderman party!". My explanation of this being an Easter cake for everyone went unheard.
I decided to make the batter purple, mixing blue and red food coloring, this part is up to you. I just like purple, it's such a spring-y color!
So just follow the instructions on your cake mix, and let it cool after it's finished baking. In the mean time I mixed up my cotton candy frosting creation! *Note- I had never used this before. It's a good idea to not have your face anywhere near the container of frosting when you begin to mix, the power from the flavor mix pack just exploded everywhere and covered me!*
So after the cake cooled I got to frosting. I am not a good at this step.. don't expect a cake from me to look professional in anyway! :)
The I put the little bunnies around the cake, my little guy was yelling with glee "The bunnies are dancing around the cake!".
Finished product...
Little Man was trying to sneak some frosting... and then tried to bribe me with kisses for a piece of cake.
So of course I caved in a gave him a piece.
Sunday, March 17, 2013
Just cause it ain't pretty, don't mean it ain't yummy!
So the colored deviled eggs seem to be pretty popular on Pinterest right now with Easter coming right up. I decided to try my hand at it this evening.
Here is my FAILED attempt at this project, and what I learned along the way.
First off, I found a new method (find detailed directions here) for making hard boiled eggs so to avoid getting that grayish/blueish ring around the yolk. It was pretty simple starting off.
Get your eggs out and find a tack. Now poke a hole into the shell of the egg on the bigger end, but don't go too deep.
I moved onto the dying of the eggs. Sigh... I thought this would be easy peasy. Not so much. I dropped a half an egg into the pink water and waited a minute them removed. No color. Tried again... still no color. So avoid my mistake of only putting in a few drops of food coloring... seems to me you need a lot for this project. So I put some more drops of food coloring in and dropped the egg in... whoops- I forgot to stir the water! Misstep #2. Now that I had color (albeit not as smooth as I wanted) showing up after pulling them out of the colored water I put them on a paper towel to rest and dry. BIG MISTAKE. The paper towel weaving was imprinted onto my eggs! So this was my misstep #3.
Here is my FAILED attempt at this project, and what I learned along the way.
First off, I found a new method (find detailed directions here) for making hard boiled eggs so to avoid getting that grayish/blueish ring around the yolk. It was pretty simple starting off.
Get your eggs out and find a tack. Now poke a hole into the shell of the egg on the bigger end, but don't go too deep.
Now put your eggs in a pot and cover with cold water, put on stove and bring to a boil. Once water is boiling lower the heat to a low boil and let it go for 10 minutes.
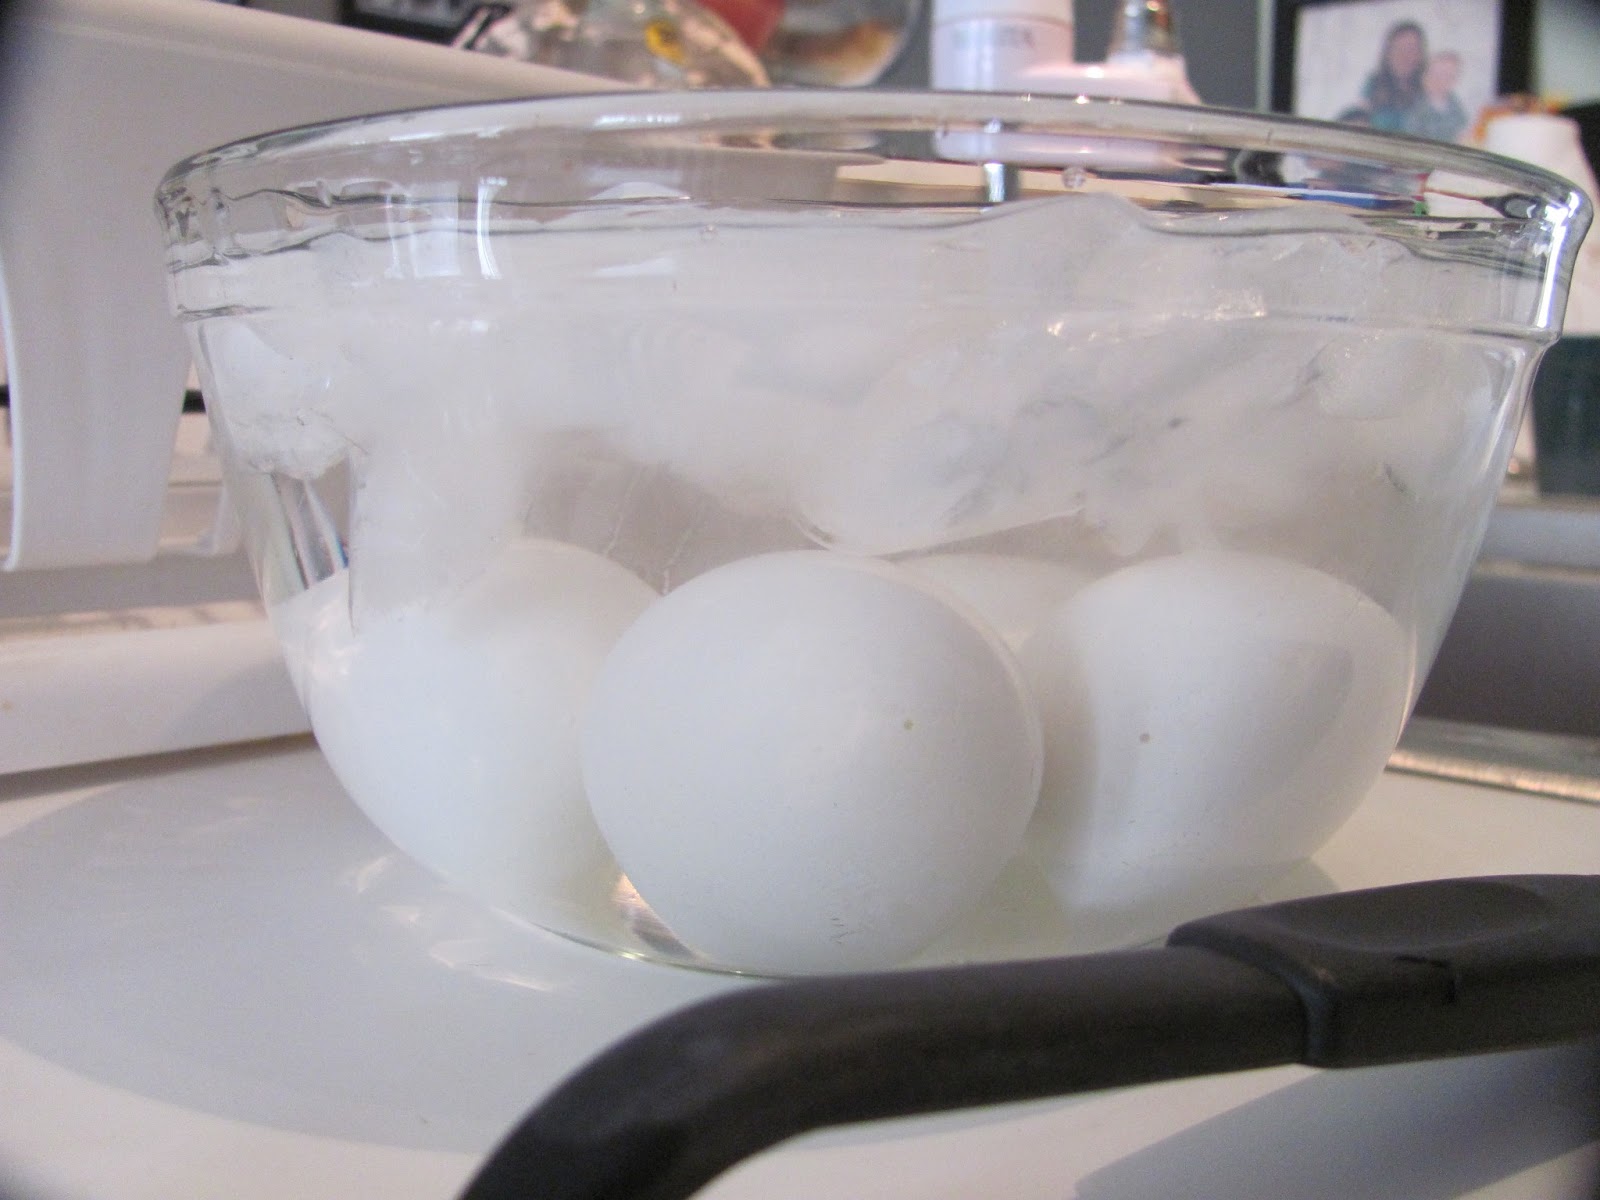
As soon as the 10 minutes are up using a slotted spoon immediately put the eggs into a bowl of ice water. Let them sit until cool.*** Please keep reading to find my experience and advice with this last step***
While the eggs were cooling I got a couple of bowls of water out and put a few drops of red food coloring into one, and then red and blue into the other to make a light purple. Once the eggs were cooled I proceeded to ATTEMPT to remove the shell. This was quite a task. Usually my hard boiled eggs are easy to peel, but I think putting them in the ice water made it more difficult. The shells broke off into tiny pieces and took chunks of the actual egg with them. So next time I attempt this, I will skip the ice water. This was my misstep #1.
So after seeing how gnarly my eggs looked, I thought about nixing this whole thing. But I didn't want to waste perfectly good food just because it didn't look appealing. So I cut them in half and was pleasantly surprised at how brightly yellow the yolks were! No grayish/blueish rings! The insides were perfect. I think I'll stick to the method of putting a hole in the egg before boiling from now on! So I scooped out the yolks and put them in a bowl to mix up later.
So after sighing and griping about what I thought would be an easy project I got to mixing up the filling for the eggs. My recipe is simple. A dollop of mayo, small drop of mustard, sprinkle of paprika and pepper and super yummy deliciousness ensues. I put the mix back into my weird looking eggs.
So here is my finished project on pastel colored deviled eggs.
Not exactly the picture perfect plate floating around on Pinterest. But they were yummy!
So here is what I learned...
*In my experience peeling an egg that is a bit warmer will probably guarantee a cleaner break in shell, making for a nice looking egg.
*You need more than a few drops to dye a hard boiled egg!
*Don't let your eggs rest on a paper towel after dying them, put them on a plate!
*Just because it ain't pretty don't mean it ain't yummy!
This is not my last attempt at you, pastel colored deviled eggs! I will try and try again, feeding my husband as many of you little suckers as I can until I have perfected you. Or until he tells me his stomach can't take anymore.
~ Miranda
Subscribe to:
Posts (Atom)