Showing posts with label easy. Show all posts

Tuesday, October 22, 2013

Homemade Bagel Bites Recipe


This was the biggest 'duh' moment in money saving, recipe making I've had in a long time. If you are like me you will do anything to save a buck. And that means making as many meals homemade instead of buying the expensive store brand. Case in point bagel bites. Yum, I remember these scrumptious little bites of cheese/pepperoni/bagel heaven from my teen years. Only recently I started to crave them again and was appalled at how expensive they were. So instead I went the homemade route. And boy did the yummy memories come back! These things are so good, easy to make and super cheap! DUH! Why didn't I think to just make them myself sooner!

It's pretty easy to figure out how to make these. But here is a step by step guide anyway! 


You'll need:

Bagels (I used the mini ones for this).
Pizza sauce, feel free to make your own but I used pre-made.
Mozzarella cheese, but get creative! Try out some different recipes!
Toppings, I used pepperoni.

I started out by preheating the oven to 400. Then I lined a baking sheet with some foil and sprayed a little nonstick cooking spray. 

Lay out the bagels and spread a little pizza sauce on each one. Then sprinkle your cheese on top.


Then place your toppings on the bagels.


Then pop them in the oven. It only took about 10 minutes until the cheese was nice and bubbly, but ovens differ so keep a close eye on yours!


mmmmmmmmmmmmmmmmmmmm. Pizza on a bagel. And kid approved, my recently turned 4 year old LOVES these! This would also be awesome for little ones to make themselves (up until the oven portion of course). Let them spread the sauce, sprinkle the cheese and put on the toppings. Kids love being able to cook for themselves! 

Happy Cookin' y'all! ~ Miranda 

Friday, October 18, 2013

Ridiculously easy Halloween Garland for kids


This little Halloween garland is so ridiculously easy. I just gave my 4 year old all the supplies and let him have at it. Here is what you need for this simple decoration:

- Construction paper *we went with orange, black and green*
- Markers or crayon
- Scissors
- Glue or tape
- String

So first let you kiddos cut out some pumpkin shapes. 


Then draw some pumpkin faces on them. This was the only part I really helped with. 


Hey look, a Miley pumpkin! (hehe)

Then have the kiddos use the green paper to cut out some stems for the pumpkins. Have them glue on each side of the top of the pumpkin so there is an opening left on the stem to fish the string through. 


And voila. That's it. Just fish the string through the stems and hang it where you please. Easy peasy! 


Happy Haunting! ~ Miranda

Friday, April 5, 2013

Easy DIY Lava Lamp

Ah, Lava Lamps. I remember when I was about 12 years old I had a few friends who had these and begged for one of my own. But, alas, it wasn't meant to be!
Until now!


Special thanks to this site for the idea, check it out for other great experiments to do with your kids!

This was so easy to make... here is how you and your kids can make one of your own...

You'll need:
*Clear plastic bottle
*Water
*Vegetable oil
*Food coloring
*Alka-seltzer tablet

Start by filling up your water bottle about a quarter full of water, then the rest with vegetable oil. After a minute drop in your food coloring. 


Then break up your tablet of alka-seltzer and drop in a piece. Watch your kids faces light up as they see this start to happen... 


Check it out in action!

Have fun!~ Miranda


Friday, March 29, 2013

Bunny Butt Cupcakes... so easy to make!


I have been a baking fool lately, and I have to admit... it's been fun! These little cuties were so easy to make and it cracks me up to hear my little guy ask for a bunny butt cupcake! 

Here is how to make these fun treats... 


After your cupcakes have cooled completely frost them white. After doing so cut up some marshmallows into a tail and 2 feet for each cupcake and place accordingly. The should stick with the frosting. 

Now with your pink frosting (I just put a dollop in a bowl with a drop or 2 of red food coloring for this part) use a toothpick to draw the details on the feet.


And that's it. Wasn't that easy? And cute as a bunny button too I might add! 


Enjoy~ Miranda

Thursday, March 28, 2013

Door step Bunny drop, last minute Easter fun!


"Some Bunny" loves you! Who doesn't like to feel the love every now and then from friends? What what better way than with a door step bunny drop? I found these cute little felt bunny baskets for $1.00 at Target today. Aren't they cute? I also picked up 2 small containers of Hello Kitty bubbles for $1.00 total. Threw in some Easter basket grass, along with plastic eggs filled with goodies like candy and peeps. Then put a note inside saying "Some Bunny Loves You" and dropped it at some neighbor's door steps. 

What a cute, easy quick way to let someone know you are thinking about them this Easter, and really fun for the kids too!

~ Miranda

Tuesday, March 26, 2013

A Very Manly Easter Basket

Easter isn't always about the kiddos, sometimes we show our love to a spouse by making a special Easter basket. Here's some ideas for the special man in your life this Easter:

-Ties
 Fun ones, serious ones or holiday ones, most men appreciate a new tie. Ties are great to roll up and put in an Easter egg too!

-Beer
Maybe instead of Easter eggs the bunny left something a little more suited to your honey's taste? Individual beer bottles placed here and there in his basket will make him smile wide (especially since most stores are closed on Easter!)

-Bottle Opener


How else are you gonna open all that beer? There are so many cool options for beer openers especially if you've got a nerd for a sweetheart!


-Book
Buy him the next book in his favorite series (Game of Thrones, anyone?). Or one he's been drooling over for a while. If he's an electronic reader then maybe a gift card instead.

-Video Game
Speaking of entertainment... the new Army of Two came out just in time for Easter!

-Jewelry or Watch
You can even go big with his basket and slip a new watch (pocket watches are coming back!) or his choice of jewelry into an Easter egg. I bet he'd never expect it.

-Giant Candy!


What guy wouldn't like this?! Find it at Vat19.com


And last but not least:

-Coffee Mug
Get it personalized or nerded out, whatever the mug, just know that he'll never let you use it!


Happy Easter!
-Kelsey

Monday, March 18, 2013

Easter Fortune Eggs

Wow, can you believe it's almost Easter?! When time flies by this fast, It can be so easy to lose touch with those who are truly important in our lives. That's why I like to try to make every holiday a family event and that usually means a meal.

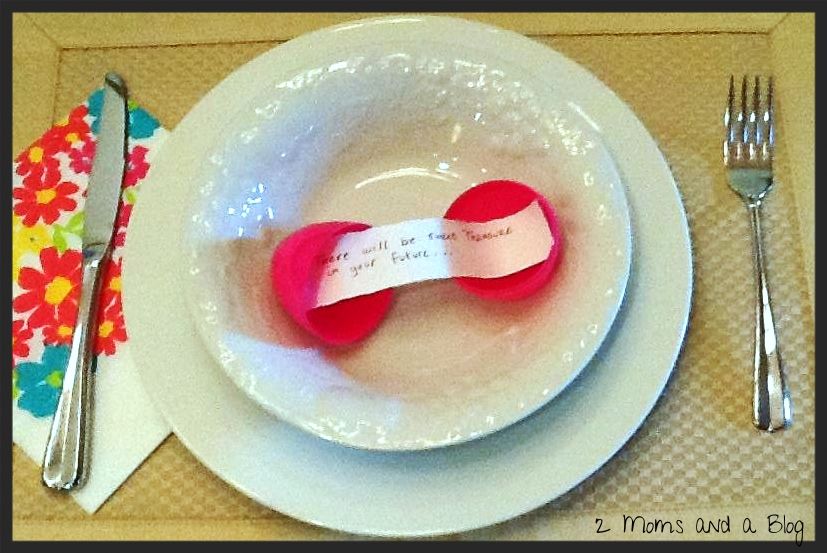
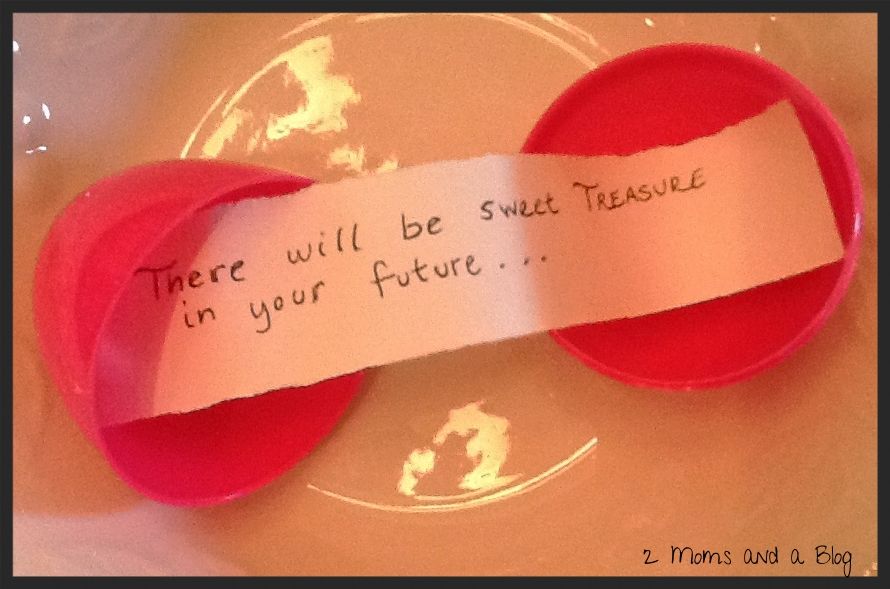
This Easter we are having a Pre-Egg Hunt brunch, in order to fill those bellies before the big chase. I wanted everyone to participate in the egg cracking so I decided to have an Easter fortune egg waiting on every plate.

It's can be as simple or elaborate a project as you like!

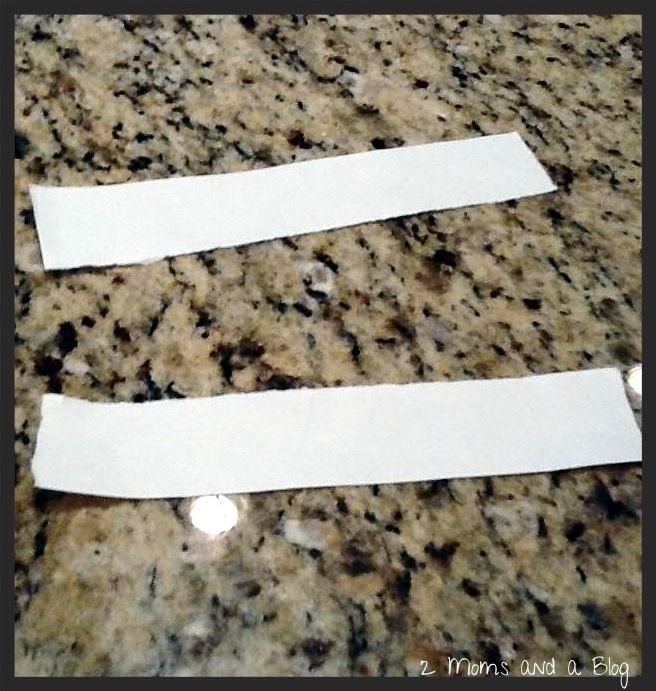
First start out with the fortunes. I used a heavier paper like construction or scrapbook paper because I wanted it to withstand any torture I might be putting it through in order to suit my needs ;)


There are many different ways you can cut or edge the strips of paper. I decided to forgo the scissors and use the 'fold, lick, rip' tactic in order to get an antique edge. You can also use the kid shape scissors that will give it a ziz zag or scallop edge.


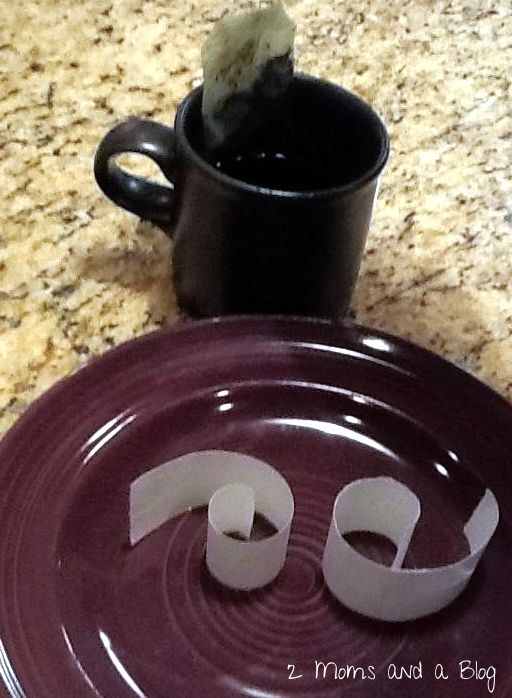
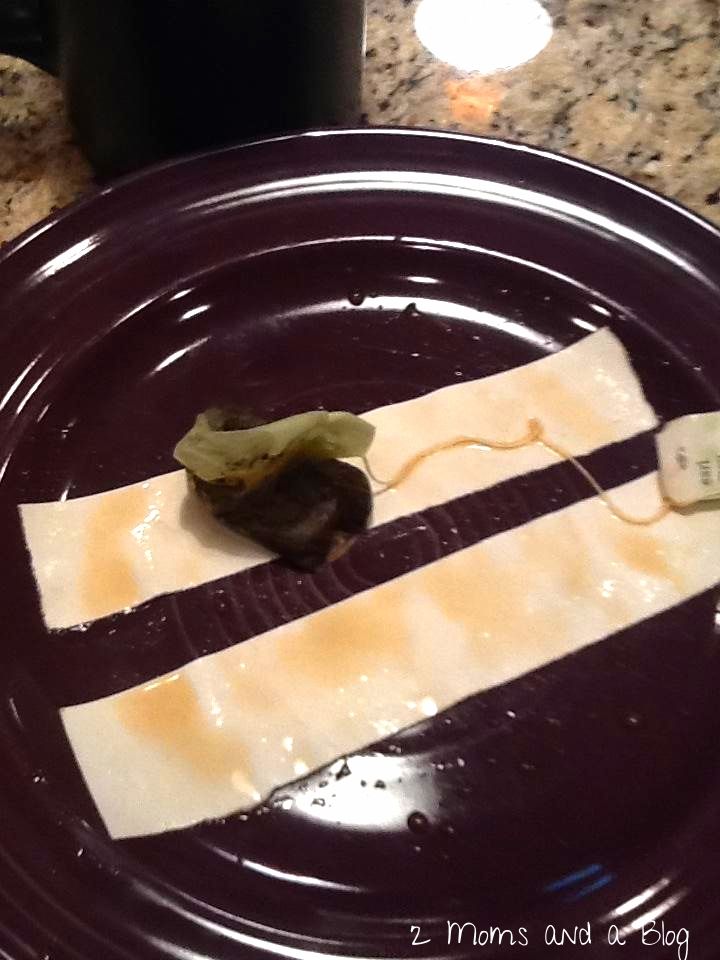
You can also antique the paper with tea staining, just be sure to let the paper dry completely before writing anything on it. This would be really cute if you decide to put a bible verse instead of a fortune for a post-Church brunch!


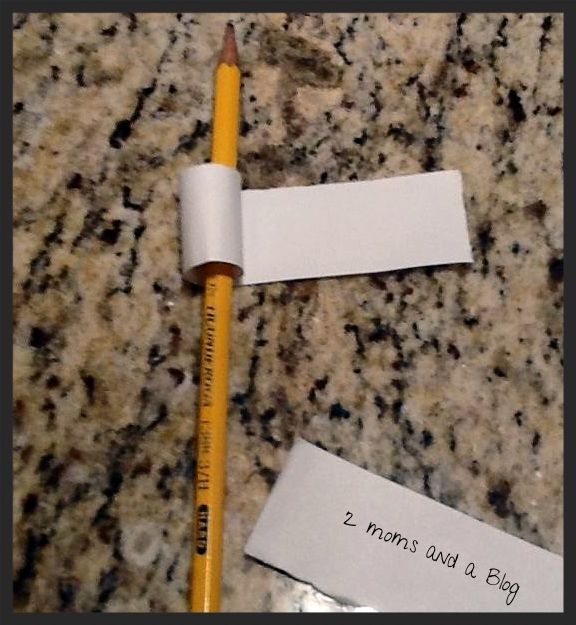
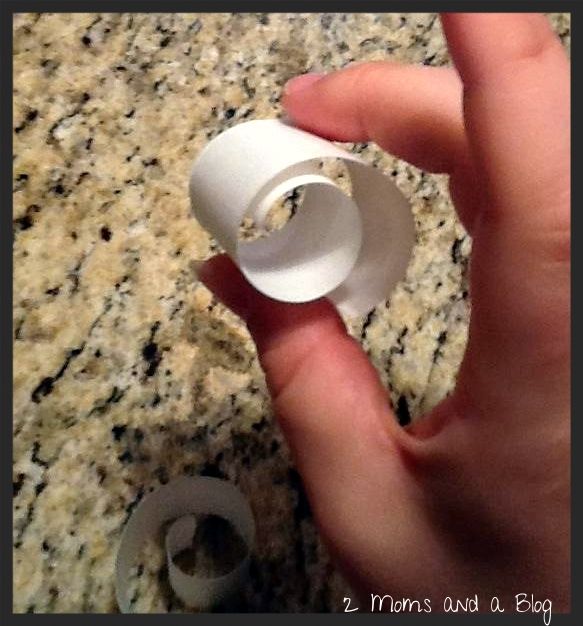
Now, for the paper to fit nicely into the egg, just roll it up! It turns out well if you wrap it around something like a pencil or pen.

I bought a few eggstra (haha) packages of plastic Easter eggs this year just knowing that I'd use them for some project or another for the holiday and here it is!


Have fun with this! Break out your stamps or paper punches! It's easy and cute and can fit any theme.

Happy Crafting!
-Kelsey

Monday, March 11, 2013

5 Minute, $5.00 St. Patty's Day Wreath


Does anyone else think this year is just going by way too quickly? I just realized that St. Patty's day is coming up, and Easter is right after that! Wow, time is FLYING BY!

Anyway, I wanted to put up a wreath for St. Patty's Day, but seeing as it was only going to be up for a short amount of time and I didn't really have any craft funds I had to force myself to get simple and cheap. But that's always a good thing in my book! So here we have a 5 Minute, $5.00 St. Patty's Day Wreath.

Here is what you will need:
*straw wreath (I purchased this from Walmart for under $4.00)
*green streamer (I purchased from the dollar store for $1.00)
*floral pins (like these that I used when making the birthday wreath, so I had on hand)
Birthday Wreath Tutorial
*bright green card stock (I had on hand)
*pipe cleaner (I had on hand, or use whatever method of wreath hanging you like!)

So I took the streamer and wrapped it around the wreath and secured it with tape. It looked like this. 

Then I secured the floral pins and pipe cleaner on the back so I could hang it on my front door.

Then I cut some clovers out of the bright green card stock and taped them to the wreath. I am lacking in the shape cutting skills, I am sure you will do an awesome job. Or if you have a chance to hit up the craft store pick up some wooden clovers, or a rainbow or little leprechaun! You can really get creative with this! Here is the finished product:

This took me only 5 minutes to make. It's not the most elaborate or special St. Patty's Day wreath, but it works for me!

Happy St. Patty's Day everyone- may the luck of the Irish be with you!
~ Miranda

Monday, February 11, 2013

Valentine Cupcakes with a surprise middle!


I absolutely love Valentine's Day. My thought has always been that on Valentine's Day, the homemade gifts and treats are much more meaningful. These little cupcakes are filled with a surprise middle and a marshmallow heart on top. Here is how I made these...

What you'll need:
2 boxes of cake mix and ingredients to make (two colors, or both white)
Food coloring
Marshmallow hearts (or other topper of your choice)
Cupcake liners
Toothpick
Frosting
Very small heart shaped cookie cutter

So I started out by cooking a box of strawberry cake mix in a regular square cake pan. Allowed it to cool and then using a small cookie cutter, cut out some hearts.


Now depending on how much your cake rose, you may need to cut these little hearts in half and make 2 out of one cut.

Next I prepared a batch of vanilla cake mix. I put some cupcake liners in my cupcake pan and dolloped a little bit of the vanilla cake mix in the middle of each liner. Then I took one of my strawberry hearts and placed it in the batter. Then I carefully spooned more of the vanilla batter over the top and around the sides. You want to be sure that the batter doesn't knock your heart over or out of place.


**IMPORTANT**
As you are placing in the hearts make sure they are all turned in the same direction. You will need to mark the batter in some way in the direction the heart is, so when people bite in the heart is facing them. I used a little red food coloring and dipped a toothpick in and put a dot facing the direction of the hearts.

I thought I would add that this was supposed to be a trail run and I was going to make a better version of this to post this week. But my son has come down with the horrible sickies and I don't think I'll be doing anymore baking this week. I should have pushed the hearts down more into the batter and covered them better. You'll see why in a moment. 

Now bake according to the box directions.

In the mean time get your frosting prepared. I used cream cheese  and tinted it with red food coloring. I don't have any of those fancy pastry bags, ziplock has been my friend when decorating cakes, cookies and cupcakes. One of the best tricks I've learned when putting frosting into a ziplock bag is to but the bag into a small cup then put the batter in. So much easier! Then just cut a little corner off the bottom for your frosting to come out of.

When your cupcakes are done cooking let them cool completely. Now before frosting, make sure you place the cupcake in front of you with the little red dot facing you.


Now frost away, and please be more creative than I was! I topped with a heart marshmallow facing in the direction the red dot was so people knew to bite into the cupcake that way. 

Here is the finished product.

Another with a pink marshmallow on top...

Now cut open to find the heart inside. And getting back to my note on needing to push the heart down better before baking, as you can see the very top of my heart was not showing well on this one. It came out good in some of the cupcakes, but I didn't want to cut open them all open at the same time.


This is great way to get different shapes inside a cupcake. If there is a cookie cutter small enough, it should work! Also a good idea for all those gender reveal cupcakes going around lately! 

Happy Valentine's Day- Miranda


Sunday, February 3, 2013

DIY Valentine Heart Craft for kids! So simple!


I got the inspiration for this versatile Valentine craft from Pinterest, in particular this post. 

What I loved about this idea is that it's easy for kids to do, and add their own style to each little heart. The end result can be a necklace, magnet, paper weight... whatever!

Here is what you'll need:
Start out by making a batch of craft dough, you can use our recipe found here- http://2momsandablog.blogspot.com/2012/06/craft-dough.html
Cookie cutters
A toothpick or skewer
Kid safe paint

After making the dough let the kids help roll it out very thin then use cookie cutters to cut out your hearts. If you want to make necklaces or something you can hang with ribbon make sure to poke a hole in the top of the heart. I used a wooden skewer. 
This part is fun for the kids!


Line your baking sheet with some parchment paper and bake at 300 degrees for about 40 minutes. You'll know they are ready when they are hard and beginning to brown a tiny bit on the top. 
Pull out of the oven and let cool. Then let your kids paint them however they want. 

One batch makes a lot of hearts, so this would be great for something your kids could hand out to their friends or family. 

Enjoy, Happy Valentine's Day!