Showing posts with label celebration. Show all posts

Monday, March 18, 2013

Easter Fortune Eggs

Wow, can you believe it's almost Easter?! When time flies by this fast, It can be so easy to lose touch with those who are truly important in our lives. That's why I like to try to make every holiday a family event and that usually means a meal.

This Easter we are having a Pre-Egg Hunt brunch, in order to fill those bellies before the big chase. I wanted everyone to participate in the egg cracking so I decided to have an Easter fortune egg waiting on every plate.

It's can be as simple or elaborate a project as you like!

First start out with the fortunes. I used a heavier paper like construction or scrapbook paper because I wanted it to withstand any torture I might be putting it through in order to suit my needs ;)
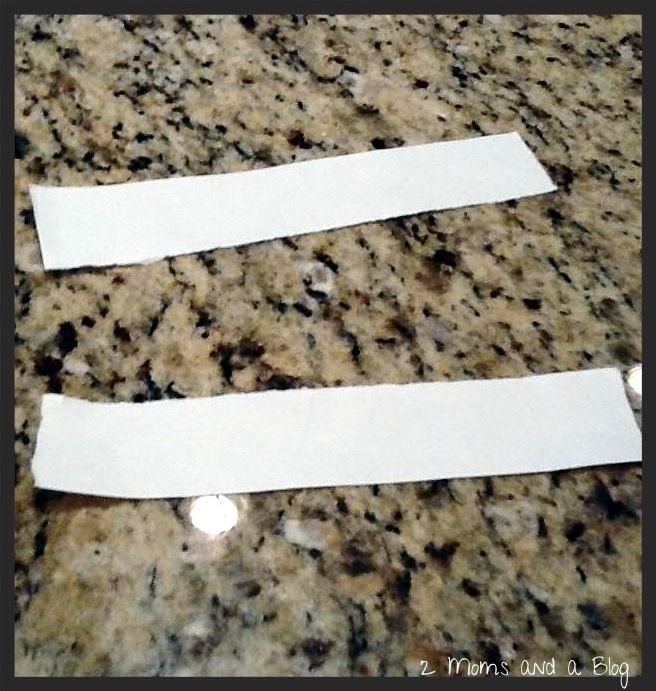

There are many different ways you can cut or edge the strips of paper. I decided to forgo the scissors and use the 'fold, lick, rip' tactic in order to get an antique edge. You can also use the kid shape scissors that will give it a ziz zag or scallop edge.
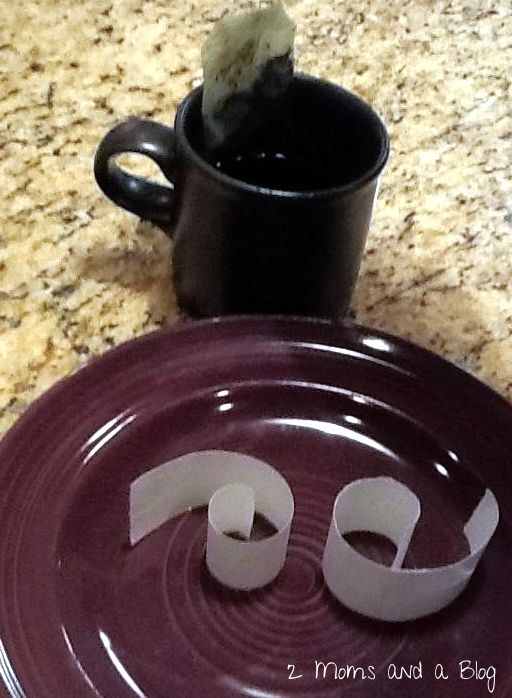
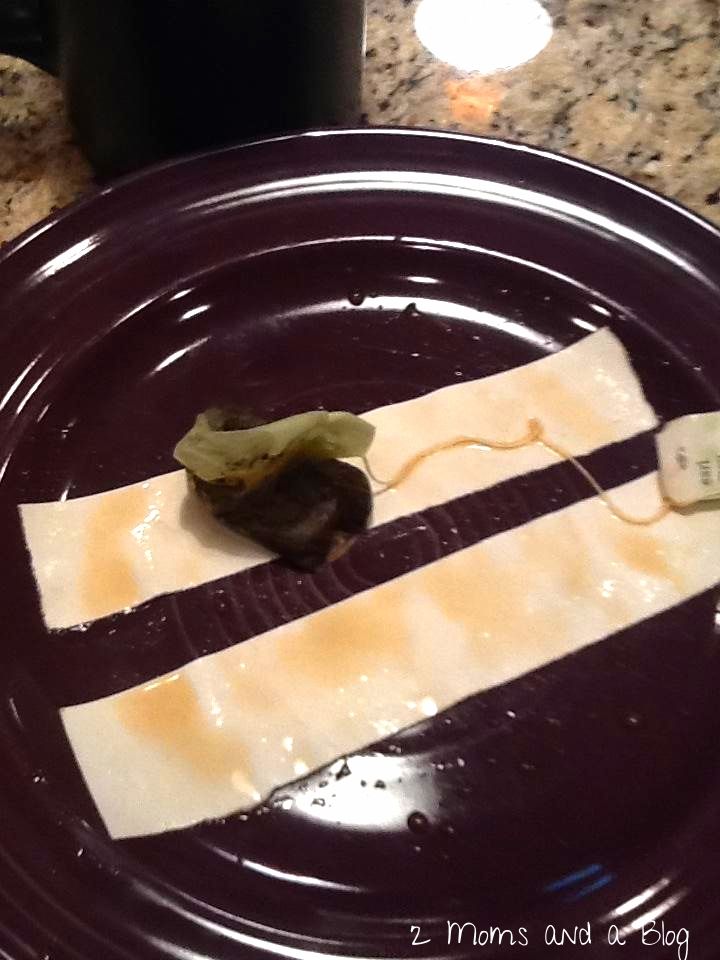


You can also antique the paper with tea staining, just be sure to let the paper dry completely before writing anything on it. This would be really cute if you decide to put a bible verse instead of a fortune for a post-Church brunch!
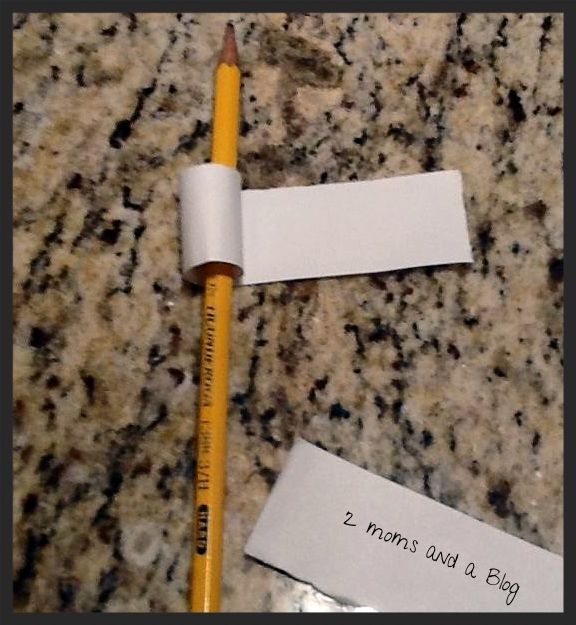
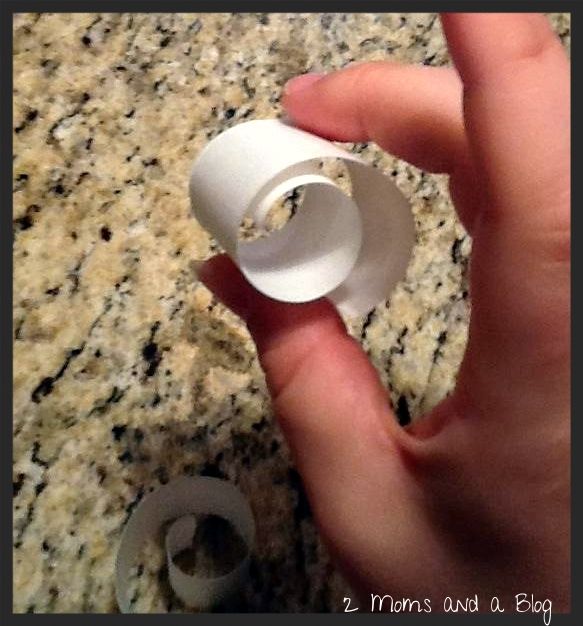


Now, for the paper to fit nicely into the egg, just roll it up! It turns out well if you wrap it around something like a pencil or pen.

I bought a few eggstra (haha) packages of plastic Easter eggs this year just knowing that I'd use them for some project or another for the holiday and here it is!
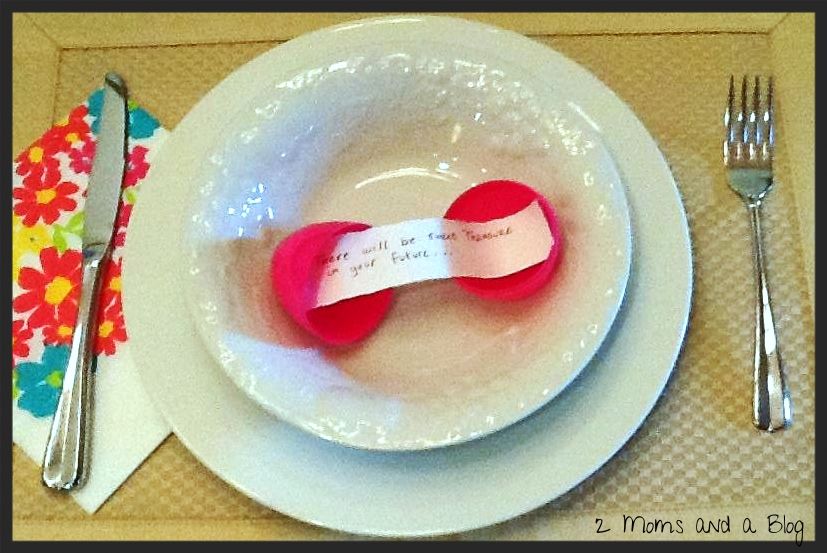
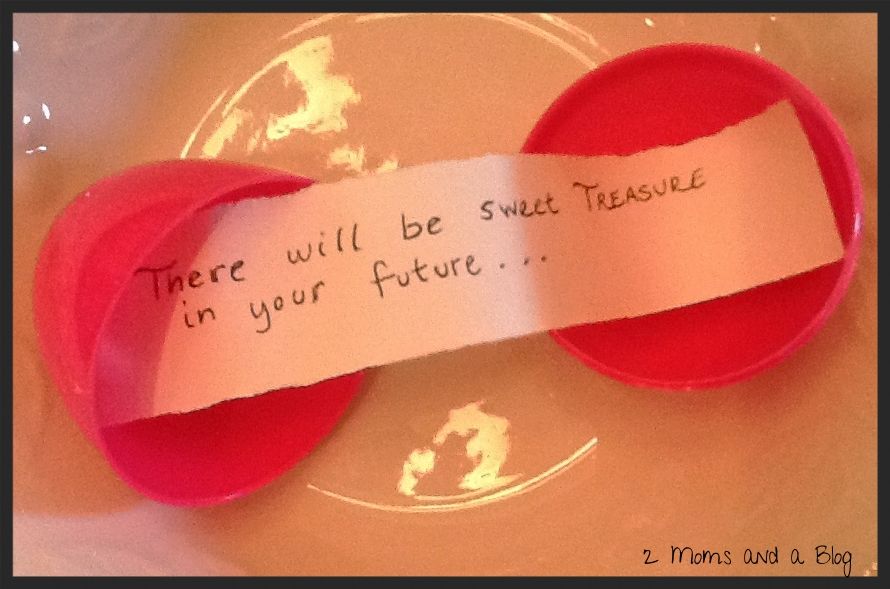

Have fun with this! Break out your stamps or paper punches! It's easy and cute and can fit any theme.

Happy Crafting!
-Kelsey

Tuesday, November 13, 2012

My Thanksgiving Contribution: Oyster Dressing

Once upon a time I cooked everything for Thanksgiving but now that we live closer to family I am only required to make one thing. I'll allow a moment for your jealous rage...

Good?  OK.

This is my Father's recipe and it's a family one so I'm pretty sure that if he ever finds my blog that I'll be excommunicated from the Doyle brood but it's just too dang good not to share! This is a stuffing but since he's northern it's called a dressing and yes, it does have oysters in it and, yes, it can get a bit yucky to prepare but it is so worth it in the end. Don't you want to be the talk of the table this year?

Well, enough gab... On to the dressing!

*Warning* We do not measure, this is approximate. All the best recipes are ;)
**Double Warning** This recipe is for a large disposable tin pan, it's HUGE. Cut it in half and you'll feed half an army

1 cup celery
2 cups white onion
1 red bell pepper
2 green bell peppers
2 loafs of white bread
3 large bags of seasoned bread crusts (Pepperidge farms is what I use)
10 eggs (yup!)
1 cans of chicken broth
2 containers of fresh oysters
1 softened stick of butter
Salt and Pepper

Preheat the oven to 375

In a blender blend together the butter, oysters and chicken broth. Set aside.

Chop the celery, onion and bell peppers and combine together in a microwavable container, cover and cook for a 4 mins or until tender and steaming. Set aside.

Lay out all of the two loaves of bread to dry until the pieces feel slightly stiff on both sides (flip if you need to) then tear into smaller pieces and place the bread into a large deep tin cooking pan, add the 3 bags of seasoned stuffing crusts and the celery/onion/bell pepper combination and mix together with hands.

Now add the 10 eggs and mix again with your hands until all the ingredients are moist. Cover the top with Salt and Pepper and then pour on the oyster blend and mix again until completely mixed.

Well that was yucky!

Cover with tin foil and place in the oven for 30 mins or until the sides separate from the walls of the tin and testing the middle of the dressing with a straw comes out clean.


I will update this post with pictures around Thanksgiving!

Gobble 'Til Ya Wobble!
-Kels

Friday, November 2, 2012

Thanksgiving craft for little hands


This was such a fun little craft for my little guy. We just put some different paint colors on a paper plate, he swirled them and then dipped his whole hand in, then put his handprint on paper. I had some googly eyes laying around (as every Mom should!) and added the legs. His print came out perfect and is proudly displayed in our kitchen for everyone to see!

Do you follow our boards on Pinterest? If not, be sure to go do that now! We will be pinning lots of Thanksgiving inspiration for you, and as always will try to keep it simple and frugal!


Thursday, October 4, 2012

Birthday Traditions your Children will never forget!

It is never too early to begin Birthday traditions for the kiddos in your life. I recently posted this tutorial on how to make a balloon Birthday Wreath. We will pull this out every year a few days before my Son's Birthday so he knows his special day is coming.

Here are some other ways to make your child's Birthday special, starting when they first roll out of bed in the morning!

Starting the night before his birthday I started to get some surprises ready for him. I used streamers to put over his door frame, and hung a few balloons from the top of his door. The point was for him to bust out of the room! But my Son got sneaky and did a belly crawl out of his room under the streamers! He is too silly!

I put some balloons down the hallway leading to a little present for him to open in the morning. 

Each balloon was weighed down with quarters, so it was an extra surprise for him!


The next morning I got up super early and put out lots of other balloons in the hallway. 3 balloons had a dollar bill in them. It was a fun little game for him to find the balloons with the money.

When my Little Man woke up in the morning (as a 3 year old!!!) he was so surprised, happy and had the best morning. It was a lot of fun for him, and for me and his Daddy to watch him. Birthdays have always, and will always be a big deal to my family. It's a day to celebrate! So go all out, in any way you can to show your kids how special they are! The will always remember these things, and it's never too early to start traditions for your family that your kids will pass on.


Happy celebrating! ~ Miranda


Tuesday, October 2, 2012

Birthday Wreath Tutorial!


My Little Man is turning the big 3 tomorrow (please excuse me while I wipe away tears) so I wanted to make something special for him we could pull out every year so he would know his special day is coming!

Of course I got on Pinterest and searched frantically. His birthday snuck up on my BIG TIME this year. I came across the Birthday wreath. Some people make it with balloons and bows, some with only bows, some with streamers etc. You get the picture. I decided to go with a classic balloon theme.

Here is what you will need:

A wreath (foam or straw, I used straw- remember to keep the plastic on it!)
Floral pins (get a pack of at least 200 at your local Walmart or craft store)
Balloons (You will need at least 200 balloons to make a small wreath)
Optional: pipe cleaner, bows etc.
A LOT OF PATIENCE

I know that this sounds like a lot of balloons. But fear not. You can find packs with a ton in them for super cheap at Walmart.

First, if you purchased different sized balloons you will want to pin the larger balloons on first. Just pin them randomly on the wreath. To pin them pull the balloon in between the floral pin with the neck of the balloon sticking out one side and the head of the balloon sticking out the other.


Next, if you are going to use any pipe cleaners you may want to go ahead and pin some of those on too. I just twirled some around my finger to get that "boing" look, as my son likes to call it, then pinned them randomly around the wreath.

Finally, you will want to go ahead and pin in your smaller sized balloons. Please note, don't try to pin a bunch at once with the same floral pin. You will not get a good effect and the balloons will lay limp. Just pin down one balloon at a time. Be sure to pin them all close together.


Now if you have any bows or ribbon you should go ahead and pin them in.

The last thing to do is to place the wreath upright wherever you will be hanging it. You will want to check for any open spaces and make sure you got the sides covered good. You don't want to see any of the straw on the wreath. You can fill in any spaces with more balloons or pipe cleaners.

I hung the wreath with a pipe cleaner because I don't have a wreath hanger.

And there you go. Simple. Fun. You can use it every year. And it didn't break the bank to make it!


Enjoy! ~ Miranda