Showing posts with label cheap. Show all posts

Monday, March 18, 2013

Easter Fortune Eggs

Wow, can you believe it's almost Easter?! When time flies by this fast, It can be so easy to lose touch with those who are truly important in our lives. That's why I like to try to make every holiday a family event and that usually means a meal.

This Easter we are having a Pre-Egg Hunt brunch, in order to fill those bellies before the big chase. I wanted everyone to participate in the egg cracking so I decided to have an Easter fortune egg waiting on every plate.

It's can be as simple or elaborate a project as you like!

First start out with the fortunes. I used a heavier paper like construction or scrapbook paper because I wanted it to withstand any torture I might be putting it through in order to suit my needs ;)
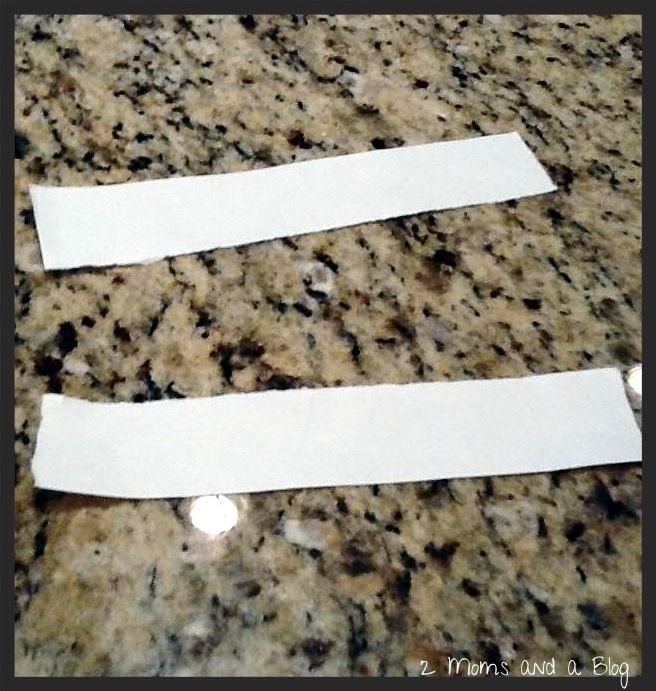

There are many different ways you can cut or edge the strips of paper. I decided to forgo the scissors and use the 'fold, lick, rip' tactic in order to get an antique edge. You can also use the kid shape scissors that will give it a ziz zag or scallop edge.
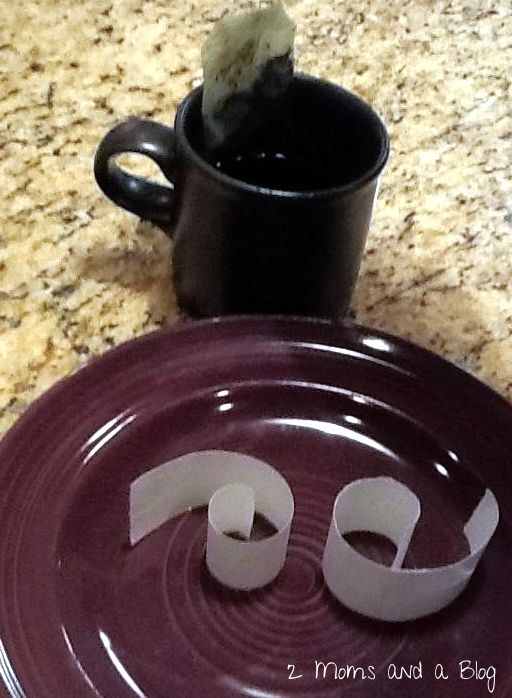
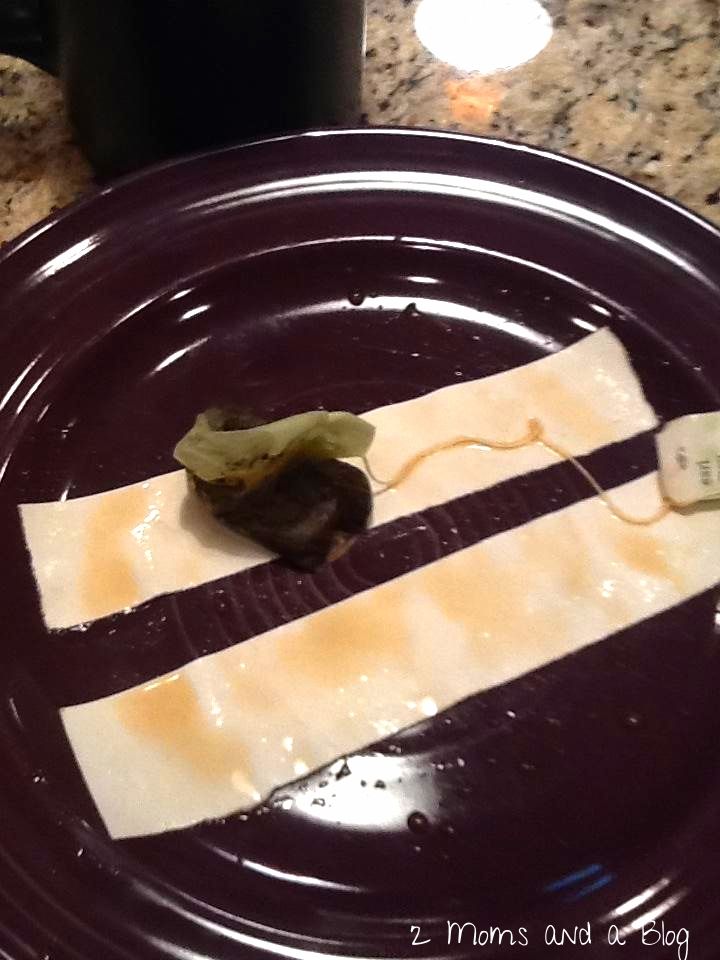


You can also antique the paper with tea staining, just be sure to let the paper dry completely before writing anything on it. This would be really cute if you decide to put a bible verse instead of a fortune for a post-Church brunch!
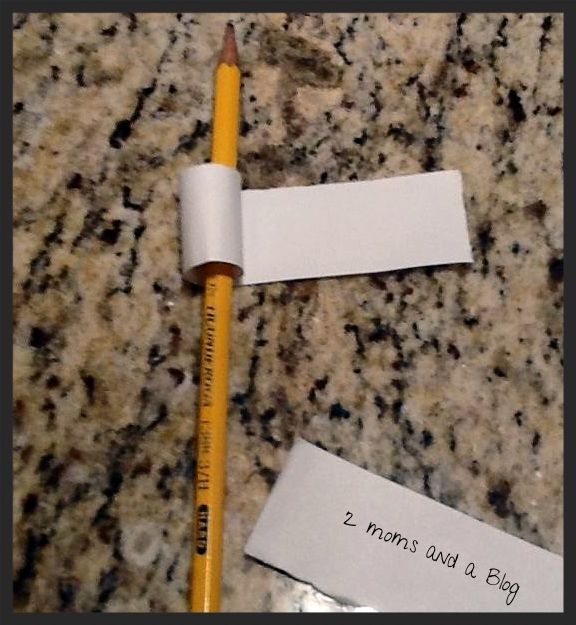
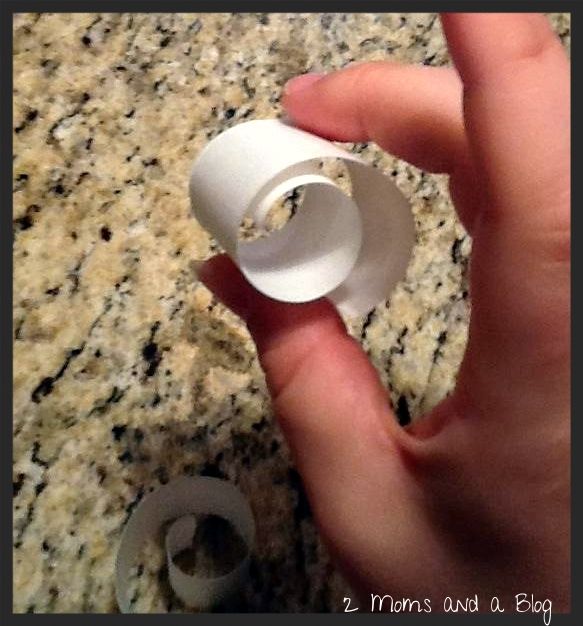


Now, for the paper to fit nicely into the egg, just roll it up! It turns out well if you wrap it around something like a pencil or pen.

I bought a few eggstra (haha) packages of plastic Easter eggs this year just knowing that I'd use them for some project or another for the holiday and here it is!
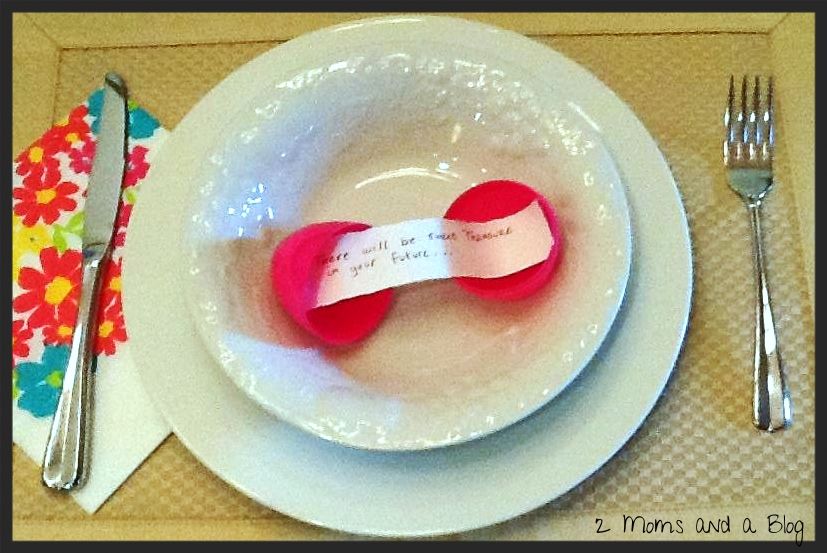
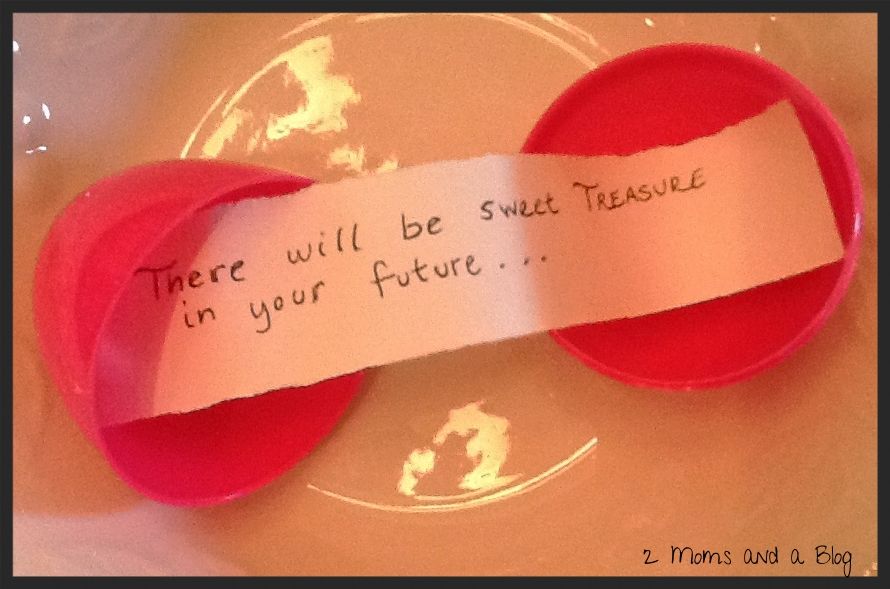

Have fun with this! Break out your stamps or paper punches! It's easy and cute and can fit any theme.

Happy Crafting!
-Kelsey

Monday, March 11, 2013

5 Minute, $5.00 St. Patty's Day Wreath


Does anyone else think this year is just going by way too quickly? I just realized that St. Patty's day is coming up, and Easter is right after that! Wow, time is FLYING BY!

Anyway, I wanted to put up a wreath for St. Patty's Day, but seeing as it was only going to be up for a short amount of time and I didn't really have any craft funds I had to force myself to get simple and cheap. But that's always a good thing in my book! So here we have a 5 Minute, $5.00 St. Patty's Day Wreath.

Here is what you will need:
*straw wreath (I purchased this from Walmart for under $4.00)
*green streamer (I purchased from the dollar store for $1.00)
*floral pins (like these that I used when making the birthday wreath, so I had on hand)
Birthday Wreath Tutorial
*bright green card stock (I had on hand)
*pipe cleaner (I had on hand, or use whatever method of wreath hanging you like!)

So I took the streamer and wrapped it around the wreath and secured it with tape. It looked like this. 

Then I secured the floral pins and pipe cleaner on the back so I could hang it on my front door.

Then I cut some clovers out of the bright green card stock and taped them to the wreath. I am lacking in the shape cutting skills, I am sure you will do an awesome job. Or if you have a chance to hit up the craft store pick up some wooden clovers, or a rainbow or little leprechaun! You can really get creative with this! Here is the finished product:

This took me only 5 minutes to make. It's not the most elaborate or special St. Patty's Day wreath, but it works for me!

Happy St. Patty's Day everyone- may the luck of the Irish be with you!
~ Miranda

Tuesday, January 22, 2013

DIY Valentine! Heart Robot


This cute little Pinterest inspiration came just in time for Valentine's Day! My son loves robots and when we started to make small variations of these he thought they were super cool. He tried to play with the robots but the paper I had used in the beginning was too flimsy and the tape I used just pulled pieces apart. So I had to improvise making a new one with heavy card stock and brad pins. 

Here is how I made this Valentine Heart Robot

***Now depending on how you will use this, or if you are going to let little ones try their hand at making this you may want to skip out on the brad pins and just use tape or glue. Brad pins are tiny so keep out of small hands!***

Pick out some coordinating colors of heavy card stock. For this particular robot I went with pink and green. Fold a paper in half and cut trace out half a heart like so...
and then cut it out.

Then I cut out 4 smaller hearts for the hands and feet, the 2 more small hearts for the top of the antennas. 

Next you want to trace and cut out 4 strips on another piece of card stock for the arms and legs of the robot. Then two more smaller ones for the robots antennas. 

Once you've cut the strips for the arms and legs, you want to start folding them back and forth to make an accordion like effect. (I didn't do this with the antennas, but feel free to change it up!)

Now comes a time to choose if you are going to want to use tape, glue or brad pins. The reason I used brad pins to secure the arms and legs to the robot is to make them moveable. However if you have really small children who will be handling the robot, or are if-y about using small pins stick to tape or glue!

Here is what brad pins look like. 
By the way... have I mentioned brad pins enough in this post yet? 
Brad pins. Brad pins. Brad pins. :)

I poked a hole in the robot in 4 spots where I will attach the arms and legs. Then I cut the arm and leg strips to make a spot for the pins to go through. Next I attached everything. 
I put a piece of tape over the back of the pin, just to ensure it was secure and to make sure my little guy wouldn't poke his finger. 

Front
 Back

I used more brad pins to attach the hands and feet. The antennas and hearts on top were attached with glue and tape. 

Now you should have something that looks like this. 

Here is when you can get creative. You can let your kiddos draw on the face. I cut out eyes and a mouth from paper as my son was too busy snacking on pretzels and didn't feel like drawing at the moment. 

And voila! A cute Valentine Heart Robot!

My little guy played with this for about 30 minutes until he decided he wanted it on the front door. 

This is such a cute little project to do with the kids. They can make miniature ones to give out as Valentines or keep for themselves. 

Enjoy! ~ Miranda

Wednesday, November 7, 2012

Giving Thanks Tree


It's the time of year to reflect on all we are thankful for. With Thanksgiving fast approaching I wanted to do something special, memorable and begin a tradition for years to come. So I got the idea for the Giving Thanks tree, originally called Gratitude Tree here http://meandmyinsanity.com/2008/11/gratitude-tree.html#comment-8090.

We just so happened to come across a big roll of brown paper from my parents who recently moved. So we rolled it out and my husband drew out the tree outline, cut it and hung it up. I traced and cut out some leaves on construction paper and every day we will write on a leaf what we are thankful for and add it to the tree. By Thanksgiving the tree should be full of beautiful leaves and many many thanks!

Excuse the tape all over the tree, I'm working to hide it! 

I even made a little pouch and hung it on the door next to the tree to hold the leaves we will add. 

I am all about starting traditions with my family to make everlasting memories for my son. This is such an easy way to start one for Thanksgiving.

Enjoy! ~ Miranda

Friday, November 2, 2012

Thanksgiving craft for little hands


This was such a fun little craft for my little guy. We just put some different paint colors on a paper plate, he swirled them and then dipped his whole hand in, then put his handprint on paper. I had some googly eyes laying around (as every Mom should!) and added the legs. His print came out perfect and is proudly displayed in our kitchen for everyone to see!

Do you follow our boards on Pinterest? If not, be sure to go do that now! We will be pinning lots of Thanksgiving inspiration for you, and as always will try to keep it simple and frugal!


Friday, October 19, 2012

Felt Pumpkin Tutorial- kids can change the face of the pumpkin anytime!


This is a really easy, and really fun little craft for you to make for your kids leading up to Halloween. The idea came from last year's Halloween pumpkin fiasco. We let our son paint one pumpkin, and help choose the template for carving the rest. Well after all the pumpkins had been carved, he wanted them changed. Yea, that wasn't going to happen. So I've come up with a solution. A felt pumpkin with lots of different eyes, noses and mouths that he can play with to make different faces. It was so easy and cheap to make, and I got it done super fast! Here is how I did it...

What you'll need:

-Felt squares in orange, green and black (or whatever color pumpkins you want to make!)
-A roll of velcro (you can find this for cheap at your local craft store)
-Scissors (because no craft is complete without cutting something you didn't mean to!)
-Hot glue gun


Next, using the orange cut out the shapes of some pumpkins. Then cut out some different shapes for eyes, noses and mouths using the black (or again, whatever colors you want to use for your pumpkins!).


Then using the green cut a little stem for the top of the pumpkin. While you're at all this cutting, go ahead and cut some of the velcro into small strips.


Using the hot glue, attach the stem to the top of the pumpkin and let it dry while you get on with the next task.


Now glue all of those velcro pieces onto the cut outs of the eyes noses and mouths. 


And VIOLA! Once all the glue is dry it's all done and ready for it's face!


or this...


And your kids will love putting all the different shapes on the pumpkin to make different faces!


And there you have it, a really incredibly easy, super frugal craft your kids are going to have so much fun with for Halloween!

Have fun! ~ Miranda


Tuesday, October 9, 2012

Upcycle: Coffee can into cute storage canister!


My son has crayons stashed in every corner of our home. Some are in bags, some are in pages of coloring books and there are even some stuffed in my couch.


I am in the process of attempting to get his closet as organized as possible, to make a little corner for doing artwork. This will be a big challenge, storage in our home is non existent so I am starting small. Storage for the little things, like crayons.

So I took a coffee can (we have many, I knew I hung onto them for a reason!) and got a little crafty.
Here is what you will need to turn your coffee can into a cute little storage canister:

- Coffee can
- Thick paper (I used scrapbook paper)
- Hot glue gun

Step 1: Lay out your coffee can on the paper. Use a pen or pencil to mark on the paper where you will make the cuts. As you can see by the arrows on the picture below, I cut only to cover the colored area of the coffee can, leaving the silver rings at the top and bottom.


Step 2: Make your cuts on the paper. 

Step 3: Put the glue on your paper and quickly wrap it around the can before it dries.


And viola! 

This will be filed away in my, *super frugal* file. I didn't have to purchase anything for this because I had everything I needed on hand! Easy, cheap and a great way to store little items!

~ Miranda

Sunday, September 2, 2012

Rainy Day Movie

I'm so happy to be back blogging. School/Pre-school/General Craziness is now back in session and things have calmed down a bit for us to start blogging away again!

Have you ever made a promise to your child about going to the park or pool or any other outside activity only to have it start pouring down rain the second you're about to go out the door? Yeah, me too. Well with some quick thinking I was able to distract the little one from the disappointment of a cancelled playdate with a movie day!


I found a movie she's never seen before on Netflix ($8 a month and a real lifesaver!) or you could find one at a local Redbox ($1.50).


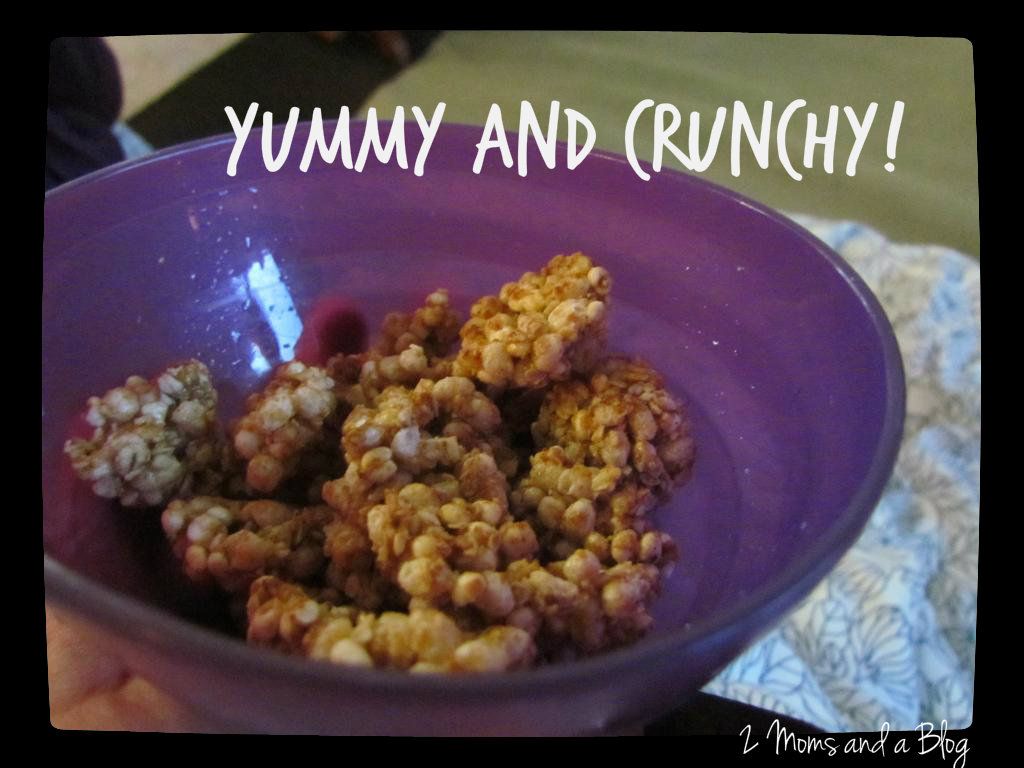
Now, my little one can't have popcorn yet but there's this really cool rice treat by Plum Organics called 'Crunch 'Ola' and she loves it! It crunches just like popcorn so I thought it would be a fun substitute. 


Last but not least we turned off the lights and threw down some pillows and blankets to lounge on. It was so much fun! Almost like a sleep over and the little one thought it was so special.

Enjoy and Happy Crafting!
-Kelsey