Showing posts with label kid. Show all posts

Sunday, September 2, 2012

Rainy Day Movie

I'm so happy to be back blogging. School/Pre-school/General Craziness is now back in session and things have calmed down a bit for us to start blogging away again!

Have you ever made a promise to your child about going to the park or pool or any other outside activity only to have it start pouring down rain the second you're about to go out the door? Yeah, me too. Well with some quick thinking I was able to distract the little one from the disappointment of a cancelled playdate with a movie day!


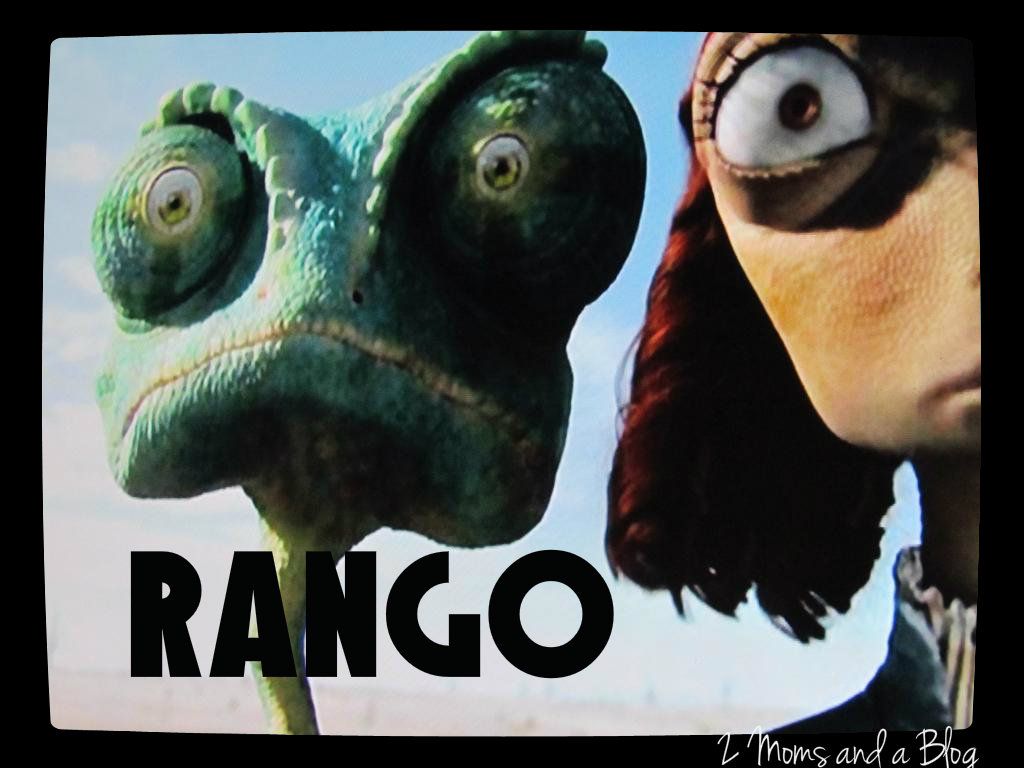
I found a movie she's never seen before on Netflix ($8 a month and a real lifesaver!) or you could find one at a local Redbox ($1.50).


Now, my little one can't have popcorn yet but there's this really cool rice treat by Plum Organics called 'Crunch 'Ola' and she loves it! It crunches just like popcorn so I thought it would be a fun substitute. 


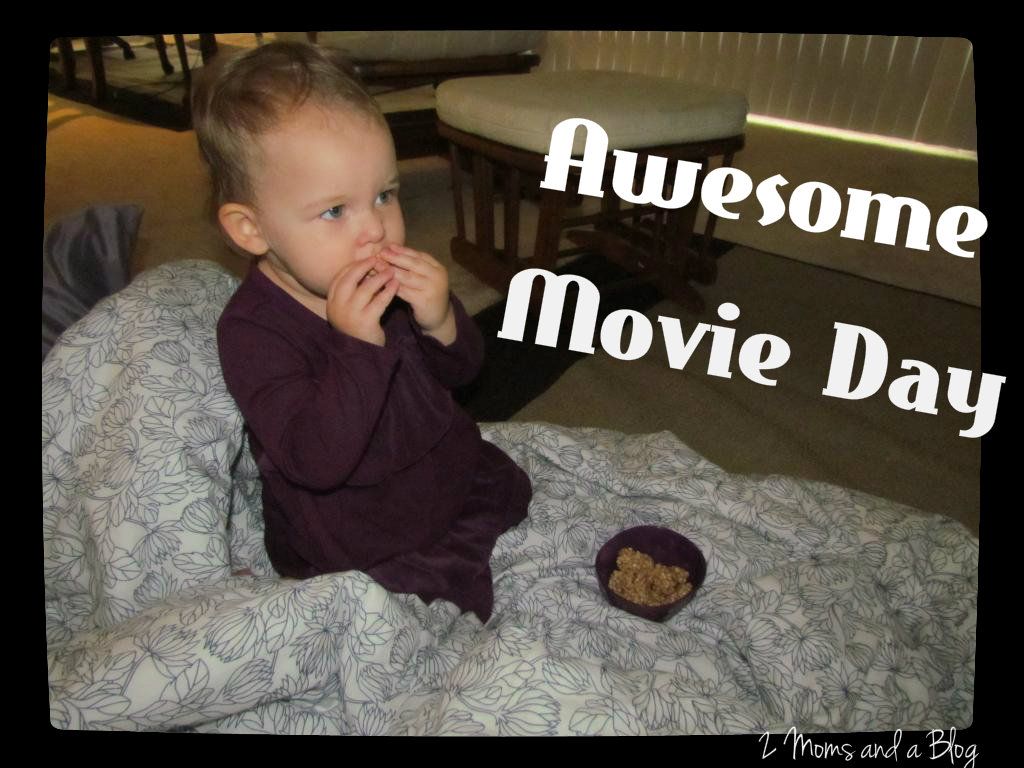
Last but not least we turned off the lights and threw down some pillows and blankets to lounge on. It was so much fun! Almost like a sleep over and the little one thought it was so special.

Enjoy and Happy Crafting!
-Kelsey

Sunday, July 8, 2012

Nap Time Library Bag Tutorial- Guest post

The following post was submitted by Shannon with Sweet Panda Boutique.


Hello readers! My name is Shannon, WAHM behind Sweet Panda Boutique (Sweet Panda Boutique ). I'm delighted to be guest blogging for my new friends, Miranda and Kelsey.

My daughter and I went to story time at the local library last week, and saw some kiddos with super cute library totes! What a great idea. Totes give preschoolers ownership over their responsibility to take care of and return their borrowed books. When the books live in the tote, it's easy to keep them separate from a home library as well. Of course, it's also an excuse to use some cute fabric, or up-cycle an item that isn't getting much love. This tote came from curtains that no longer match my daughters décor.

I named this tote “Nap Time Library Bag”, because it can be reasonably sewn in under an hour (unless you rip a lot of seams like I do during experiments). A beginning sewer can make this bag, so give it a shot! Bear with me, it's my first tutorial and original design.


The Nap Time Library Bag

Supplies:
  • 1/3 yard of an inner fabric (woven cottons work nicely)
  • 1/3 yard of an outer fabric
  • Coordinating thread
  • Double Fold Bias tape for outer pocket (optional) Length = 1 width of your chosen bag size.
  • Fusible interfacing (1/3 yard, optional) (I used interfacing to make the bag a bit more stiff, but your bag will work fine without it. My bag has a front pocket, and you can choose to omit or include that as well.)
Step 1: Wash, dry, and iron your fabric. This is always good to do, as finished items wont shrink when washed, and you'll get rid of the nasty chemicals from fabric production.

Step 2: Cut your fabric. You may choose sizing based upon your needs. I wanted my toddler to be able to handle the bag, so it is small. You can modify and make the straps longer if you choose as well.


Cut 2 for outer, 10 x 12

2 for inner, 10 x 12

2 strips for straps, 3 x 12
Cut 2 pieces of interfacing, 9.5 x 11.5
If including the pocket:
1 length Bias tape, 10 inches
1 pocket outer piece, 10 x 7
1 pocket inner piece, 10 x 7
Fuse the interfacing to the outer fabric pieces per manufacturers instructions. Leaving 1/4” of fabric on each edge


Step 3: Sew the straps. Fold the strips lengthwise and iron. Using a 1/4” seam allowance, sew up the raw edge, end to end. Don't forget to backstitch when you start and stop. Turn inside out, and iron again. Now topstitch 1/4” from both sides, creating a finished strap. Repeat for 2nd strap and set aside.


Step 4: Prepare the pocket (if you aren't using a pocket, go to step 5). Place your inner and outer pocket pieces together, right sides out. Choose a 10” edge and slide bias tape over it. If you look at the tap, on side will be slightly shorter than the other. Put the shorter side in front, where you'll be stitching. Pin in place. Straight stitch near the fold on the bias tape, catching the other side as you stitch. This finishes the top seam of your pocket.

Step 5: Sew your outer shell. If using a pocket, pin the pocket piece to the bottom of your front fabric piece. Make sure the pocket raw edges line up with the outer raw edges. Your finished edge will cross the center of the piece. Pin the back outer piece to the front piece, right sides together. Start sewing from the top left corner to the bottom left corner, using a 1/4” seam allowance. Put your needle down 1/4” from the end, lift the presser foot and turn fabric 90 degrees. Continue sewing across the bottom, turn at corner, and finish at the top right corner. Be sure to leave the top open. Clip the bottom corners. Finish with zig zag stitch or serger.

Step 6: Repeat step 5 for the inner lining pieces.


Step 7: Using 1/8” seam allowance, stitch the straps to the inner lining. Take one strap piece, pin one edge 1.5” from the seam, and the the other edge of the same strap 1.5” from the opposite seam. Be sure the strap is not twisted, and the raw edges from the strap and inner piece match up. Do the same for the 2nd strap on the 2nd lining piece.


Step 8: Sew the inner and outer bags together! Turn the lining bag right side out and the outer bag wrong side out. Place the inner bag inside of the out bag. Right sides will match up. Pin at the side seams to ensure they match. You will need to leave a 2-3” hole to turn the bag when finished. Start sewing with a 1/4” seam allowance at the inside edge of 1 back strap. Continue all the way around the top of the bag until the inside edge of the other back strap. Back stitch. This will leave and open seam at the center back.

Step 9: Turn bag and iron. Using the open edge, pull the bag through until your fabric is right side out. Your project now resembles a bag! Line up the top seams and iron around the opening for easy top stitching. At the opening, turn the raw edges in and iron so they mimic the sewn seams.

Step 10: Top stitch. I like to start at the beginning of the open seam to get that out of the way. Sew across that seam with a 1/8” seam allowance and continue all the way around the top of the bag. Back stitch at beginning and end.

You now have an adorable tote for your kiddo to carry his/her library books in!

Sunday, June 24, 2012

Snow in the Summer- super easy kid fun!


My little guy has been having a hard time recovering from a surgery he had recently, and unfortunately has not been allowed to be outside and run around and enjoy the summer. So we've been left to find ways to occupy our time and hold his interest when the toys are fun anymore and we've watched all our movies at least 3 times. Time to get creative!
We came up with snow in the summer- and it's so simple and easy. You probably already have everything you need in the house. 
My son received some 'shaving cream' as a Christmas present and has never used it. So we busted that out and sprayed it all over the back of a large poster board we didn't need anymore. We smushed the the 'snow' all around, made snowmen and pulled out some cookie cutters to use in it as well. 


Then we splattered some finger paint into the 'snow' and used a straw to swirl all the colors around.

*i love this goldfish crumb face kid!*

This was a simple, easy but fun project for my little guy. I hope you enjoy it too!

~ Miranda