Showing posts with label kids. Show all posts

Friday, April 5, 2013

Easy DIY Lava Lamp

Ah, Lava Lamps. I remember when I was about 12 years old I had a few friends who had these and begged for one of my own. But, alas, it wasn't meant to be!
Until now!


Special thanks to this site for the idea, check it out for other great experiments to do with your kids!

This was so easy to make... here is how you and your kids can make one of your own...

You'll need:
*Clear plastic bottle
*Water
*Vegetable oil
*Food coloring
*Alka-seltzer tablet

Start by filling up your water bottle about a quarter full of water, then the rest with vegetable oil. After a minute drop in your food coloring. 


Then break up your tablet of alka-seltzer and drop in a piece. Watch your kids faces light up as they see this start to happen... 


Check it out in action!

Have fun!~ Miranda


Tuesday, April 2, 2013

Experimenting with food coloring!


What little kid doesn't love experiments? I know my 3 year old does. He loves colors, seeing how things work and watching cause and effect.

So I set up a little station for him to experiment what happens when you introduce food coloring to other things, like water & baking soda.

Here is what we used to set up our little station...

I started out by having CJ drop some food coloring into a cup of water. He watched as it all mixed together.
Then we poured some food coloring into a bowl with vegetable oil. The saw how the food coloring didn't expand and mix.

Then we poured water into the bowl...


Then we moved onto the milk, food coloring and dish soap experiment. First pour a small layer of milk into a bowl or plate, drop some food coloring into the middle then drop some dishsoap on top and watch it swirl!

Here is a video of our fun, including the grand finale- baking soda & vinegar!


Have fun~ Miranda!


Sunday, March 24, 2013

Easter Basket Ideas for kids ages 1 to teens. *NO CANDY*

No candy Easter basket ideas for kids from ages 1 to teens. We even some ideas on fun themed baskets!

AGES 1-2

Pull and go soft race cars
B. Wheeee-Is! Soft Cars 4-pack

Safe car keys set
B. FunKeys

Favorite movies or CD of favorite songs

Clifford's Happy Easter, Norman Bridwell


Easter book
Clifford's Happy Easter, by Norman Bridwell

Easter life the flap book
Where are baby's Easter eggs? By Karen Katz

God Gave Us Easter, by Lisa Tawn Bergren, Laura J Bryant


Blocks
Mega Bloks Farm Blocks

Sidewalk Chalk
*Couldn't find a link, but the dollar section of Target has some with a holder so it doesn't get messy on little one's hands*

Kids this age love to open up plastic eggs, put fun things inside them in their Easter Basket
*socks
*squirt toys
*Little People Princess pack or Super Hero pack
*stickers
*Coins for piggy bank (it goes without saying, under adult supervision)

Sunglasses

Baby safe crayons and Easter coloring book
My First Crayons, Crayola Washable 2 pack

Stuffed bunny or chick

Snack Mix (like Goldfish or Cheerio's)

Spring Time PJ's

Instead of a basket, put gifts inside a bucket or bin that can be used for storage.


AGES 2-3
Step 2 Waterwheel play table


Maybe the Easter Bunny left a big present outside, like a water table?
Step 2 Waterwheel play table

Bubbles

Sidewalk Chalk

Snack mix - Like Annie's Pretzel & Cheddar Bunnies

DVDs or CDs

Books
Llama Llama Red Pajama, By Anna Dewdney


Again with the plastic eggs, here are some ideas for this age group
*temporary tattoos
*money
*stickers
*mini bottles of bubbles
*mini coloring books or note pads
*mini nail polish
*matchbox cars

Water color paint set

Spring Time PJ's Carter's Boys or Carter's Girls

Flip Flops

Hair Bows

Hat

T-ball and bat

Again, a bucket or bin that could be used to store toys later would be a good idea, instead of the traditional basket.

Themed Baskets for kiddos!

"Summer Fun Basket/vacation to the beach planned"

Sunglasses

Flip flops or crocs

Swim suit

Sand toys, like hand shovels, molds etc. Sizzlin' Cool 11 Piece Beach & Garden Set

Beach ball

Floaties

Beach towel

Activity book for summer trip car rides

Items could go inside a beach bag instead of basket


"Super Hero Basket"

Spiderman Flipout car


Action figures  Marvel Spider-Man Adventure Playskook Heroes

Peel and stick wall decals Roommates Batman Wall Decals

Bandaids with their favorite super hero

Superhero mask and accessories Spider-Man Marvel Mask

Superhero PJ's


Books about their favorite Superhero Marvel - The Incredible Hulk

A Cape

Superhero shirt

Big boy Superhero undies


"Girly-Girl Basket"

Tiara

Dress up jewelry

Dress up clothes

Wand

Beauty Shop Play Play Circle Beauty Shop Hairdressing Set

Play makeup

Hair bows

Pinkalicious Tickled Pink, by Victoria Kann
Princess Barbie doll

Pinkalicious book Pinkalicious Tickled Pink Paperback, by Victoria Kann

DVD Barbie : The Princess & The Popstar

Princess puzzle, or memory card game

Princess PJ's

Big girl princess undies


"Construction/Working Man Basket"

Instead of a basket, use a large construction truck and put goodies in the bed of the truck...

CD of songs John Deere: Crazy About Tractors

Mini trucks Caterpillar Mini Machines 5 Pack

Building blocks

Hard hat

Tool belt Tomy Talking Tool Belt

Ruler

Play-doh

Colored pencils (for drawing blue prints!)

Ideas for tweens & teens

For a girl, maybe a new purse instead of a basket and inside...

New phone cover

Amazon gift card- for music, books or anything

Make up

Sunglasses

Season pass to local water park or amusement park

Gift card to their favorite store

For a boy, how about a new pair of tennis shoes and inside...

New phone cover

Amazon gift card- for music, books or anything

Season pass to local water park or amusement park

New wallet

Gift card to their favorite store


Monday, March 18, 2013

Easter Fortune Eggs

Wow, can you believe it's almost Easter?! When time flies by this fast, It can be so easy to lose touch with those who are truly important in our lives. That's why I like to try to make every holiday a family event and that usually means a meal.

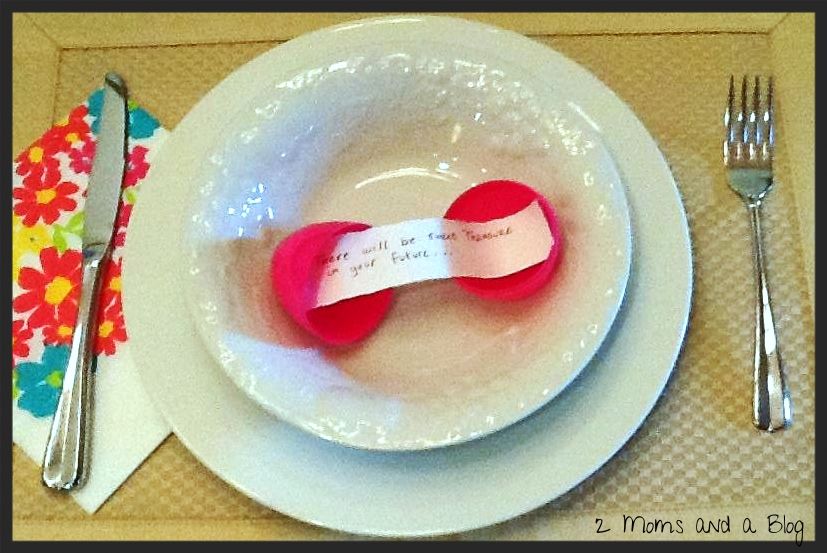
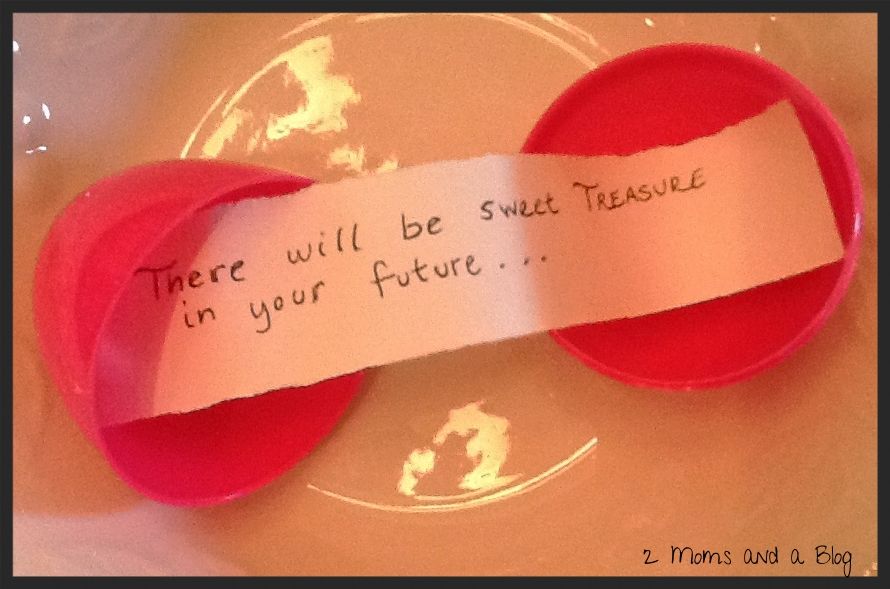
This Easter we are having a Pre-Egg Hunt brunch, in order to fill those bellies before the big chase. I wanted everyone to participate in the egg cracking so I decided to have an Easter fortune egg waiting on every plate.

It's can be as simple or elaborate a project as you like!

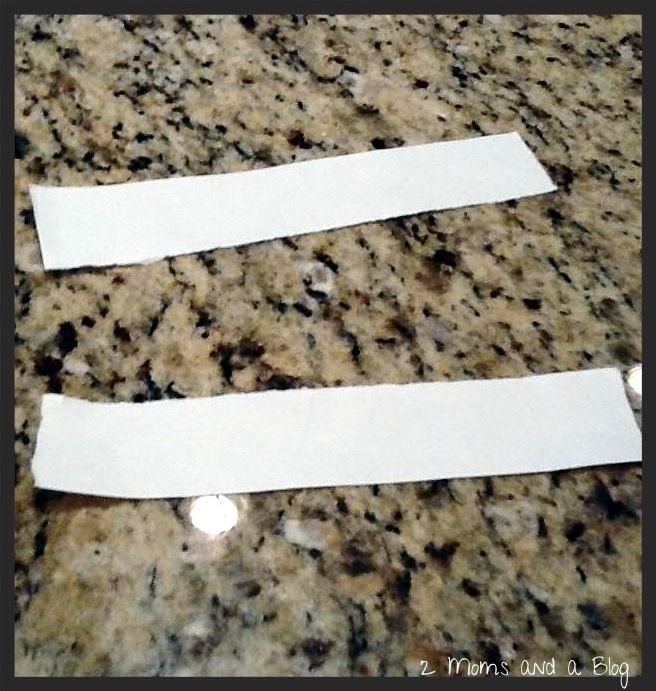
First start out with the fortunes. I used a heavier paper like construction or scrapbook paper because I wanted it to withstand any torture I might be putting it through in order to suit my needs ;)


There are many different ways you can cut or edge the strips of paper. I decided to forgo the scissors and use the 'fold, lick, rip' tactic in order to get an antique edge. You can also use the kid shape scissors that will give it a ziz zag or scallop edge.


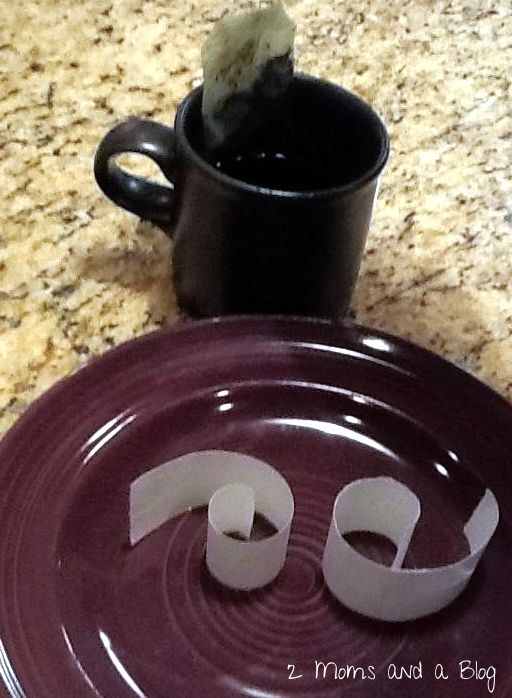
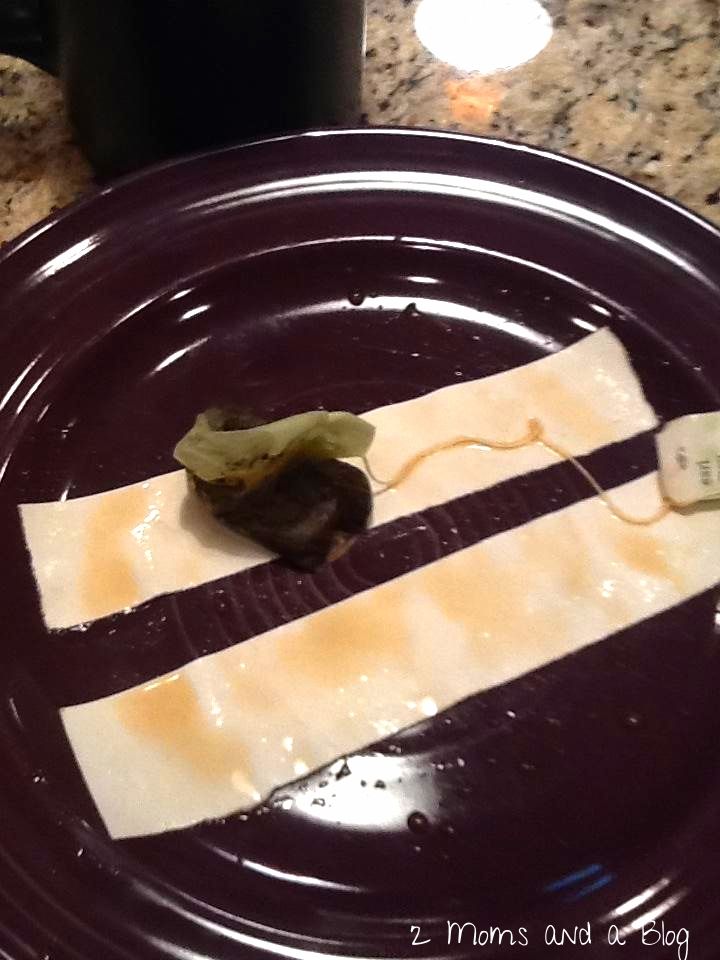
You can also antique the paper with tea staining, just be sure to let the paper dry completely before writing anything on it. This would be really cute if you decide to put a bible verse instead of a fortune for a post-Church brunch!


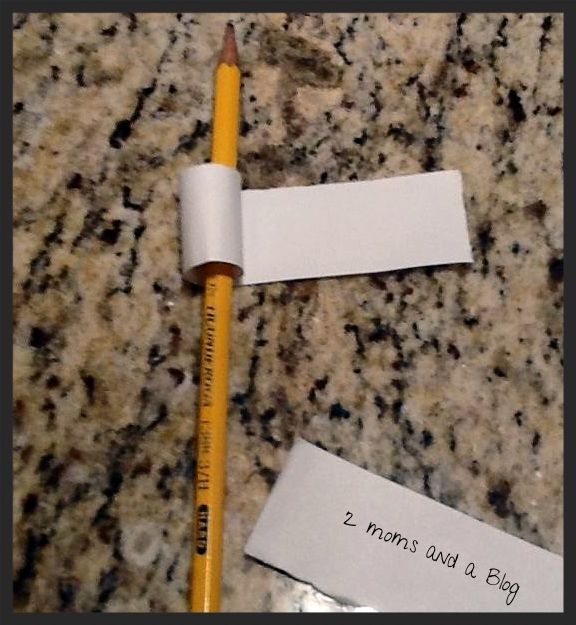
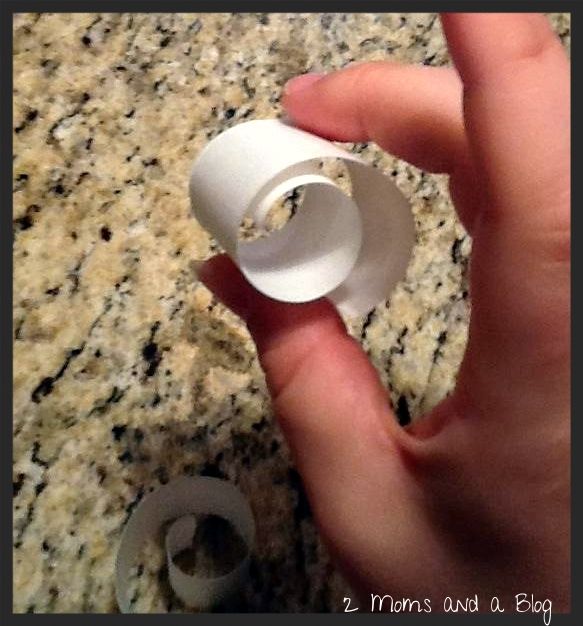
Now, for the paper to fit nicely into the egg, just roll it up! It turns out well if you wrap it around something like a pencil or pen.

I bought a few eggstra (haha) packages of plastic Easter eggs this year just knowing that I'd use them for some project or another for the holiday and here it is!


Have fun with this! Break out your stamps or paper punches! It's easy and cute and can fit any theme.

Happy Crafting!
-Kelsey

Sunday, February 3, 2013

DIY Valentine Heart Craft for kids! So simple!


I got the inspiration for this versatile Valentine craft from Pinterest, in particular this post. 

What I loved about this idea is that it's easy for kids to do, and add their own style to each little heart. The end result can be a necklace, magnet, paper weight... whatever!

Here is what you'll need:
Start out by making a batch of craft dough, you can use our recipe found here- http://2momsandablog.blogspot.com/2012/06/craft-dough.html
Cookie cutters
A toothpick or skewer
Kid safe paint

After making the dough let the kids help roll it out very thin then use cookie cutters to cut out your hearts. If you want to make necklaces or something you can hang with ribbon make sure to poke a hole in the top of the heart. I used a wooden skewer. 
This part is fun for the kids!


Line your baking sheet with some parchment paper and bake at 300 degrees for about 40 minutes. You'll know they are ready when they are hard and beginning to brown a tiny bit on the top. 
Pull out of the oven and let cool. Then let your kids paint them however they want. 

One batch makes a lot of hearts, so this would be great for something your kids could hand out to their friends or family. 

Enjoy, Happy Valentine's Day!


Tuesday, January 22, 2013

DIY Valentine! Heart Robot


This cute little Pinterest inspiration came just in time for Valentine's Day! My son loves robots and when we started to make small variations of these he thought they were super cool. He tried to play with the robots but the paper I had used in the beginning was too flimsy and the tape I used just pulled pieces apart. So I had to improvise making a new one with heavy card stock and brad pins. 

Here is how I made this Valentine Heart Robot

***Now depending on how you will use this, or if you are going to let little ones try their hand at making this you may want to skip out on the brad pins and just use tape or glue. Brad pins are tiny so keep out of small hands!***

Pick out some coordinating colors of heavy card stock. For this particular robot I went with pink and green. Fold a paper in half and cut trace out half a heart like so...
and then cut it out.

Then I cut out 4 smaller hearts for the hands and feet, the 2 more small hearts for the top of the antennas. 

Next you want to trace and cut out 4 strips on another piece of card stock for the arms and legs of the robot. Then two more smaller ones for the robots antennas. 

Once you've cut the strips for the arms and legs, you want to start folding them back and forth to make an accordion like effect. (I didn't do this with the antennas, but feel free to change it up!)

Now comes a time to choose if you are going to want to use tape, glue or brad pins. The reason I used brad pins to secure the arms and legs to the robot is to make them moveable. However if you have really small children who will be handling the robot, or are if-y about using small pins stick to tape or glue!

Here is what brad pins look like. 
By the way... have I mentioned brad pins enough in this post yet? 
Brad pins. Brad pins. Brad pins. :)

I poked a hole in the robot in 4 spots where I will attach the arms and legs. Then I cut the arm and leg strips to make a spot for the pins to go through. Next I attached everything. 
I put a piece of tape over the back of the pin, just to ensure it was secure and to make sure my little guy wouldn't poke his finger. 

Front
 Back

I used more brad pins to attach the hands and feet. The antennas and hearts on top were attached with glue and tape. 

Now you should have something that looks like this. 

Here is when you can get creative. You can let your kiddos draw on the face. I cut out eyes and a mouth from paper as my son was too busy snacking on pretzels and didn't feel like drawing at the moment. 

And voila! A cute Valentine Heart Robot!

My little guy played with this for about 30 minutes until he decided he wanted it on the front door. 

This is such a cute little project to do with the kids. They can make miniature ones to give out as Valentines or keep for themselves. 

Enjoy! ~ Miranda

Friday, October 19, 2012

Felt Pumpkin Tutorial- kids can change the face of the pumpkin anytime!


This is a really easy, and really fun little craft for you to make for your kids leading up to Halloween. The idea came from last year's Halloween pumpkin fiasco. We let our son paint one pumpkin, and help choose the template for carving the rest. Well after all the pumpkins had been carved, he wanted them changed. Yea, that wasn't going to happen. So I've come up with a solution. A felt pumpkin with lots of different eyes, noses and mouths that he can play with to make different faces. It was so easy and cheap to make, and I got it done super fast! Here is how I did it...

What you'll need:

-Felt squares in orange, green and black (or whatever color pumpkins you want to make!)
-A roll of velcro (you can find this for cheap at your local craft store)
-Scissors (because no craft is complete without cutting something you didn't mean to!)
-Hot glue gun


Next, using the orange cut out the shapes of some pumpkins. Then cut out some different shapes for eyes, noses and mouths using the black (or again, whatever colors you want to use for your pumpkins!).


Then using the green cut a little stem for the top of the pumpkin. While you're at all this cutting, go ahead and cut some of the velcro into small strips.


Using the hot glue, attach the stem to the top of the pumpkin and let it dry while you get on with the next task.


Now glue all of those velcro pieces onto the cut outs of the eyes noses and mouths. 


And VIOLA! Once all the glue is dry it's all done and ready for it's face!


or this...


And your kids will love putting all the different shapes on the pumpkin to make different faces!


And there you have it, a really incredibly easy, super frugal craft your kids are going to have so much fun with for Halloween!

Have fun! ~ Miranda