Showing posts with label simple. Show all posts

Tuesday, October 22, 2013

Homemade Bagel Bites Recipe


This was the biggest 'duh' moment in money saving, recipe making I've had in a long time. If you are like me you will do anything to save a buck. And that means making as many meals homemade instead of buying the expensive store brand. Case in point bagel bites. Yum, I remember these scrumptious little bites of cheese/pepperoni/bagel heaven from my teen years. Only recently I started to crave them again and was appalled at how expensive they were. So instead I went the homemade route. And boy did the yummy memories come back! These things are so good, easy to make and super cheap! DUH! Why didn't I think to just make them myself sooner!

It's pretty easy to figure out how to make these. But here is a step by step guide anyway! 


You'll need:

Bagels (I used the mini ones for this).
Pizza sauce, feel free to make your own but I used pre-made.
Mozzarella cheese, but get creative! Try out some different recipes!
Toppings, I used pepperoni.

I started out by preheating the oven to 400. Then I lined a baking sheet with some foil and sprayed a little nonstick cooking spray. 

Lay out the bagels and spread a little pizza sauce on each one. Then sprinkle your cheese on top.


Then place your toppings on the bagels.


Then pop them in the oven. It only took about 10 minutes until the cheese was nice and bubbly, but ovens differ so keep a close eye on yours!


mmmmmmmmmmmmmmmmmmmm. Pizza on a bagel. And kid approved, my recently turned 4 year old LOVES these! This would also be awesome for little ones to make themselves (up until the oven portion of course). Let them spread the sauce, sprinkle the cheese and put on the toppings. Kids love being able to cook for themselves! 

Happy Cookin' y'all! ~ Miranda 

Friday, April 5, 2013

Easy DIY Lava Lamp

Ah, Lava Lamps. I remember when I was about 12 years old I had a few friends who had these and begged for one of my own. But, alas, it wasn't meant to be!
Until now!


Special thanks to this site for the idea, check it out for other great experiments to do with your kids!

This was so easy to make... here is how you and your kids can make one of your own...

You'll need:
*Clear plastic bottle
*Water
*Vegetable oil
*Food coloring
*Alka-seltzer tablet

Start by filling up your water bottle about a quarter full of water, then the rest with vegetable oil. After a minute drop in your food coloring. 


Then break up your tablet of alka-seltzer and drop in a piece. Watch your kids faces light up as they see this start to happen... 


Check it out in action!

Have fun!~ Miranda


Friday, March 29, 2013

Bunny Butt Cupcakes... so easy to make!


I have been a baking fool lately, and I have to admit... it's been fun! These little cuties were so easy to make and it cracks me up to hear my little guy ask for a bunny butt cupcake! 

Here is how to make these fun treats... 


After your cupcakes have cooled completely frost them white. After doing so cut up some marshmallows into a tail and 2 feet for each cupcake and place accordingly. The should stick with the frosting. 

Now with your pink frosting (I just put a dollop in a bowl with a drop or 2 of red food coloring for this part) use a toothpick to draw the details on the feet.


And that's it. Wasn't that easy? And cute as a bunny button too I might add! 


Enjoy~ Miranda

Wednesday, March 20, 2013

Simple, Adorable Cotton Candy Easter Cake *frugal alert!*

I had to redeem myself after my pastel colored deviled eggs incident. I thought the best way to do that was with a cake, a treat for everyone! This one was super easy, and super frugal! May I present... cotton candy Easter cake-


I am no baker. Store bought cake mix is usually my go to and was in this case. Here is what I used to make this little cutie...


I got all ingredients at Walmart. Gotta admit, I haven't seem little icing decorations for cakes like this in years so I picked up a pack. 

So I got to mixing, all the while my 3 year old is at my feet asking if the birthday cake was for him. "Where are my balloons?", "I want Spiderman party!". My explanation of this being an Easter cake for everyone went unheard. 

I decided to make the batter purple, mixing blue and red food coloring, this part is up to you. I just like purple, it's such a spring-y color!

So just follow the instructions on your cake mix, and let it cool after it's finished baking. In the mean time I mixed up my cotton candy frosting creation! *Note- I had never used this before. It's a good idea to not have your face anywhere near the container of frosting when you begin to mix, the power from the flavor mix pack just exploded everywhere and covered me!*

So after the cake cooled I got to frosting. I am not a good at this step.. don't expect a cake from me to look professional in anyway! :)

The I put the little bunnies around the cake, my little guy was yelling with glee "The bunnies are dancing around the cake!". 

Finished product...


Little Man was trying to sneak some frosting... and then tried to bribe me with kisses for a piece of cake.


So of course I caved in a gave him a piece. 


Happy First Day of Spring! ~ Miranda

Sunday, March 17, 2013

Just cause it ain't pretty, don't mean it ain't yummy!

So the colored deviled eggs seem to be pretty popular on Pinterest  right now with Easter coming right up. I decided to try my hand at it this evening.

Here is my FAILED attempt at this project, and what I learned along the way.

First off, I found a new method (find detailed directions here) for making hard boiled eggs so to avoid getting that grayish/blueish ring around the yolk. It was pretty simple starting off.

Get your eggs out and find a tack. Now poke a hole into the shell of the egg on the bigger end, but don't go too deep.


Now put your eggs in a pot and cover with cold water, put on stove and bring to a boil. Once water is boiling lower the heat to a low boil and let it go for 10 minutes. 


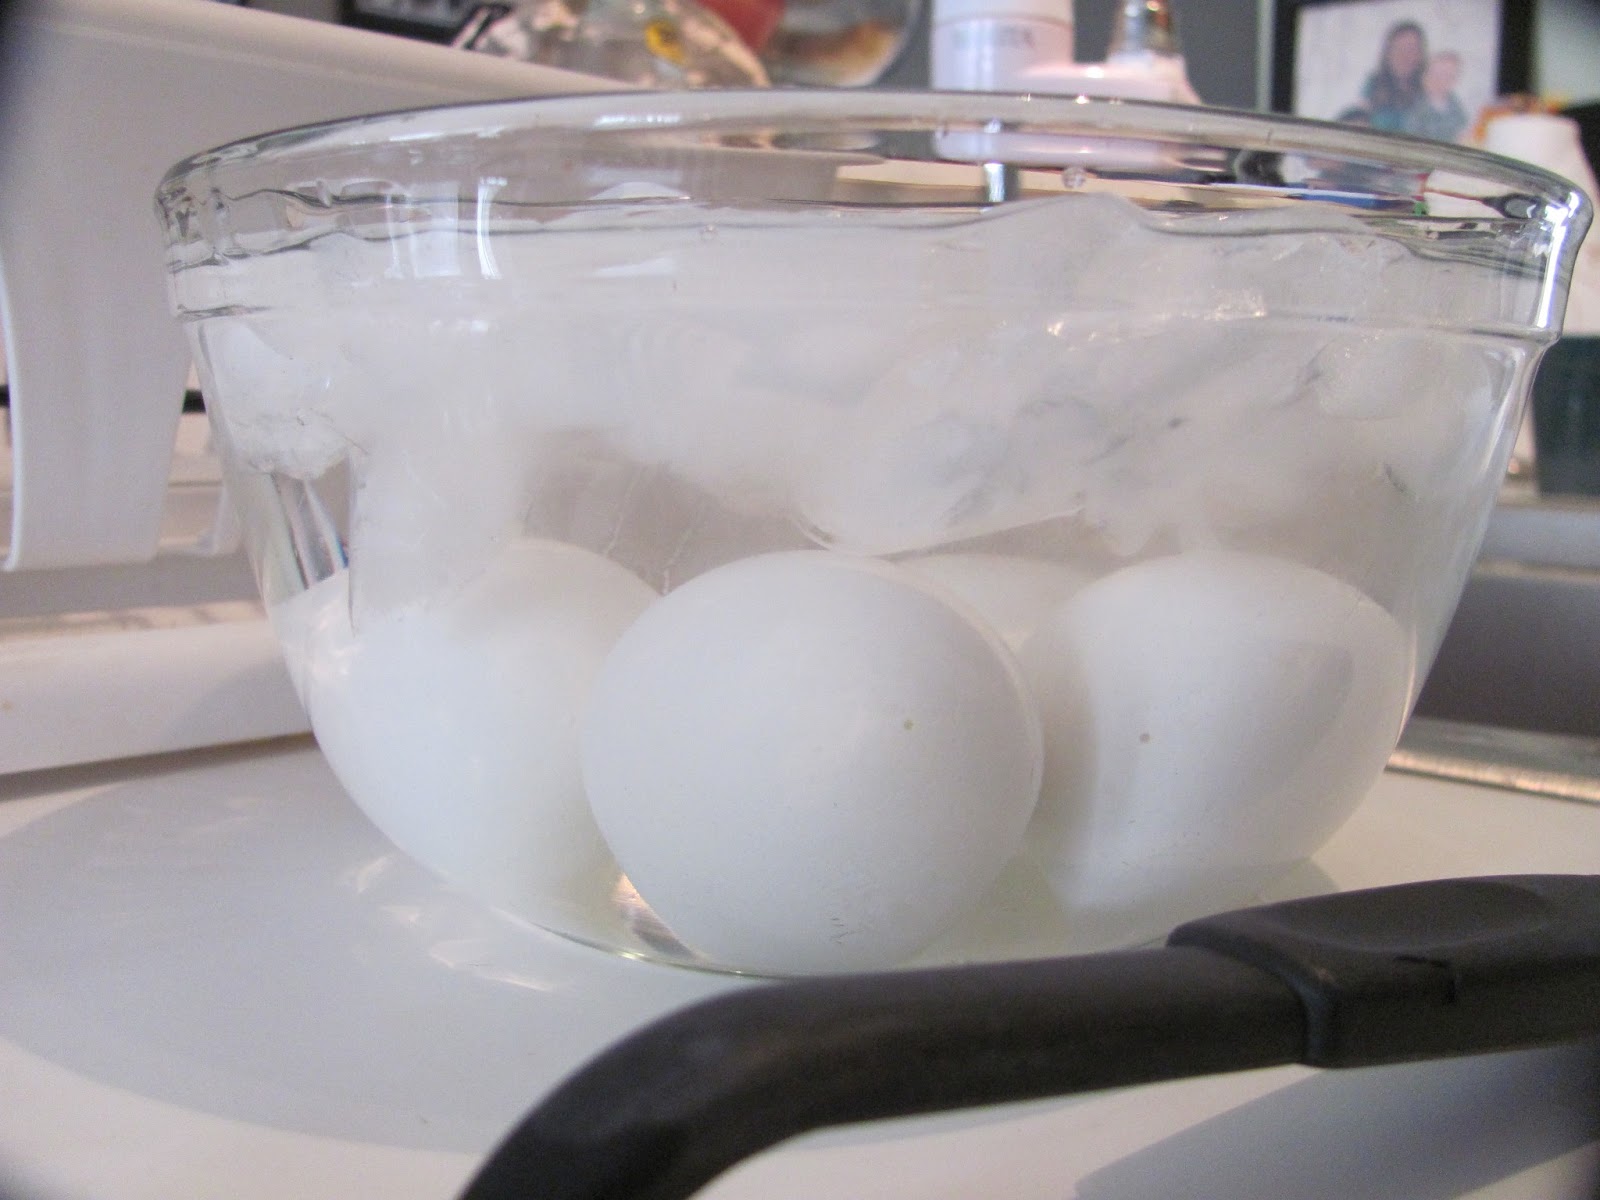
As soon as the 10 minutes are up using a slotted spoon immediately put the eggs into a bowl of ice water. Let them sit until cool.*** Please keep reading to find my experience and advice with this last step***


While the eggs were cooling I got a couple of bowls of water out and put a few drops of red food coloring into one, and then red and blue into the other to make a light purple. Once the eggs were cooled I proceeded to ATTEMPT to remove the shell. This was quite a task. Usually my hard boiled eggs are easy to peel, but I think putting them in the ice water made it more difficult. The shells broke off into tiny pieces and took chunks of the actual egg with them. So next time I attempt this, I will skip the ice water. This was my misstep #1. 

So after seeing how gnarly my eggs looked, I thought about nixing this whole thing. But I didn't want to waste perfectly good food just because it didn't look appealing. So I cut them in half and was pleasantly surprised at how brightly yellow the yolks were! No grayish/blueish rings! The insides were perfect. I think I'll stick to the method of putting a hole in the egg before boiling from now on! So I scooped out the yolks and put them in a bowl to mix up later. 


I moved onto the dying of the eggs. Sigh... I thought this would be easy peasy. Not so much. I dropped a half an egg into the pink water and waited a minute them removed. No color. Tried again... still no color. So avoid my mistake of only putting in a few drops of food coloring... seems to me you need a lot for this project. So I put some more drops of food coloring in and dropped the egg in... whoops- I forgot to stir the water! Misstep #2. Now that I had color (albeit not as smooth as I wanted) showing up after pulling them out of the colored water I put them on a paper towel to rest and dry. BIG MISTAKE. The paper towel weaving was imprinted onto my eggs! So this was my misstep #3.

So after sighing and griping about what I thought would be an easy project I got to mixing up the filling for the eggs. My recipe is simple. A dollop of mayo, small drop of mustard, sprinkle of paprika and pepper and super yummy deliciousness ensues. I put the mix back into my weird looking eggs. 

So here is my finished project on pastel colored deviled eggs. 


Not exactly the picture perfect plate floating around on Pinterest. But they were yummy!

So here is what I learned... 

*In my experience peeling an egg that is a bit warmer will probably guarantee a cleaner break in shell, making for a nice looking egg.
*You need more than a few drops to dye a hard boiled egg!
*Don't let your eggs rest on a paper towel after dying them, put them on a plate!
*Just because it ain't pretty don't mean it ain't yummy!

This is not my last attempt at you, pastel colored deviled eggs! I will try and try again, feeding my husband as many of you little suckers as I can until I have perfected you. Or until he tells me his stomach can't take anymore. 

~ Miranda


Monday, March 11, 2013

5 Minute, $5.00 St. Patty's Day Wreath


Does anyone else think this year is just going by way too quickly? I just realized that St. Patty's day is coming up, and Easter is right after that! Wow, time is FLYING BY!

Anyway, I wanted to put up a wreath for St. Patty's Day, but seeing as it was only going to be up for a short amount of time and I didn't really have any craft funds I had to force myself to get simple and cheap. But that's always a good thing in my book! So here we have a 5 Minute, $5.00 St. Patty's Day Wreath.

Here is what you will need:
*straw wreath (I purchased this from Walmart for under $4.00)
*green streamer (I purchased from the dollar store for $1.00)
*floral pins (like these that I used when making the birthday wreath, so I had on hand)
Birthday Wreath Tutorial
*bright green card stock (I had on hand)
*pipe cleaner (I had on hand, or use whatever method of wreath hanging you like!)

So I took the streamer and wrapped it around the wreath and secured it with tape. It looked like this. 

Then I secured the floral pins and pipe cleaner on the back so I could hang it on my front door.

Then I cut some clovers out of the bright green card stock and taped them to the wreath. I am lacking in the shape cutting skills, I am sure you will do an awesome job. Or if you have a chance to hit up the craft store pick up some wooden clovers, or a rainbow or little leprechaun! You can really get creative with this! Here is the finished product:

This took me only 5 minutes to make. It's not the most elaborate or special St. Patty's Day wreath, but it works for me!

Happy St. Patty's Day everyone- may the luck of the Irish be with you!
~ Miranda

Monday, February 11, 2013

Valentine Cupcakes with a surprise middle!


I absolutely love Valentine's Day. My thought has always been that on Valentine's Day, the homemade gifts and treats are much more meaningful. These little cupcakes are filled with a surprise middle and a marshmallow heart on top. Here is how I made these...

What you'll need:
2 boxes of cake mix and ingredients to make (two colors, or both white)
Food coloring
Marshmallow hearts (or other topper of your choice)
Cupcake liners
Toothpick
Frosting
Very small heart shaped cookie cutter

So I started out by cooking a box of strawberry cake mix in a regular square cake pan. Allowed it to cool and then using a small cookie cutter, cut out some hearts.


Now depending on how much your cake rose, you may need to cut these little hearts in half and make 2 out of one cut.

Next I prepared a batch of vanilla cake mix. I put some cupcake liners in my cupcake pan and dolloped a little bit of the vanilla cake mix in the middle of each liner. Then I took one of my strawberry hearts and placed it in the batter. Then I carefully spooned more of the vanilla batter over the top and around the sides. You want to be sure that the batter doesn't knock your heart over or out of place.


**IMPORTANT**
As you are placing in the hearts make sure they are all turned in the same direction. You will need to mark the batter in some way in the direction the heart is, so when people bite in the heart is facing them. I used a little red food coloring and dipped a toothpick in and put a dot facing the direction of the hearts.

I thought I would add that this was supposed to be a trail run and I was going to make a better version of this to post this week. But my son has come down with the horrible sickies and I don't think I'll be doing anymore baking this week. I should have pushed the hearts down more into the batter and covered them better. You'll see why in a moment. 

Now bake according to the box directions.

In the mean time get your frosting prepared. I used cream cheese  and tinted it with red food coloring. I don't have any of those fancy pastry bags, ziplock has been my friend when decorating cakes, cookies and cupcakes. One of the best tricks I've learned when putting frosting into a ziplock bag is to but the bag into a small cup then put the batter in. So much easier! Then just cut a little corner off the bottom for your frosting to come out of.

When your cupcakes are done cooking let them cool completely. Now before frosting, make sure you place the cupcake in front of you with the little red dot facing you.


Now frost away, and please be more creative than I was! I topped with a heart marshmallow facing in the direction the red dot was so people knew to bite into the cupcake that way. 

Here is the finished product.

Another with a pink marshmallow on top...

Now cut open to find the heart inside. And getting back to my note on needing to push the heart down better before baking, as you can see the very top of my heart was not showing well on this one. It came out good in some of the cupcakes, but I didn't want to cut open them all open at the same time.


This is great way to get different shapes inside a cupcake. If there is a cookie cutter small enough, it should work! Also a good idea for all those gender reveal cupcakes going around lately! 

Happy Valentine's Day- Miranda


Sunday, February 3, 2013

DIY Valentine Heart Craft for kids! So simple!


I got the inspiration for this versatile Valentine craft from Pinterest, in particular this post. 

What I loved about this idea is that it's easy for kids to do, and add their own style to each little heart. The end result can be a necklace, magnet, paper weight... whatever!

Here is what you'll need:
Start out by making a batch of craft dough, you can use our recipe found here- http://2momsandablog.blogspot.com/2012/06/craft-dough.html
Cookie cutters
A toothpick or skewer
Kid safe paint

After making the dough let the kids help roll it out very thin then use cookie cutters to cut out your hearts. If you want to make necklaces or something you can hang with ribbon make sure to poke a hole in the top of the heart. I used a wooden skewer. 
This part is fun for the kids!


Line your baking sheet with some parchment paper and bake at 300 degrees for about 40 minutes. You'll know they are ready when they are hard and beginning to brown a tiny bit on the top. 
Pull out of the oven and let cool. Then let your kids paint them however they want. 

One batch makes a lot of hearts, so this would be great for something your kids could hand out to their friends or family. 

Enjoy, Happy Valentine's Day!