Showing posts with label project. Show all posts

Friday, April 5, 2013

Easy DIY Lava Lamp

Ah, Lava Lamps. I remember when I was about 12 years old I had a few friends who had these and begged for one of my own. But, alas, it wasn't meant to be!
Until now!


Special thanks to this site for the idea, check it out for other great experiments to do with your kids!

This was so easy to make... here is how you and your kids can make one of your own...

You'll need:
*Clear plastic bottle
*Water
*Vegetable oil
*Food coloring
*Alka-seltzer tablet

Start by filling up your water bottle about a quarter full of water, then the rest with vegetable oil. After a minute drop in your food coloring. 


Then break up your tablet of alka-seltzer and drop in a piece. Watch your kids faces light up as they see this start to happen... 


Check it out in action!

Have fun!~ Miranda


Sunday, March 17, 2013

Just cause it ain't pretty, don't mean it ain't yummy!

So the colored deviled eggs seem to be pretty popular on Pinterest  right now with Easter coming right up. I decided to try my hand at it this evening.

Here is my FAILED attempt at this project, and what I learned along the way.

First off, I found a new method (find detailed directions here) for making hard boiled eggs so to avoid getting that grayish/blueish ring around the yolk. It was pretty simple starting off.

Get your eggs out and find a tack. Now poke a hole into the shell of the egg on the bigger end, but don't go too deep.


Now put your eggs in a pot and cover with cold water, put on stove and bring to a boil. Once water is boiling lower the heat to a low boil and let it go for 10 minutes. 


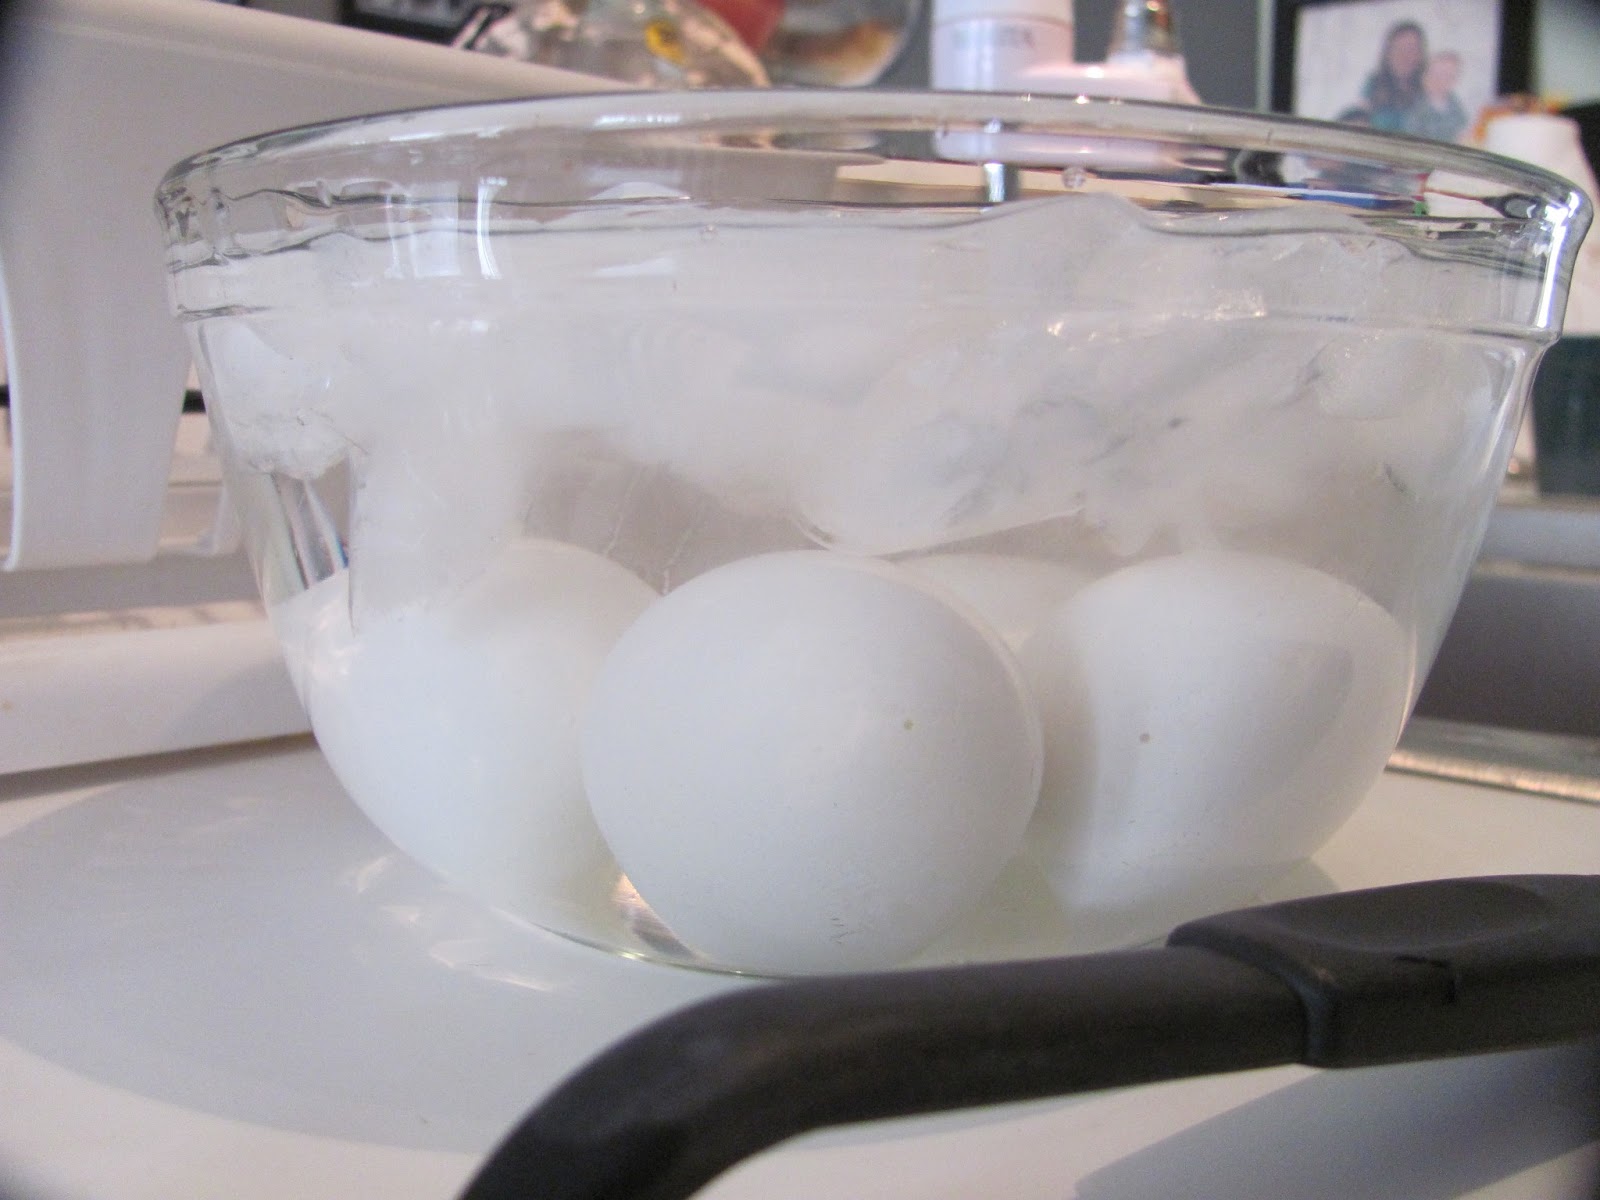
As soon as the 10 minutes are up using a slotted spoon immediately put the eggs into a bowl of ice water. Let them sit until cool.*** Please keep reading to find my experience and advice with this last step***


While the eggs were cooling I got a couple of bowls of water out and put a few drops of red food coloring into one, and then red and blue into the other to make a light purple. Once the eggs were cooled I proceeded to ATTEMPT to remove the shell. This was quite a task. Usually my hard boiled eggs are easy to peel, but I think putting them in the ice water made it more difficult. The shells broke off into tiny pieces and took chunks of the actual egg with them. So next time I attempt this, I will skip the ice water. This was my misstep #1. 

So after seeing how gnarly my eggs looked, I thought about nixing this whole thing. But I didn't want to waste perfectly good food just because it didn't look appealing. So I cut them in half and was pleasantly surprised at how brightly yellow the yolks were! No grayish/blueish rings! The insides were perfect. I think I'll stick to the method of putting a hole in the egg before boiling from now on! So I scooped out the yolks and put them in a bowl to mix up later. 


I moved onto the dying of the eggs. Sigh... I thought this would be easy peasy. Not so much. I dropped a half an egg into the pink water and waited a minute them removed. No color. Tried again... still no color. So avoid my mistake of only putting in a few drops of food coloring... seems to me you need a lot for this project. So I put some more drops of food coloring in and dropped the egg in... whoops- I forgot to stir the water! Misstep #2. Now that I had color (albeit not as smooth as I wanted) showing up after pulling them out of the colored water I put them on a paper towel to rest and dry. BIG MISTAKE. The paper towel weaving was imprinted onto my eggs! So this was my misstep #3.

So after sighing and griping about what I thought would be an easy project I got to mixing up the filling for the eggs. My recipe is simple. A dollop of mayo, small drop of mustard, sprinkle of paprika and pepper and super yummy deliciousness ensues. I put the mix back into my weird looking eggs. 

So here is my finished project on pastel colored deviled eggs. 


Not exactly the picture perfect plate floating around on Pinterest. But they were yummy!

So here is what I learned... 

*In my experience peeling an egg that is a bit warmer will probably guarantee a cleaner break in shell, making for a nice looking egg.
*You need more than a few drops to dye a hard boiled egg!
*Don't let your eggs rest on a paper towel after dying them, put them on a plate!
*Just because it ain't pretty don't mean it ain't yummy!

This is not my last attempt at you, pastel colored deviled eggs! I will try and try again, feeding my husband as many of you little suckers as I can until I have perfected you. Or until he tells me his stomach can't take anymore. 

~ Miranda


Sunday, September 2, 2012

Small Apartment 'Mud Room'


Recently my family downgraded from a 3 bedroom house to a 2 bedroom apartment. One of the biggest challenges, especially when you have kids, is the lack of an entryway to put your shoes and bags. This is how I solved my problem:


*First I got frames from Ikea for $1.99 each! http://www.ikea.com/us/en/catalog/products/80188456/
I used these as dry erase calendars for the family to remind them of upcoming events. They're perfect for dry erase boards because their plexi and not glass. Instead of putting a picture inside, I used dark scrapbook paper so my dry erase markers would stand out. It's hard to see but it's really cool paper with a light chevron design. Finally I wanted some cool colors so I got a pack of neon dry erase markers from Target.


*To mark who had which calendar, I got wooden letters from Michael's and painted them the color of my choice. For easy removal, I put them on the wall with velcro.

*For our key's I used reusable plastic hooks with double sided tape. These are perfect for apartments because they don't destroy the wall!

*I used 3 Robe Hooks that I found at Target for hanging up belongings like diaper bags and purses. I chose robe hooks because they hold 2 items per hook and are also meant for heavier things.

*AND finally my husband has to have somewhere to put his phones and wallet so I purchased a frame shelf from Ikea. It's perfect for small things because it's like a shelf with a lip at the the end so nothing falls off and it's not too deep :)


That's it! Not a lot really and it's completely transformed the way we organize our things we we come in. For shoes, which are our biggest clutter issue in our house, just put a basket or boot holder on the floor beneath!

Happy Crafting!

-Kelsey

Sunday, June 24, 2012

Snow in the Summer- super easy kid fun!


My little guy has been having a hard time recovering from a surgery he had recently, and unfortunately has not been allowed to be outside and run around and enjoy the summer. So we've been left to find ways to occupy our time and hold his interest when the toys are fun anymore and we've watched all our movies at least 3 times. Time to get creative!
We came up with snow in the summer- and it's so simple and easy. You probably already have everything you need in the house. 
My son received some 'shaving cream' as a Christmas present and has never used it. So we busted that out and sprayed it all over the back of a large poster board we didn't need anymore. We smushed the the 'snow' all around, made snowmen and pulled out some cookie cutters to use in it as well. 


Then we splattered some finger paint into the 'snow' and used a straw to swirl all the colors around.

*i love this goldfish crumb face kid!*

This was a simple, easy but fun project for my little guy. I hope you enjoy it too!

~ Miranda