Showing posts with label how to. Show all posts

Monday, March 18, 2013

Easter Fortune Eggs

Wow, can you believe it's almost Easter?! When time flies by this fast, It can be so easy to lose touch with those who are truly important in our lives. That's why I like to try to make every holiday a family event and that usually means a meal.

This Easter we are having a Pre-Egg Hunt brunch, in order to fill those bellies before the big chase. I wanted everyone to participate in the egg cracking so I decided to have an Easter fortune egg waiting on every plate.

It's can be as simple or elaborate a project as you like!

First start out with the fortunes. I used a heavier paper like construction or scrapbook paper because I wanted it to withstand any torture I might be putting it through in order to suit my needs ;)
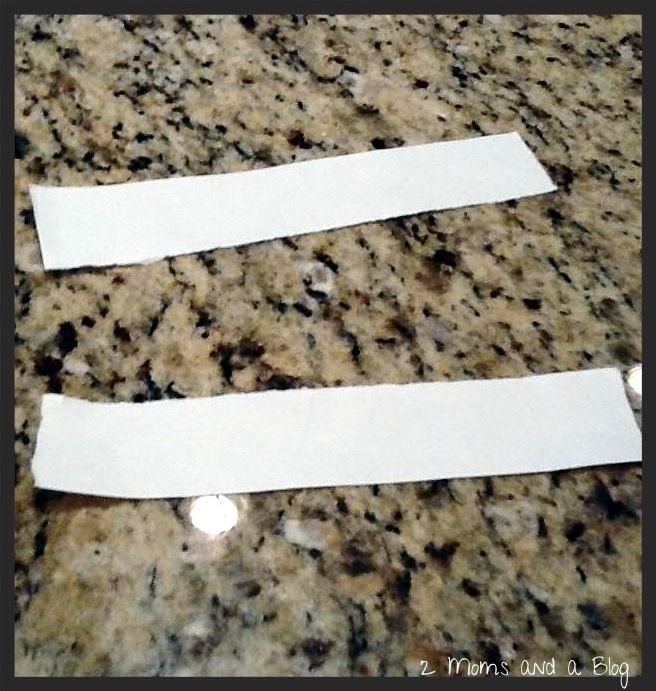

There are many different ways you can cut or edge the strips of paper. I decided to forgo the scissors and use the 'fold, lick, rip' tactic in order to get an antique edge. You can also use the kid shape scissors that will give it a ziz zag or scallop edge.
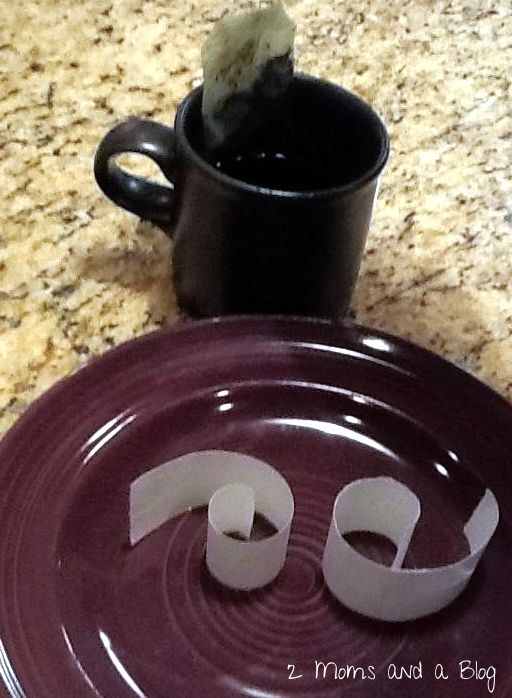
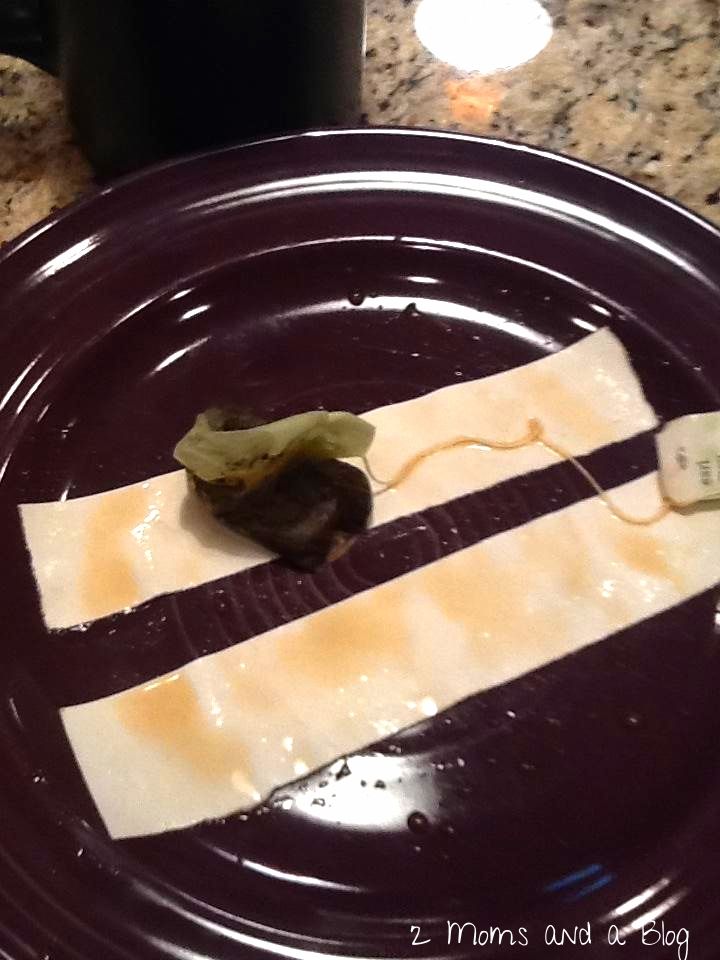


You can also antique the paper with tea staining, just be sure to let the paper dry completely before writing anything on it. This would be really cute if you decide to put a bible verse instead of a fortune for a post-Church brunch!
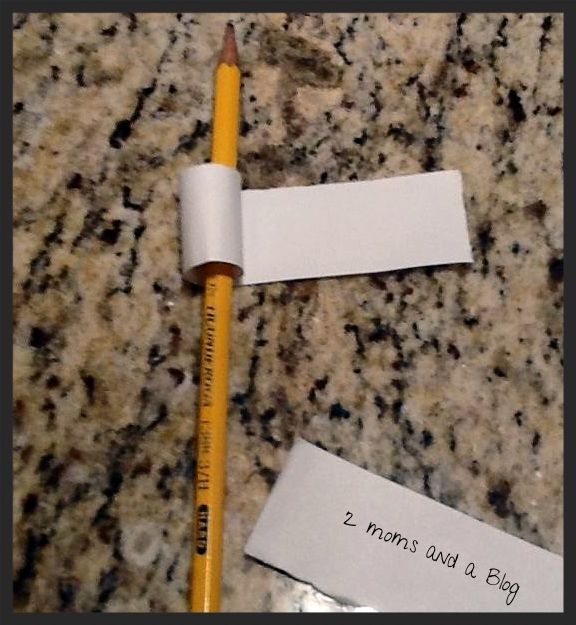
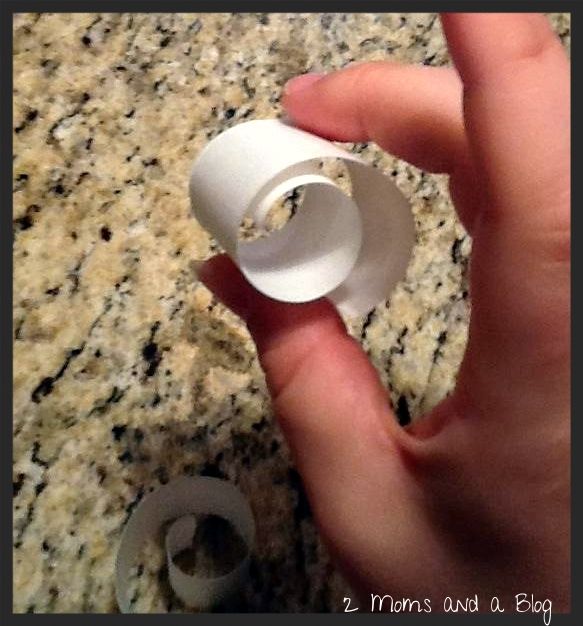


Now, for the paper to fit nicely into the egg, just roll it up! It turns out well if you wrap it around something like a pencil or pen.

I bought a few eggstra (haha) packages of plastic Easter eggs this year just knowing that I'd use them for some project or another for the holiday and here it is!
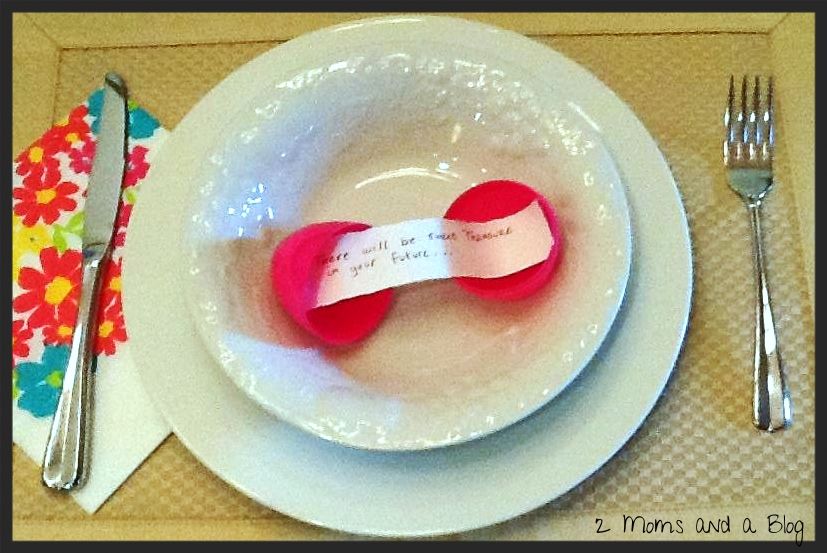
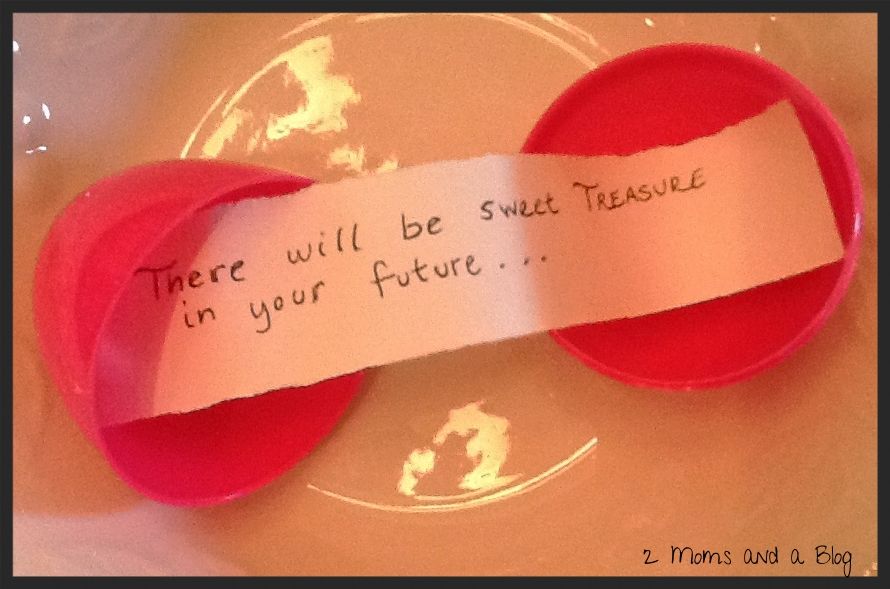

Have fun with this! Break out your stamps or paper punches! It's easy and cute and can fit any theme.

Happy Crafting!
-Kelsey

Tuesday, November 13, 2012

My Thanksgiving Contribution: Oyster Dressing

Once upon a time I cooked everything for Thanksgiving but now that we live closer to family I am only required to make one thing. I'll allow a moment for your jealous rage...

Good?  OK.

This is my Father's recipe and it's a family one so I'm pretty sure that if he ever finds my blog that I'll be excommunicated from the Doyle brood but it's just too dang good not to share! This is a stuffing but since he's northern it's called a dressing and yes, it does have oysters in it and, yes, it can get a bit yucky to prepare but it is so worth it in the end. Don't you want to be the talk of the table this year?

Well, enough gab... On to the dressing!

*Warning* We do not measure, this is approximate. All the best recipes are ;)
**Double Warning** This recipe is for a large disposable tin pan, it's HUGE. Cut it in half and you'll feed half an army

1 cup celery
2 cups white onion
1 red bell pepper
2 green bell peppers
2 loafs of white bread
3 large bags of seasoned bread crusts (Pepperidge farms is what I use)
10 eggs (yup!)
1 cans of chicken broth
2 containers of fresh oysters
1 softened stick of butter
Salt and Pepper

Preheat the oven to 375

In a blender blend together the butter, oysters and chicken broth. Set aside.

Chop the celery, onion and bell peppers and combine together in a microwavable container, cover and cook for a 4 mins or until tender and steaming. Set aside.

Lay out all of the two loaves of bread to dry until the pieces feel slightly stiff on both sides (flip if you need to) then tear into smaller pieces and place the bread into a large deep tin cooking pan, add the 3 bags of seasoned stuffing crusts and the celery/onion/bell pepper combination and mix together with hands.

Now add the 10 eggs and mix again with your hands until all the ingredients are moist. Cover the top with Salt and Pepper and then pour on the oyster blend and mix again until completely mixed.

Well that was yucky!

Cover with tin foil and place in the oven for 30 mins or until the sides separate from the walls of the tin and testing the middle of the dressing with a straw comes out clean.


I will update this post with pictures around Thanksgiving!

Gobble 'Til Ya Wobble!
-Kels

My Thanksgiving dinner menu!

I can't believe Thanksgiving is next week. Where did November go, where did the year go for that matter? I haven't gotten my turkey or any ingredients for Thanksgiving dinner yet. I need to get on the ball y'all!

Here is my Thanksgiving dinner menu. I will be hosting lots of family members in my home so our menu includes lots of foods that are traditional for us, along with some new items this year!


Citrus Herb Turkey (recipe to come, it's so good!)

Potato Salad - I'd love to be able to share this recipe with you, but alas... it's a family secret.

Green Bean Casserole - Nothing fancy, just the simple French's recipe. You can find it here- http://www.frenchs.com/recipe/frenchs-green-bean-casserole-RE1511

Creamy Peas and Carrots - This is new on the menu this year. I have been making this side dish for a couple of months now and everyone seems to love it. It's so easy...
Chop one onion and saute' in a large pan with a small amount of vegetable oil. Once the onions are translucent throw in some fresh carrots that have been peeled and chopped. Also put in a 1/2 tbsp of water. Let the carrots some up to a good simmer and throw in some thawed peas. Turn the heat down to medium and put the lid on. After the carrots are good and tender throw in a couple of tablespoons of cream cheese (don't freak, it's SO GOOD!) and put the lid back on. Let the cream cheese melt all the way through to create a creamy sauce and serve. So simple, and good!
This recipe is a variation of Giada's creamy pastina found here-
http://www.foodnetwork.com/recipes/giada-de-laurentiis/pastina-with-peas-and-carrots-recipe/index.html

Spinach Artichoke Mac & Cheese - Another newbie on my menu this year. I stumbled upon this delicious bit of heaven on pinterest over the summer. Thank you to the Budget Savvy Diva for the recipe, which you can find here-
http://www.budgetsavvydiva.com/2012/05/spinach-artichoke-mac-cheese-bake-recipe/

Sweet Potato Casserole - Another family favorite. Here is a recipe you can follow, I just don't use pecans and I use real marshmallows!
http://www.pauladeen.com/food_section_articles/view2/a_house_and_casserole_divided/

Cranberry Sauce - Yeah, I take a shortcut on this one. Canned cranberry sauce is just as good as home made!

Mashed Potatoes - this is another family favorite, only this year I will be making them in the crock pot following this recipe (Thank you again Budget Savvy Diva!) -
http://www.budgetsavvydiva.com/2012/01/ultimate-crock-pot-mashed-potatoes/

Gravy - Our house is divided. My parents and husband love the giblet gravy which makes me shutter just thinking about it. I prefer the store bought canned!

Dressing - Here is Kelsey's (my partner in blogging!) recipe for easy peasy oyster dressing! http://2momsandablog.blogspot.com/2012/11/my-thanksgiving-contribution-oyster.html 
If you are not a fan of oysters try this - http://www.foodnetwork.com/recipes/paula-deen/southern-cornbread-stuffing-recipe/index.html

Rolls With Citrus Herb Butter - I buy pre-made rolls like these - http://www.saraleebread.com/our-bread/sara-lee/buns-and-rolls. The citrus herb butter to melt on top will go along with my turkey recipe which will be posted shortly!

DESSERTS!

Apple Pie - I am going to try my craft hand at these apple pies baked inside apples this year - http://domesticdilettante.com/2012/01/11/applepie/

Pumpkin Pie - I will not be making this, I am giving this dessert to my sister to make. But here is a good recipe to try! http://www.foodnetwork.com/recipes/paula-deen/pumpkin-pie-recipe/index.html

So that's it! My Thanksgiving recipe round up. I hope that you have found some inspiration here!

~ Miranda


Tuesday, October 9, 2012

Upcycle: Coffee can into cute storage canister!


My son has crayons stashed in every corner of our home. Some are in bags, some are in pages of coloring books and there are even some stuffed in my couch.


I am in the process of attempting to get his closet as organized as possible, to make a little corner for doing artwork. This will be a big challenge, storage in our home is non existent so I am starting small. Storage for the little things, like crayons.

So I took a coffee can (we have many, I knew I hung onto them for a reason!) and got a little crafty.
Here is what you will need to turn your coffee can into a cute little storage canister:

- Coffee can
- Thick paper (I used scrapbook paper)
- Hot glue gun

Step 1: Lay out your coffee can on the paper. Use a pen or pencil to mark on the paper where you will make the cuts. As you can see by the arrows on the picture below, I cut only to cover the colored area of the coffee can, leaving the silver rings at the top and bottom.


Step 2: Make your cuts on the paper. 

Step 3: Put the glue on your paper and quickly wrap it around the can before it dries.


And viola! 

This will be filed away in my, *super frugal* file. I didn't have to purchase anything for this because I had everything I needed on hand! Easy, cheap and a great way to store little items!

~ Miranda

Tuesday, October 2, 2012

Birthday Wreath Tutorial!


My Little Man is turning the big 3 tomorrow (please excuse me while I wipe away tears) so I wanted to make something special for him we could pull out every year so he would know his special day is coming!

Of course I got on Pinterest and searched frantically. His birthday snuck up on my BIG TIME this year. I came across the Birthday wreath. Some people make it with balloons and bows, some with only bows, some with streamers etc. You get the picture. I decided to go with a classic balloon theme.

Here is what you will need:

A wreath (foam or straw, I used straw- remember to keep the plastic on it!)
Floral pins (get a pack of at least 200 at your local Walmart or craft store)
Balloons (You will need at least 200 balloons to make a small wreath)
Optional: pipe cleaner, bows etc.
A LOT OF PATIENCE

I know that this sounds like a lot of balloons. But fear not. You can find packs with a ton in them for super cheap at Walmart.

First, if you purchased different sized balloons you will want to pin the larger balloons on first. Just pin them randomly on the wreath. To pin them pull the balloon in between the floral pin with the neck of the balloon sticking out one side and the head of the balloon sticking out the other.


Next, if you are going to use any pipe cleaners you may want to go ahead and pin some of those on too. I just twirled some around my finger to get that "boing" look, as my son likes to call it, then pinned them randomly around the wreath.

Finally, you will want to go ahead and pin in your smaller sized balloons. Please note, don't try to pin a bunch at once with the same floral pin. You will not get a good effect and the balloons will lay limp. Just pin down one balloon at a time. Be sure to pin them all close together.


Now if you have any bows or ribbon you should go ahead and pin them in.

The last thing to do is to place the wreath upright wherever you will be hanging it. You will want to check for any open spaces and make sure you got the sides covered good. You don't want to see any of the straw on the wreath. You can fill in any spaces with more balloons or pipe cleaners.

I hung the wreath with a pipe cleaner because I don't have a wreath hanger.

And there you go. Simple. Fun. You can use it every year. And it didn't break the bank to make it!


Enjoy! ~ Miranda

Friday, September 14, 2012

Halloween party menu ideas- PRODUCT GIVEAWAY!


We had a Halloween party this morning, and it's not even October yet. The kids dressed as Spider Man and Buzz Lightyear. Even Super Dad paid a visit to the treats to indulge in the gross display of yummy food
.

We turned raisins into bat droppings and frozen cheese sticks into gross ghost fingers!


With the help of Farm Rich cheese sticks, we were able to quickly cook up these 'ghost fingers' for our little goblins (and ourselves!) to enjoy.


We just cooked up the sticks and let them cool. Put them on the platter and opened a few to let the cheese ooze and covered the other sticks with it. Using our own marinara sauce we splattered some of it over the sticks to give it a creepy look and put the rest down the middle of the platter. It just so happened the sauce came out looking like a ghost! This whole platter is only half a bag, we still have more left! You really get a lot for your money with these products. Farm Rich can provide you with quick solutions to last minute entertaining, and you have an opportunity to put your own twist to the recipes.

it didn't take long until the platter looked like this...

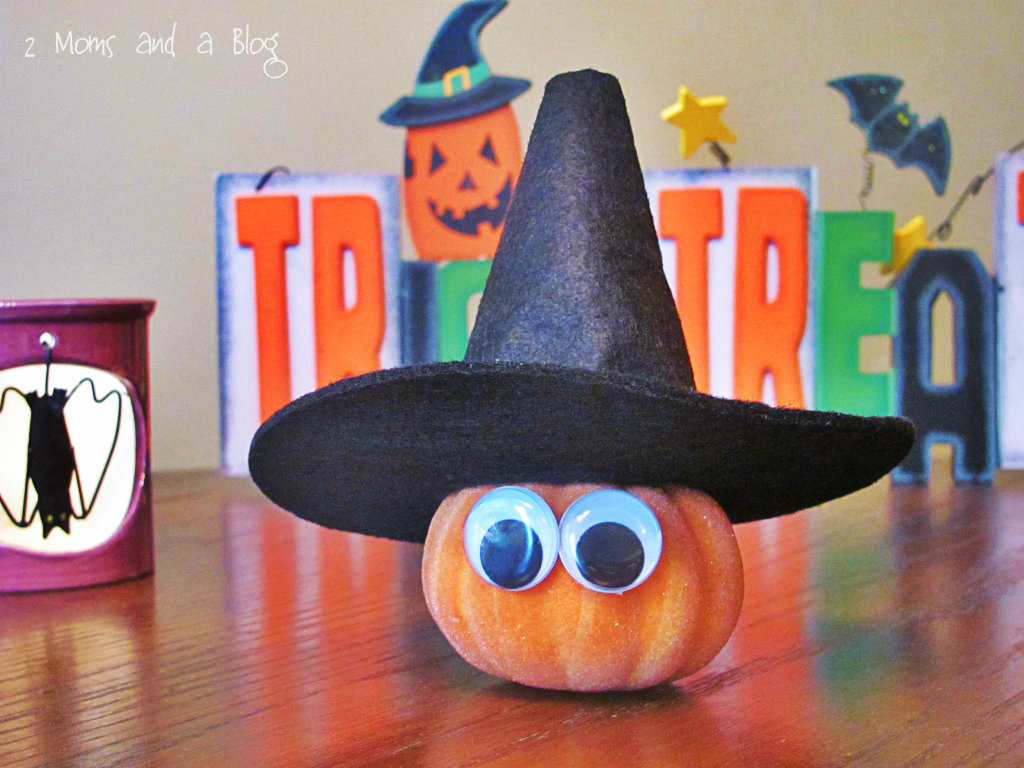
To add some character to our food table we used some inexpensive Halloween buckets used from previous years trick or treating to hold some small bags of chips, and a bowl from the dollar section of Target with ice to hold some juice boxes. We scattered some small pumpkins around the table and our witchy pumpkin pal was at the center of the fun. We will be doing another post soon for a fun craft on how to make your own pumpkin pals with your kids!
Spider Man and Super Dad fly in for a bite!
Buzz Lightyear could eat these for infinity- and beyond!


So are you ready for your chance to win a voucher good for one Farm Rich product of your own? 
Maybe you could make some of these ghost fingers. Or use the yummy meatballs and call them monster brain bites and put them on a small roll for the kiddos! 
2 of our lucky readers will win in this contest, here is how to enter!

Leave a comment on our page, maybe let us know some of your great Halloween party tips! 
(Commenting is a mandatory entry!)

Go like us on Facebook (not mandatory, but you don't want to miss out on any news or future give aways!)

Tweet us on Twitter using #2MomsAndABlog (again, not mandatory, but hey- we like the love!)


a Rafflecopter giveaway Now for the rules and fine print... because nothing is fun without a little rule here and there!
Contest is open to US residents 18 years of age and older. Winner will be selected at random and announced on Facebook and contacted via email. Winners will have 48 hours to respond to email to claim prize or forfeit winnings.

*Disclosure- 2 Moms was given a complimentary product for purpose of facilitating this review. All opinions are 100% mine and have not been edited in any way 

Monday, September 10, 2012

DIY Spotted Puppy Halloween Costume

Part one on '2 Moms and a Blog' special Halloween series! 
*NO SEWING MACHINE REQUIRED*

Post courtesy of Little Man and Me (www.littlemanandme2.blogspot.com)


Halloween of 2010 my son was only 1 and it was difficult finding a cute little Halloween costume for him that wouldn't break the bank. I also didn't want something that would just be worn once and tossed away. So I came up with the Spotted Puppy Costume! In all it cost around $10 bucks. $8 for the hoodie and $2 for the felt. We had the other supplies on hand. It was really super simple. Considering that I have ZERO sewing skills and if possible much less patience. It was quick, inexpensive and super cute. And 2 years later my son still has the costume and wears it around the house! Here is how me and my husband together made this costume...


You will need an over-sized hoodie, felt squares in coordinating colors, needle, thread, scissors and fabric glue.

Step 1) Cut off the arms of the hoodie at shoulder seams (save them, you'll need them!).
 
Step 2) Cut different sized circles out of the felt squares (save the scrap felt, you'll need it!).
Step 3) Using the left over pieces from one of the arms of the hoodie, trace and cut out 4 puppy dog ears.
Step 4) Take two of the pieces of ears you just cut out and sew them together leaving the bottom open. Then stuff them using some of the left over felt scraps and sew to the hood of the jacket.
Step 5) Glue the felt circles onto the jacket to make spots. 
Step 6) Roll up the other arm sleeve and attach to the jacket as the tail of the puppy.
The results:
Absolutely adorable! When I took him to a Halloween festival that weekend we got so many compliments on the costume. It was simple, not over the top for a child his age and he was comfortable. The possibilities are endless with the over-sized hoodie idea. So keep an eye on the blog for more ideas to come soon! And be sure to check back for more in our special series of posts leading up to Halloween! 

~ Miranda


Sunday, September 2, 2012

Small Apartment 'Mud Room'


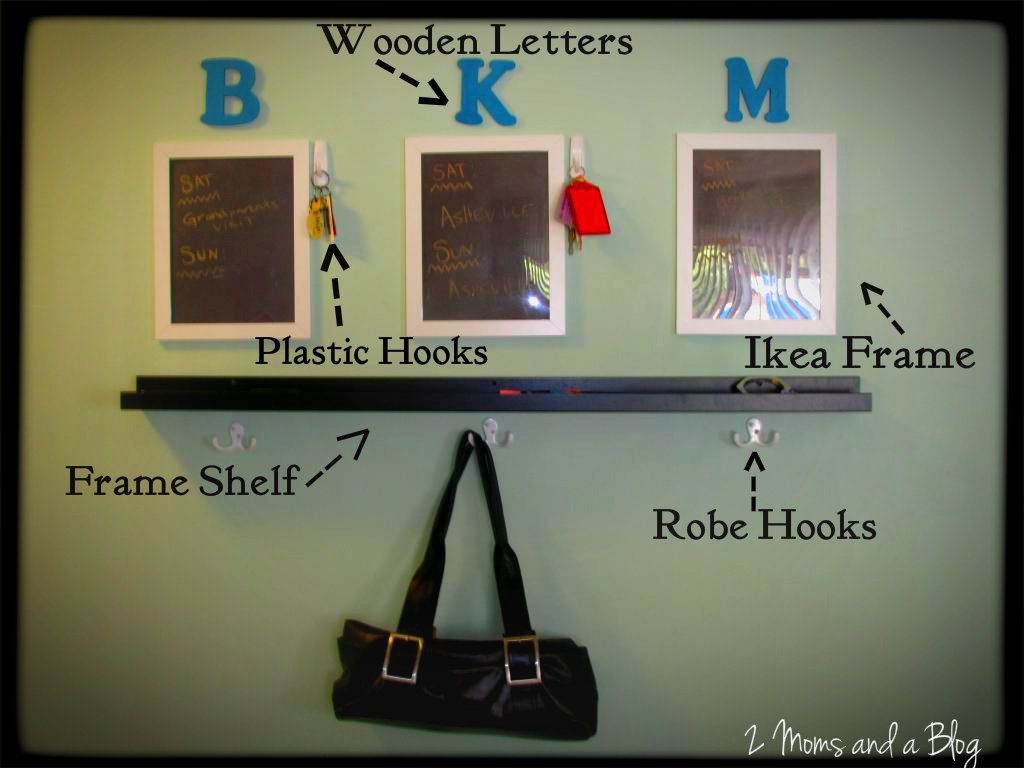
Recently my family downgraded from a 3 bedroom house to a 2 bedroom apartment. One of the biggest challenges, especially when you have kids, is the lack of an entryway to put your shoes and bags. This is how I solved my problem:


*First I got frames from Ikea for $1.99 each! http://www.ikea.com/us/en/catalog/products/80188456/
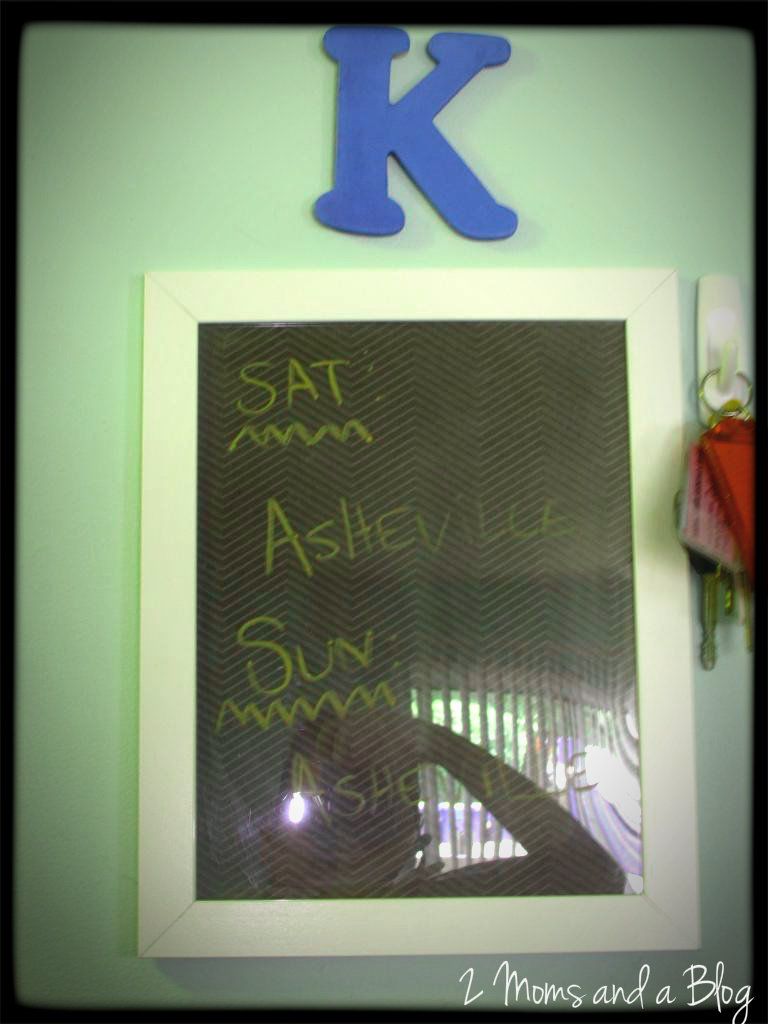
I used these as dry erase calendars for the family to remind them of upcoming events. They're perfect for dry erase boards because their plexi and not glass. Instead of putting a picture inside, I used dark scrapbook paper so my dry erase markers would stand out. It's hard to see but it's really cool paper with a light chevron design. Finally I wanted some cool colors so I got a pack of neon dry erase markers from Target.


*To mark who had which calendar, I got wooden letters from Michael's and painted them the color of my choice. For easy removal, I put them on the wall with velcro.

*For our key's I used reusable plastic hooks with double sided tape. These are perfect for apartments because they don't destroy the wall!

*I used 3 Robe Hooks that I found at Target for hanging up belongings like diaper bags and purses. I chose robe hooks because they hold 2 items per hook and are also meant for heavier things.

*AND finally my husband has to have somewhere to put his phones and wallet so I purchased a frame shelf from Ikea. It's perfect for small things because it's like a shelf with a lip at the the end so nothing falls off and it's not too deep :)


That's it! Not a lot really and it's completely transformed the way we organize our things we we come in. For shoes, which are our biggest clutter issue in our house, just put a basket or boot holder on the floor beneath!

Happy Crafting!

-Kelsey

Sunday, July 8, 2012

Nap Time Library Bag Tutorial- Guest post

The following post was submitted by Shannon with Sweet Panda Boutique.


Hello readers! My name is Shannon, WAHM behind Sweet Panda Boutique (Sweet Panda Boutique ). I'm delighted to be guest blogging for my new friends, Miranda and Kelsey.

My daughter and I went to story time at the local library last week, and saw some kiddos with super cute library totes! What a great idea. Totes give preschoolers ownership over their responsibility to take care of and return their borrowed books. When the books live in the tote, it's easy to keep them separate from a home library as well. Of course, it's also an excuse to use some cute fabric, or up-cycle an item that isn't getting much love. This tote came from curtains that no longer match my daughters décor.

I named this tote “Nap Time Library Bag”, because it can be reasonably sewn in under an hour (unless you rip a lot of seams like I do during experiments). A beginning sewer can make this bag, so give it a shot! Bear with me, it's my first tutorial and original design.


The Nap Time Library Bag

Supplies:
  • 1/3 yard of an inner fabric (woven cottons work nicely)
  • 1/3 yard of an outer fabric
  • Coordinating thread
  • Double Fold Bias tape for outer pocket (optional) Length = 1 width of your chosen bag size.
  • Fusible interfacing (1/3 yard, optional) (I used interfacing to make the bag a bit more stiff, but your bag will work fine without it. My bag has a front pocket, and you can choose to omit or include that as well.)
Step 1: Wash, dry, and iron your fabric. This is always good to do, as finished items wont shrink when washed, and you'll get rid of the nasty chemicals from fabric production.

Step 2: Cut your fabric. You may choose sizing based upon your needs. I wanted my toddler to be able to handle the bag, so it is small. You can modify and make the straps longer if you choose as well.


Cut 2 for outer, 10 x 12

2 for inner, 10 x 12

2 strips for straps, 3 x 12
Cut 2 pieces of interfacing, 9.5 x 11.5
If including the pocket:
1 length Bias tape, 10 inches
1 pocket outer piece, 10 x 7
1 pocket inner piece, 10 x 7
Fuse the interfacing to the outer fabric pieces per manufacturers instructions. Leaving 1/4” of fabric on each edge


Step 3: Sew the straps. Fold the strips lengthwise and iron. Using a 1/4” seam allowance, sew up the raw edge, end to end. Don't forget to backstitch when you start and stop. Turn inside out, and iron again. Now topstitch 1/4” from both sides, creating a finished strap. Repeat for 2nd strap and set aside.


Step 4: Prepare the pocket (if you aren't using a pocket, go to step 5). Place your inner and outer pocket pieces together, right sides out. Choose a 10” edge and slide bias tape over it. If you look at the tap, on side will be slightly shorter than the other. Put the shorter side in front, where you'll be stitching. Pin in place. Straight stitch near the fold on the bias tape, catching the other side as you stitch. This finishes the top seam of your pocket.

Step 5: Sew your outer shell. If using a pocket, pin the pocket piece to the bottom of your front fabric piece. Make sure the pocket raw edges line up with the outer raw edges. Your finished edge will cross the center of the piece. Pin the back outer piece to the front piece, right sides together. Start sewing from the top left corner to the bottom left corner, using a 1/4” seam allowance. Put your needle down 1/4” from the end, lift the presser foot and turn fabric 90 degrees. Continue sewing across the bottom, turn at corner, and finish at the top right corner. Be sure to leave the top open. Clip the bottom corners. Finish with zig zag stitch or serger.

Step 6: Repeat step 5 for the inner lining pieces.


Step 7: Using 1/8” seam allowance, stitch the straps to the inner lining. Take one strap piece, pin one edge 1.5” from the seam, and the the other edge of the same strap 1.5” from the opposite seam. Be sure the strap is not twisted, and the raw edges from the strap and inner piece match up. Do the same for the 2nd strap on the 2nd lining piece.


Step 8: Sew the inner and outer bags together! Turn the lining bag right side out and the outer bag wrong side out. Place the inner bag inside of the out bag. Right sides will match up. Pin at the side seams to ensure they match. You will need to leave a 2-3” hole to turn the bag when finished. Start sewing with a 1/4” seam allowance at the inside edge of 1 back strap. Continue all the way around the top of the bag until the inside edge of the other back strap. Back stitch. This will leave and open seam at the center back.

Step 9: Turn bag and iron. Using the open edge, pull the bag through until your fabric is right side out. Your project now resembles a bag! Line up the top seams and iron around the opening for easy top stitching. At the opening, turn the raw edges in and iron so they mimic the sewn seams.

Step 10: Top stitch. I like to start at the beginning of the open seam to get that out of the way. Sew across that seam with a 1/8” seam allowance and continue all the way around the top of the bag. Back stitch at beginning and end.

You now have an adorable tote for your kiddo to carry his/her library books in!