Showing posts with label party. Show all posts

Monday, March 18, 2013

Easter Fortune Eggs

Wow, can you believe it's almost Easter?! When time flies by this fast, It can be so easy to lose touch with those who are truly important in our lives. That's why I like to try to make every holiday a family event and that usually means a meal.

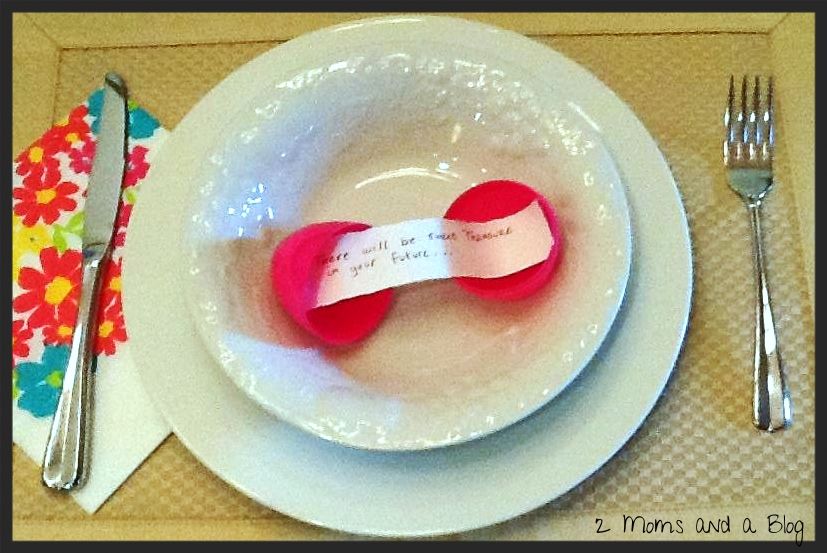
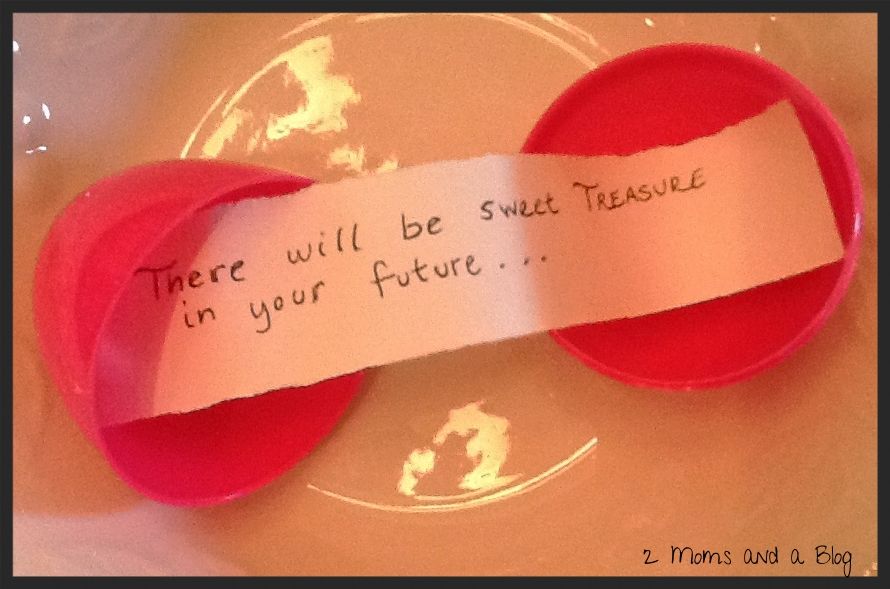
This Easter we are having a Pre-Egg Hunt brunch, in order to fill those bellies before the big chase. I wanted everyone to participate in the egg cracking so I decided to have an Easter fortune egg waiting on every plate.

It's can be as simple or elaborate a project as you like!

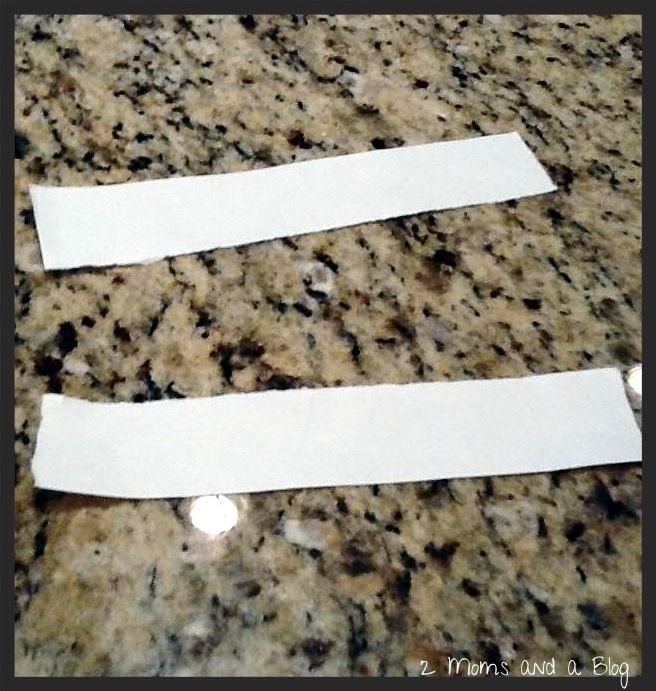
First start out with the fortunes. I used a heavier paper like construction or scrapbook paper because I wanted it to withstand any torture I might be putting it through in order to suit my needs ;)


There are many different ways you can cut or edge the strips of paper. I decided to forgo the scissors and use the 'fold, lick, rip' tactic in order to get an antique edge. You can also use the kid shape scissors that will give it a ziz zag or scallop edge.


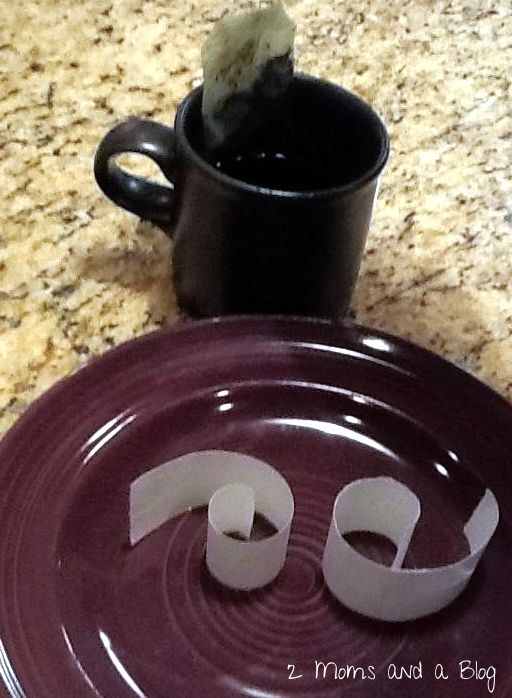
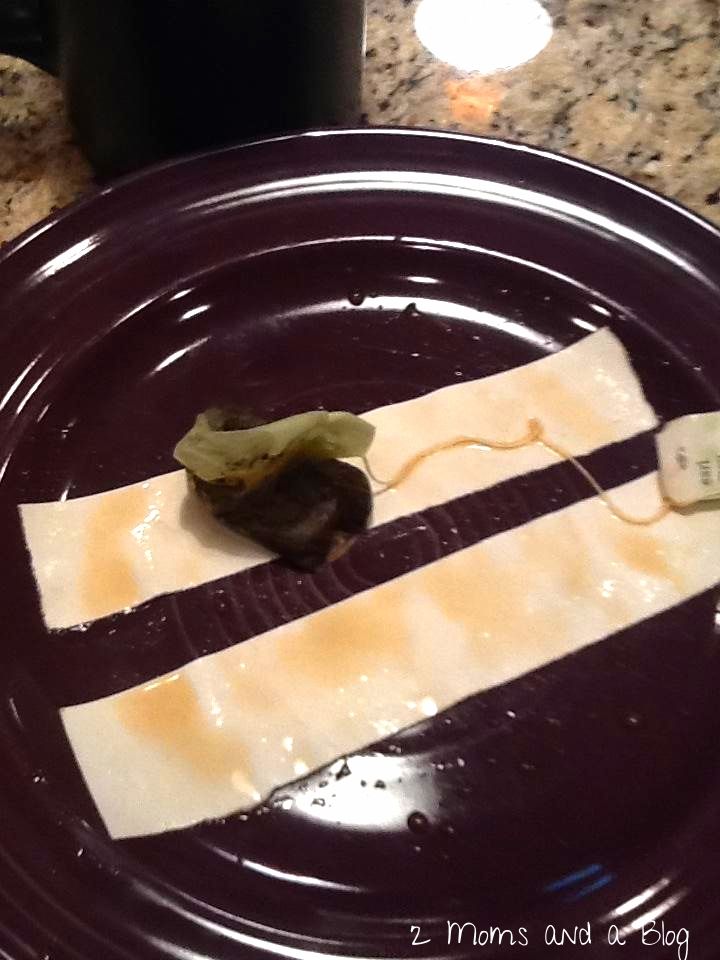
You can also antique the paper with tea staining, just be sure to let the paper dry completely before writing anything on it. This would be really cute if you decide to put a bible verse instead of a fortune for a post-Church brunch!


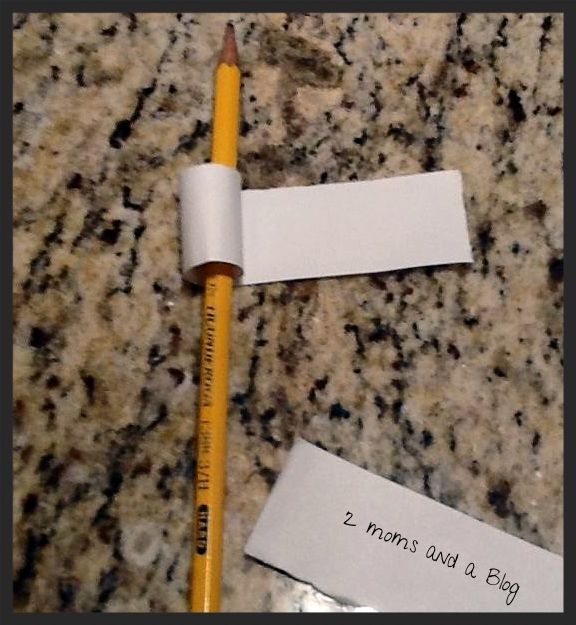
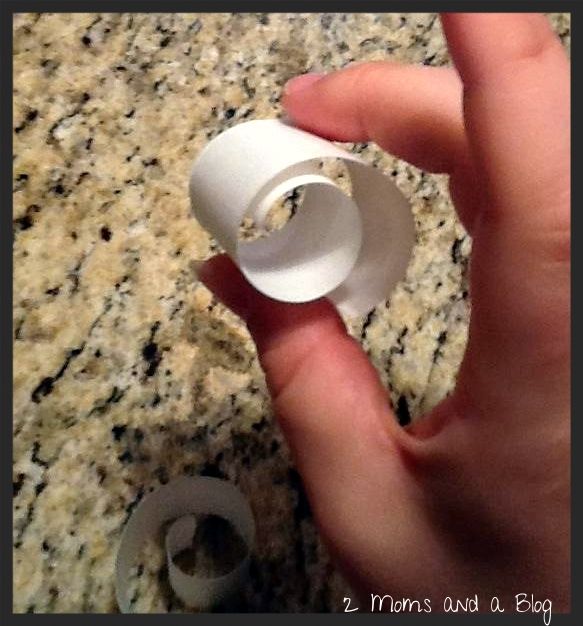
Now, for the paper to fit nicely into the egg, just roll it up! It turns out well if you wrap it around something like a pencil or pen.

I bought a few eggstra (haha) packages of plastic Easter eggs this year just knowing that I'd use them for some project or another for the holiday and here it is!


Have fun with this! Break out your stamps or paper punches! It's easy and cute and can fit any theme.

Happy Crafting!
-Kelsey

Monday, February 11, 2013

Valentine Cupcakes with a surprise middle!


I absolutely love Valentine's Day. My thought has always been that on Valentine's Day, the homemade gifts and treats are much more meaningful. These little cupcakes are filled with a surprise middle and a marshmallow heart on top. Here is how I made these...

What you'll need:
2 boxes of cake mix and ingredients to make (two colors, or both white)
Food coloring
Marshmallow hearts (or other topper of your choice)
Cupcake liners
Toothpick
Frosting
Very small heart shaped cookie cutter

So I started out by cooking a box of strawberry cake mix in a regular square cake pan. Allowed it to cool and then using a small cookie cutter, cut out some hearts.


Now depending on how much your cake rose, you may need to cut these little hearts in half and make 2 out of one cut.

Next I prepared a batch of vanilla cake mix. I put some cupcake liners in my cupcake pan and dolloped a little bit of the vanilla cake mix in the middle of each liner. Then I took one of my strawberry hearts and placed it in the batter. Then I carefully spooned more of the vanilla batter over the top and around the sides. You want to be sure that the batter doesn't knock your heart over or out of place.


**IMPORTANT**
As you are placing in the hearts make sure they are all turned in the same direction. You will need to mark the batter in some way in the direction the heart is, so when people bite in the heart is facing them. I used a little red food coloring and dipped a toothpick in and put a dot facing the direction of the hearts.

I thought I would add that this was supposed to be a trail run and I was going to make a better version of this to post this week. But my son has come down with the horrible sickies and I don't think I'll be doing anymore baking this week. I should have pushed the hearts down more into the batter and covered them better. You'll see why in a moment. 

Now bake according to the box directions.

In the mean time get your frosting prepared. I used cream cheese  and tinted it with red food coloring. I don't have any of those fancy pastry bags, ziplock has been my friend when decorating cakes, cookies and cupcakes. One of the best tricks I've learned when putting frosting into a ziplock bag is to but the bag into a small cup then put the batter in. So much easier! Then just cut a little corner off the bottom for your frosting to come out of.

When your cupcakes are done cooking let them cool completely. Now before frosting, make sure you place the cupcake in front of you with the little red dot facing you.


Now frost away, and please be more creative than I was! I topped with a heart marshmallow facing in the direction the red dot was so people knew to bite into the cupcake that way. 

Here is the finished product.

Another with a pink marshmallow on top...

Now cut open to find the heart inside. And getting back to my note on needing to push the heart down better before baking, as you can see the very top of my heart was not showing well on this one. It came out good in some of the cupcakes, but I didn't want to cut open them all open at the same time.


This is great way to get different shapes inside a cupcake. If there is a cookie cutter small enough, it should work! Also a good idea for all those gender reveal cupcakes going around lately! 

Happy Valentine's Day- Miranda


Thursday, October 4, 2012

Birthday Traditions your Children will never forget!

It is never too early to begin Birthday traditions for the kiddos in your life. I recently posted this tutorial on how to make a balloon Birthday Wreath. We will pull this out every year a few days before my Son's Birthday so he knows his special day is coming.

Here are some other ways to make your child's Birthday special, starting when they first roll out of bed in the morning!

Starting the night before his birthday I started to get some surprises ready for him. I used streamers to put over his door frame, and hung a few balloons from the top of his door. The point was for him to bust out of the room! But my Son got sneaky and did a belly crawl out of his room under the streamers! He is too silly!

I put some balloons down the hallway leading to a little present for him to open in the morning. 

Each balloon was weighed down with quarters, so it was an extra surprise for him!


The next morning I got up super early and put out lots of other balloons in the hallway. 3 balloons had a dollar bill in them. It was a fun little game for him to find the balloons with the money.

When my Little Man woke up in the morning (as a 3 year old!!!) he was so surprised, happy and had the best morning. It was a lot of fun for him, and for me and his Daddy to watch him. Birthdays have always, and will always be a big deal to my family. It's a day to celebrate! So go all out, in any way you can to show your kids how special they are! The will always remember these things, and it's never too early to start traditions for your family that your kids will pass on.


Happy celebrating! ~ Miranda


Tuesday, October 2, 2012

Birthday Wreath Tutorial!


My Little Man is turning the big 3 tomorrow (please excuse me while I wipe away tears) so I wanted to make something special for him we could pull out every year so he would know his special day is coming!

Of course I got on Pinterest and searched frantically. His birthday snuck up on my BIG TIME this year. I came across the Birthday wreath. Some people make it with balloons and bows, some with only bows, some with streamers etc. You get the picture. I decided to go with a classic balloon theme.

Here is what you will need:

A wreath (foam or straw, I used straw- remember to keep the plastic on it!)
Floral pins (get a pack of at least 200 at your local Walmart or craft store)
Balloons (You will need at least 200 balloons to make a small wreath)
Optional: pipe cleaner, bows etc.
A LOT OF PATIENCE

I know that this sounds like a lot of balloons. But fear not. You can find packs with a ton in them for super cheap at Walmart.

First, if you purchased different sized balloons you will want to pin the larger balloons on first. Just pin them randomly on the wreath. To pin them pull the balloon in between the floral pin with the neck of the balloon sticking out one side and the head of the balloon sticking out the other.


Next, if you are going to use any pipe cleaners you may want to go ahead and pin some of those on too. I just twirled some around my finger to get that "boing" look, as my son likes to call it, then pinned them randomly around the wreath.

Finally, you will want to go ahead and pin in your smaller sized balloons. Please note, don't try to pin a bunch at once with the same floral pin. You will not get a good effect and the balloons will lay limp. Just pin down one balloon at a time. Be sure to pin them all close together.


Now if you have any bows or ribbon you should go ahead and pin them in.

The last thing to do is to place the wreath upright wherever you will be hanging it. You will want to check for any open spaces and make sure you got the sides covered good. You don't want to see any of the straw on the wreath. You can fill in any spaces with more balloons or pipe cleaners.

I hung the wreath with a pipe cleaner because I don't have a wreath hanger.

And there you go. Simple. Fun. You can use it every year. And it didn't break the bank to make it!


Enjoy! ~ Miranda

Friday, September 14, 2012

Halloween party menu ideas- PRODUCT GIVEAWAY!


We had a Halloween party this morning, and it's not even October yet. The kids dressed as Spider Man and Buzz Lightyear. Even Super Dad paid a visit to the treats to indulge in the gross display of yummy food
.

We turned raisins into bat droppings and frozen cheese sticks into gross ghost fingers!


With the help of Farm Rich cheese sticks, we were able to quickly cook up these 'ghost fingers' for our little goblins (and ourselves!) to enjoy.


We just cooked up the sticks and let them cool. Put them on the platter and opened a few to let the cheese ooze and covered the other sticks with it. Using our own marinara sauce we splattered some of it over the sticks to give it a creepy look and put the rest down the middle of the platter. It just so happened the sauce came out looking like a ghost! This whole platter is only half a bag, we still have more left! You really get a lot for your money with these products. Farm Rich can provide you with quick solutions to last minute entertaining, and you have an opportunity to put your own twist to the recipes.

it didn't take long until the platter looked like this...

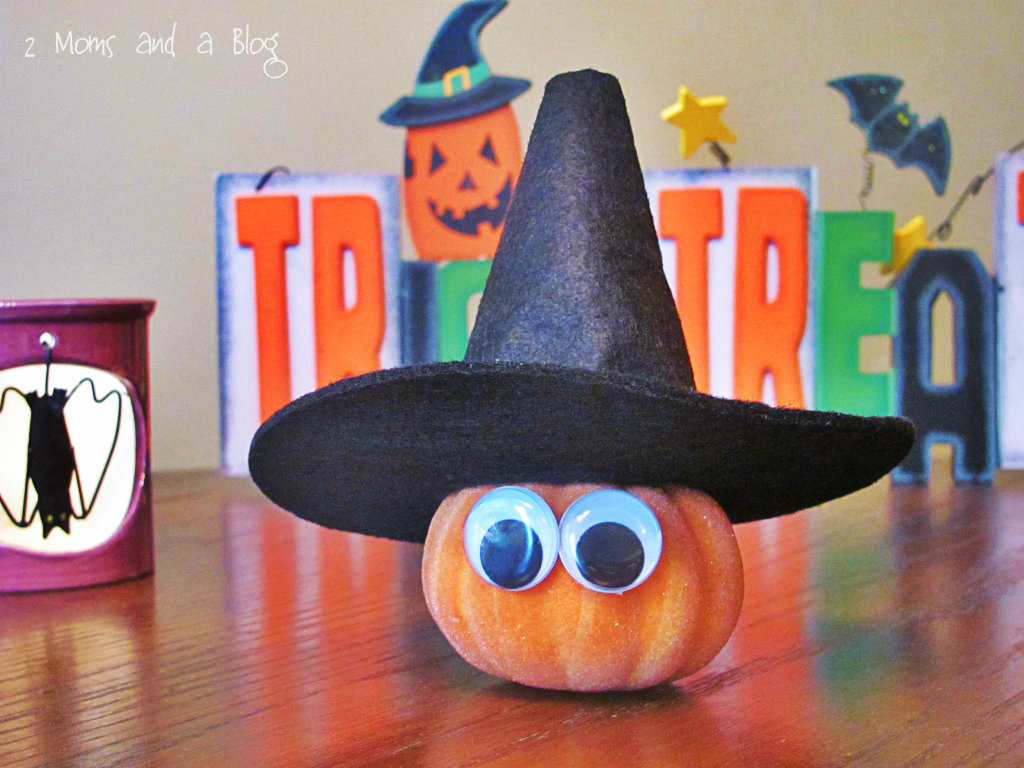
To add some character to our food table we used some inexpensive Halloween buckets used from previous years trick or treating to hold some small bags of chips, and a bowl from the dollar section of Target with ice to hold some juice boxes. We scattered some small pumpkins around the table and our witchy pumpkin pal was at the center of the fun. We will be doing another post soon for a fun craft on how to make your own pumpkin pals with your kids!
Spider Man and Super Dad fly in for a bite!
Buzz Lightyear could eat these for infinity- and beyond!


So are you ready for your chance to win a voucher good for one Farm Rich product of your own? 
Maybe you could make some of these ghost fingers. Or use the yummy meatballs and call them monster brain bites and put them on a small roll for the kiddos! 
2 of our lucky readers will win in this contest, here is how to enter!

Leave a comment on our page, maybe let us know some of your great Halloween party tips! 
(Commenting is a mandatory entry!)

Go like us on Facebook (not mandatory, but you don't want to miss out on any news or future give aways!)

Tweet us on Twitter using #2MomsAndABlog (again, not mandatory, but hey- we like the love!)


a Rafflecopter giveaway Now for the rules and fine print... because nothing is fun without a little rule here and there!
Contest is open to US residents 18 years of age and older. Winner will be selected at random and announced on Facebook and contacted via email. Winners will have 48 hours to respond to email to claim prize or forfeit winnings.

*Disclosure- 2 Moms was given a complimentary product for purpose of facilitating this review. All opinions are 100% mine and have not been edited in any way